
Many teams already have Excel templates that work: budgets, trackers, reporting sheets, and layouts that took time to get right. The friction starts when those templates live outside the Qlik analytics platform, which often means manual exports, multiple file versions, and results that can drift away from what dashboards show.
While you can build an Excel-style spreadsheet in Qlik Sense from scratch, a faster path is to add an entire template right away.
This tutorial shows how to import an existing Excel template into Qlik Sense using the Spreadsheets extension, so it works inside the Qlik app and stays in sync with live data and selections.
Prefer watching instead of reading? The video version is right here:
Load Data to Your Qlik App
Start by loading data from your Excel file into your Qlik app.
In this tutorial, we use the personal-budget.xlsx file. Feel free to download it so you can easily follow along.
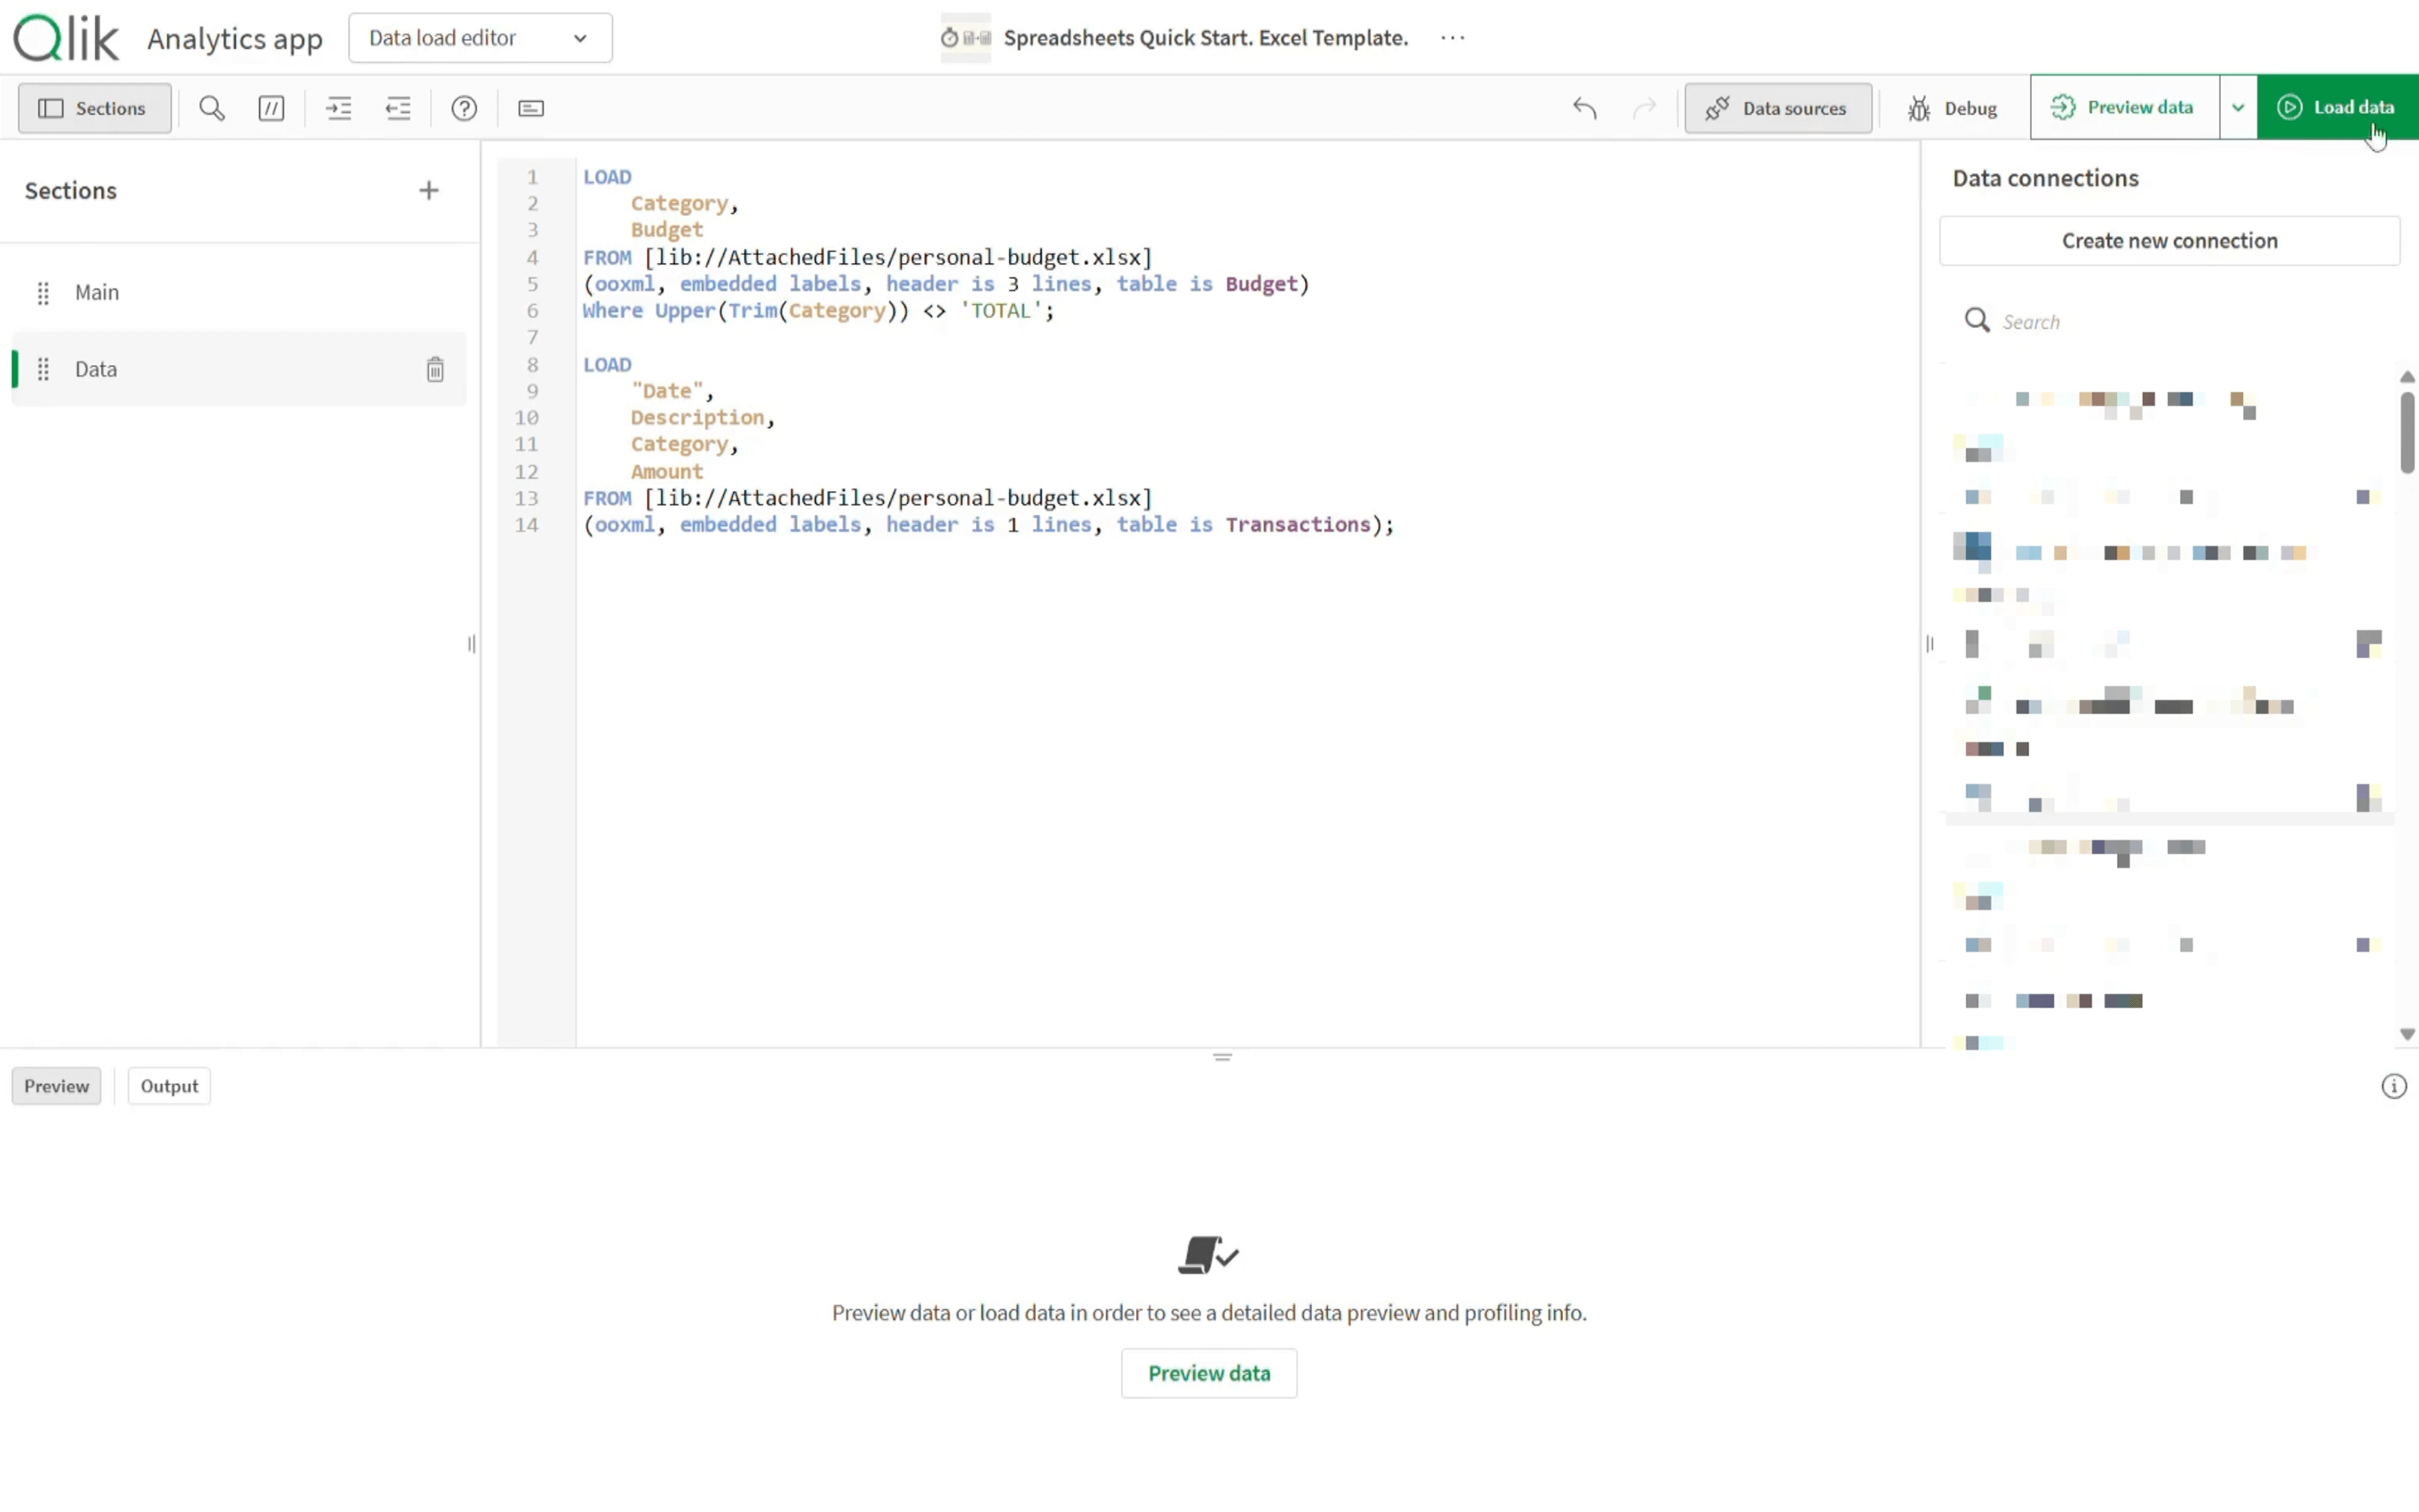
Go to the Data Load Editor and enter the following script:
LOAD
Category,
Budget
FROM [lib://AttachedFiles/personal–budget.xlsx]
(ooxml, embedded labels, header is 3 lines, table is Budget)
Where Upper(Trim(Category)) <> 'TOTAL';
LOAD
"Date",
Description,
Category,
Amount
FROM [lib://AttachedFiles/personal–budget.xlsx]
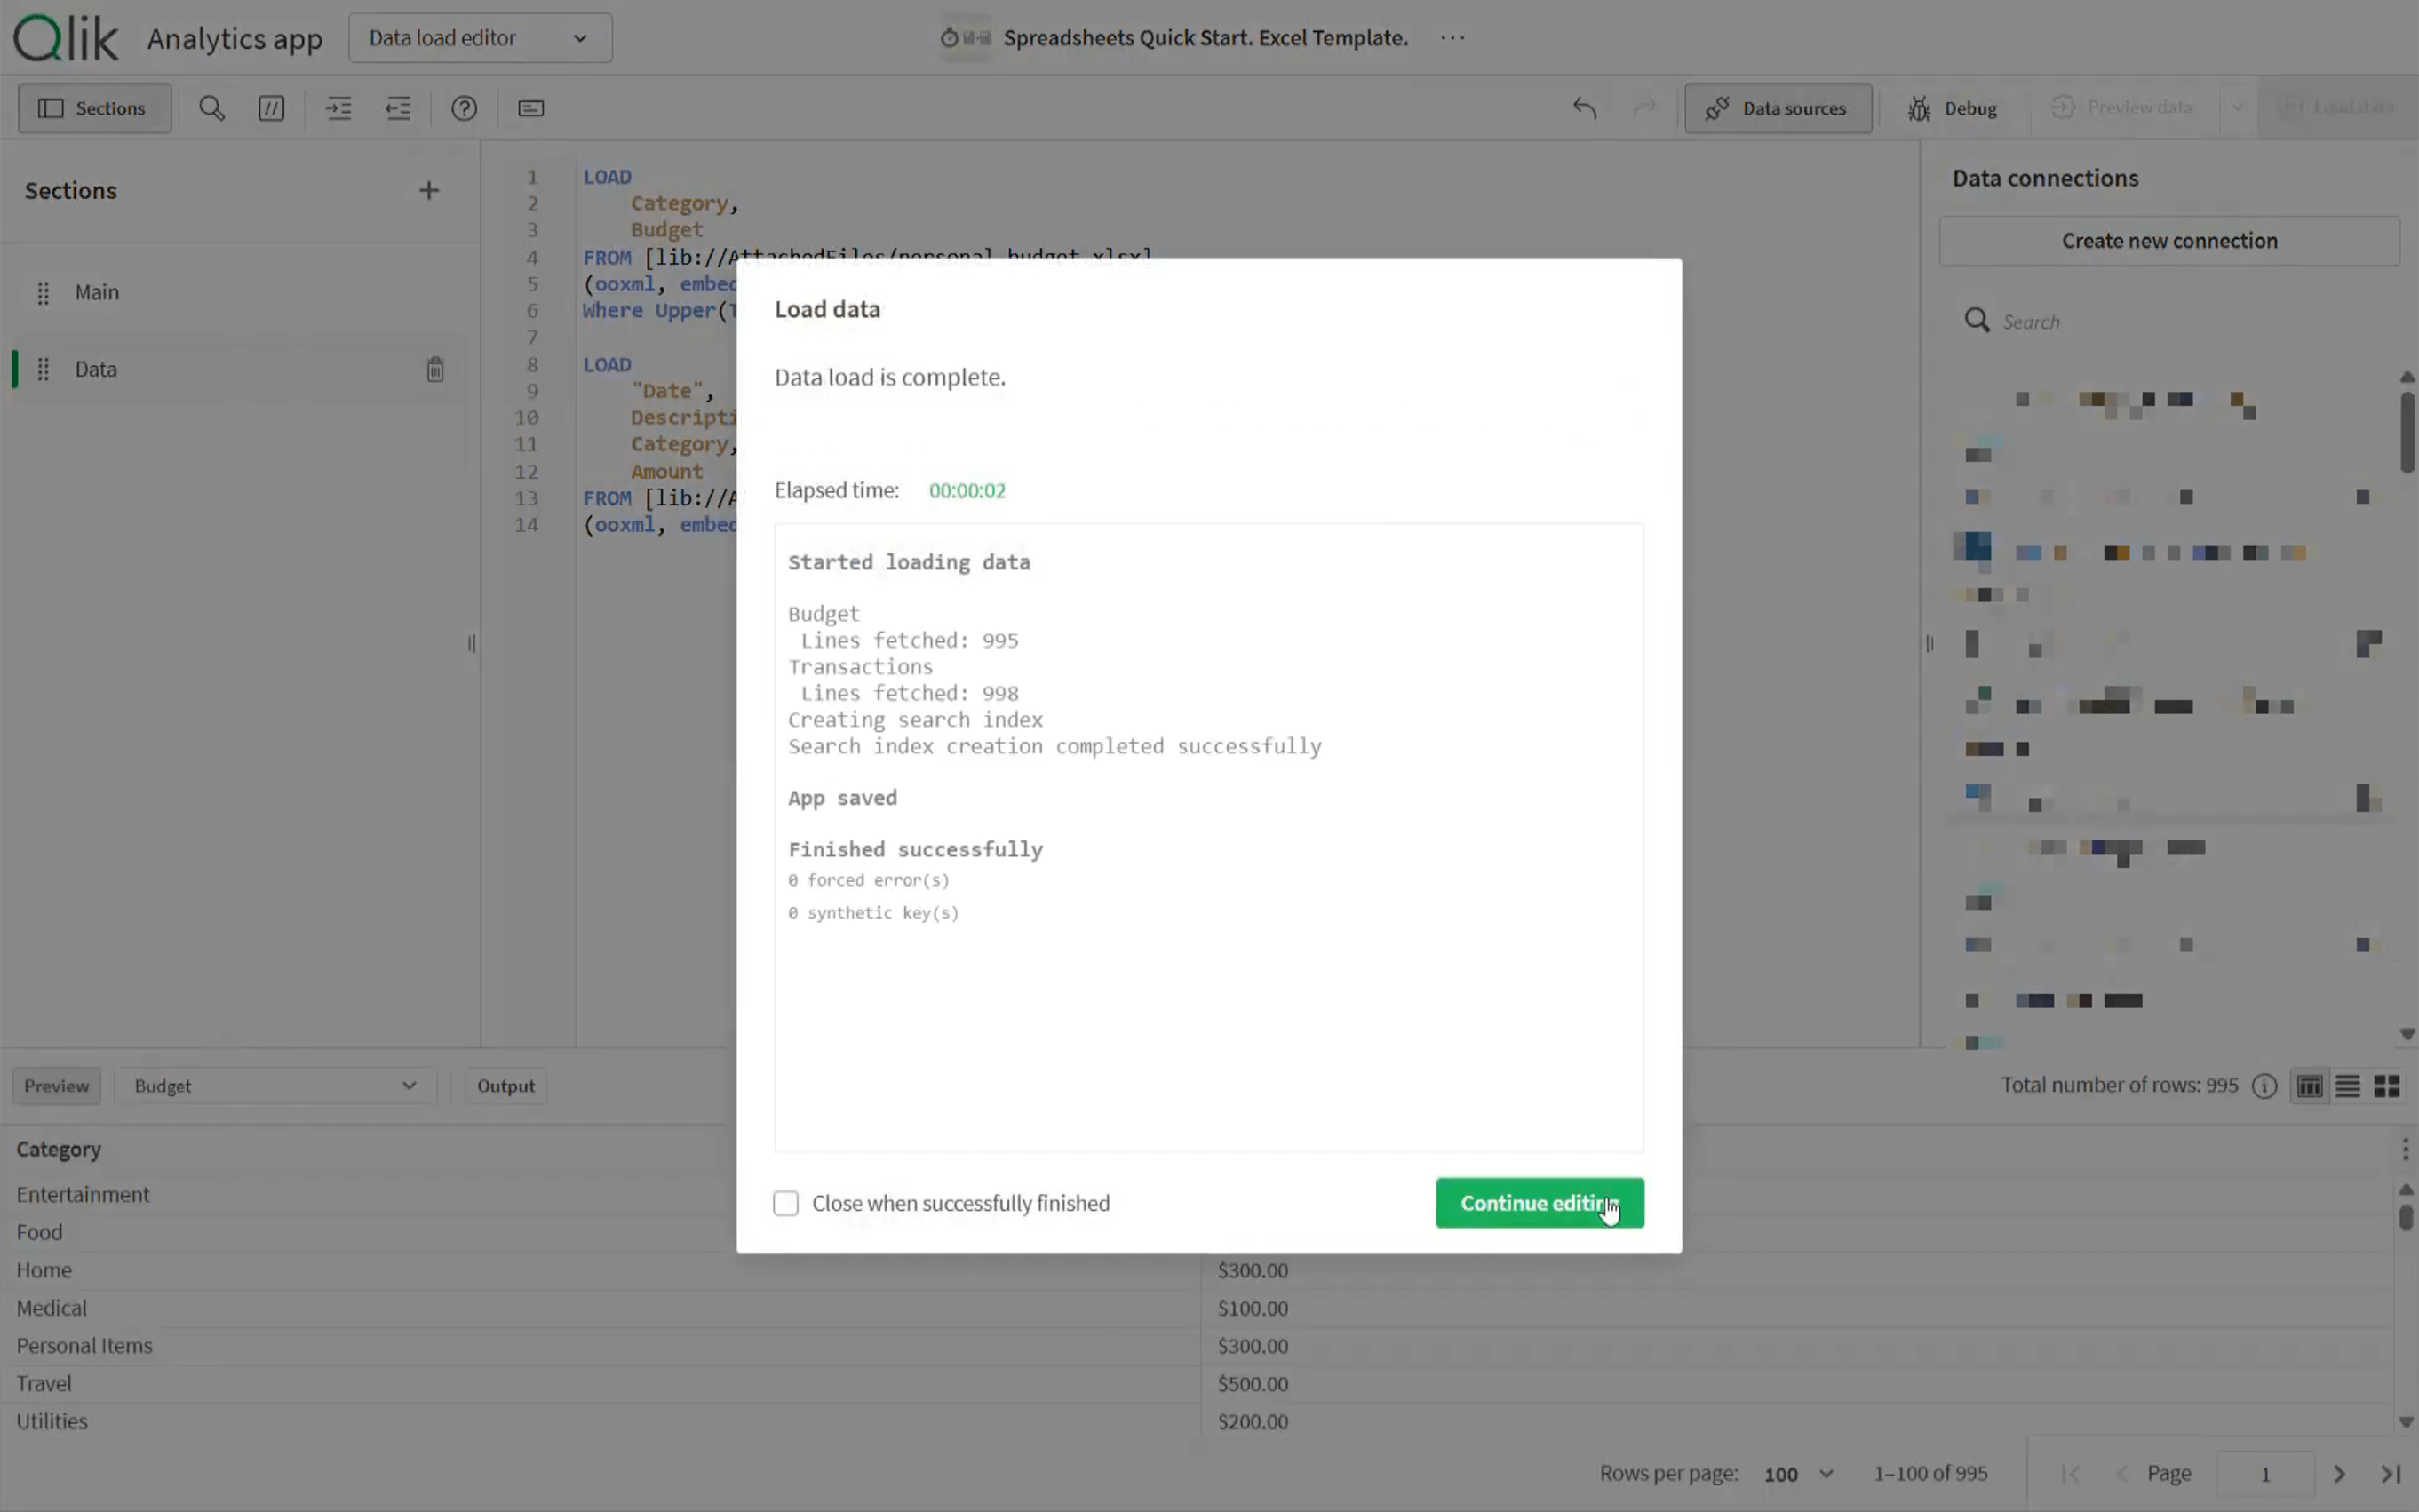
(ooxml, embedded labels, header is 1 lines, table is Transactions);Click the Load Data button.
Add Spreadsheet to Your Qlik App
Once the data is loaded, move on to the sheet where the spreadsheet will live.
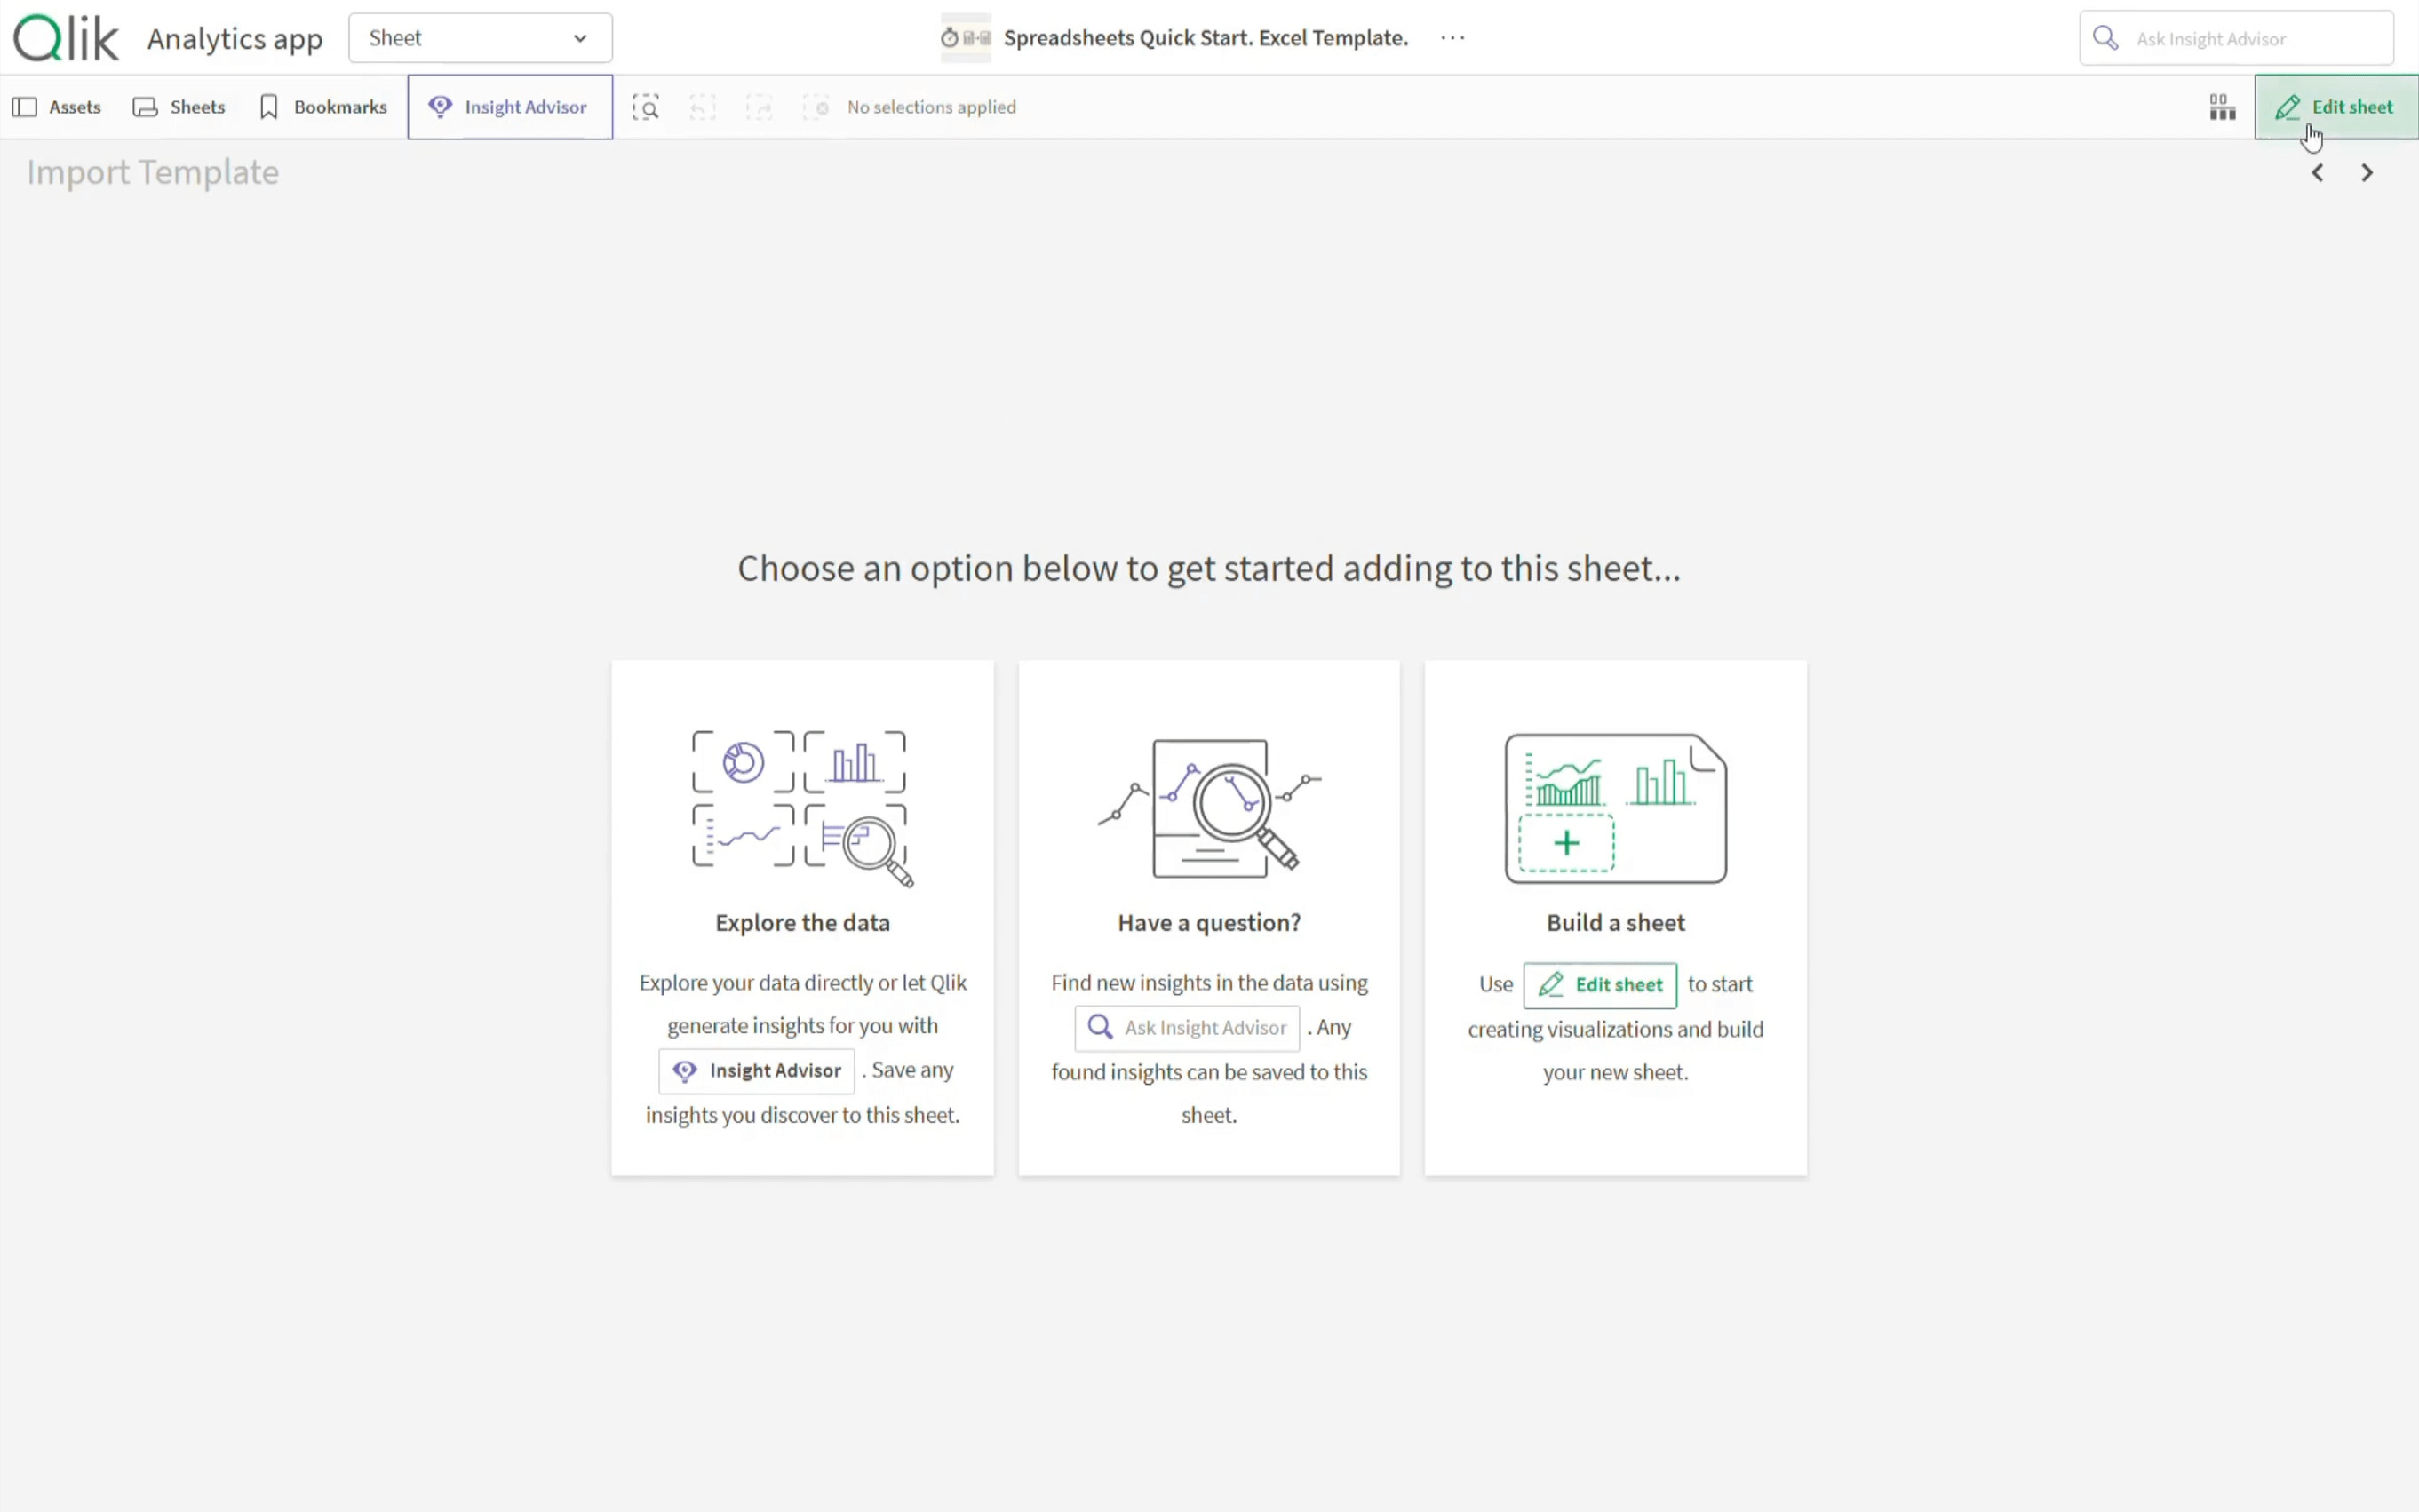
Now place the spreadsheet object on the sheet so the Excel template has a place to load into.
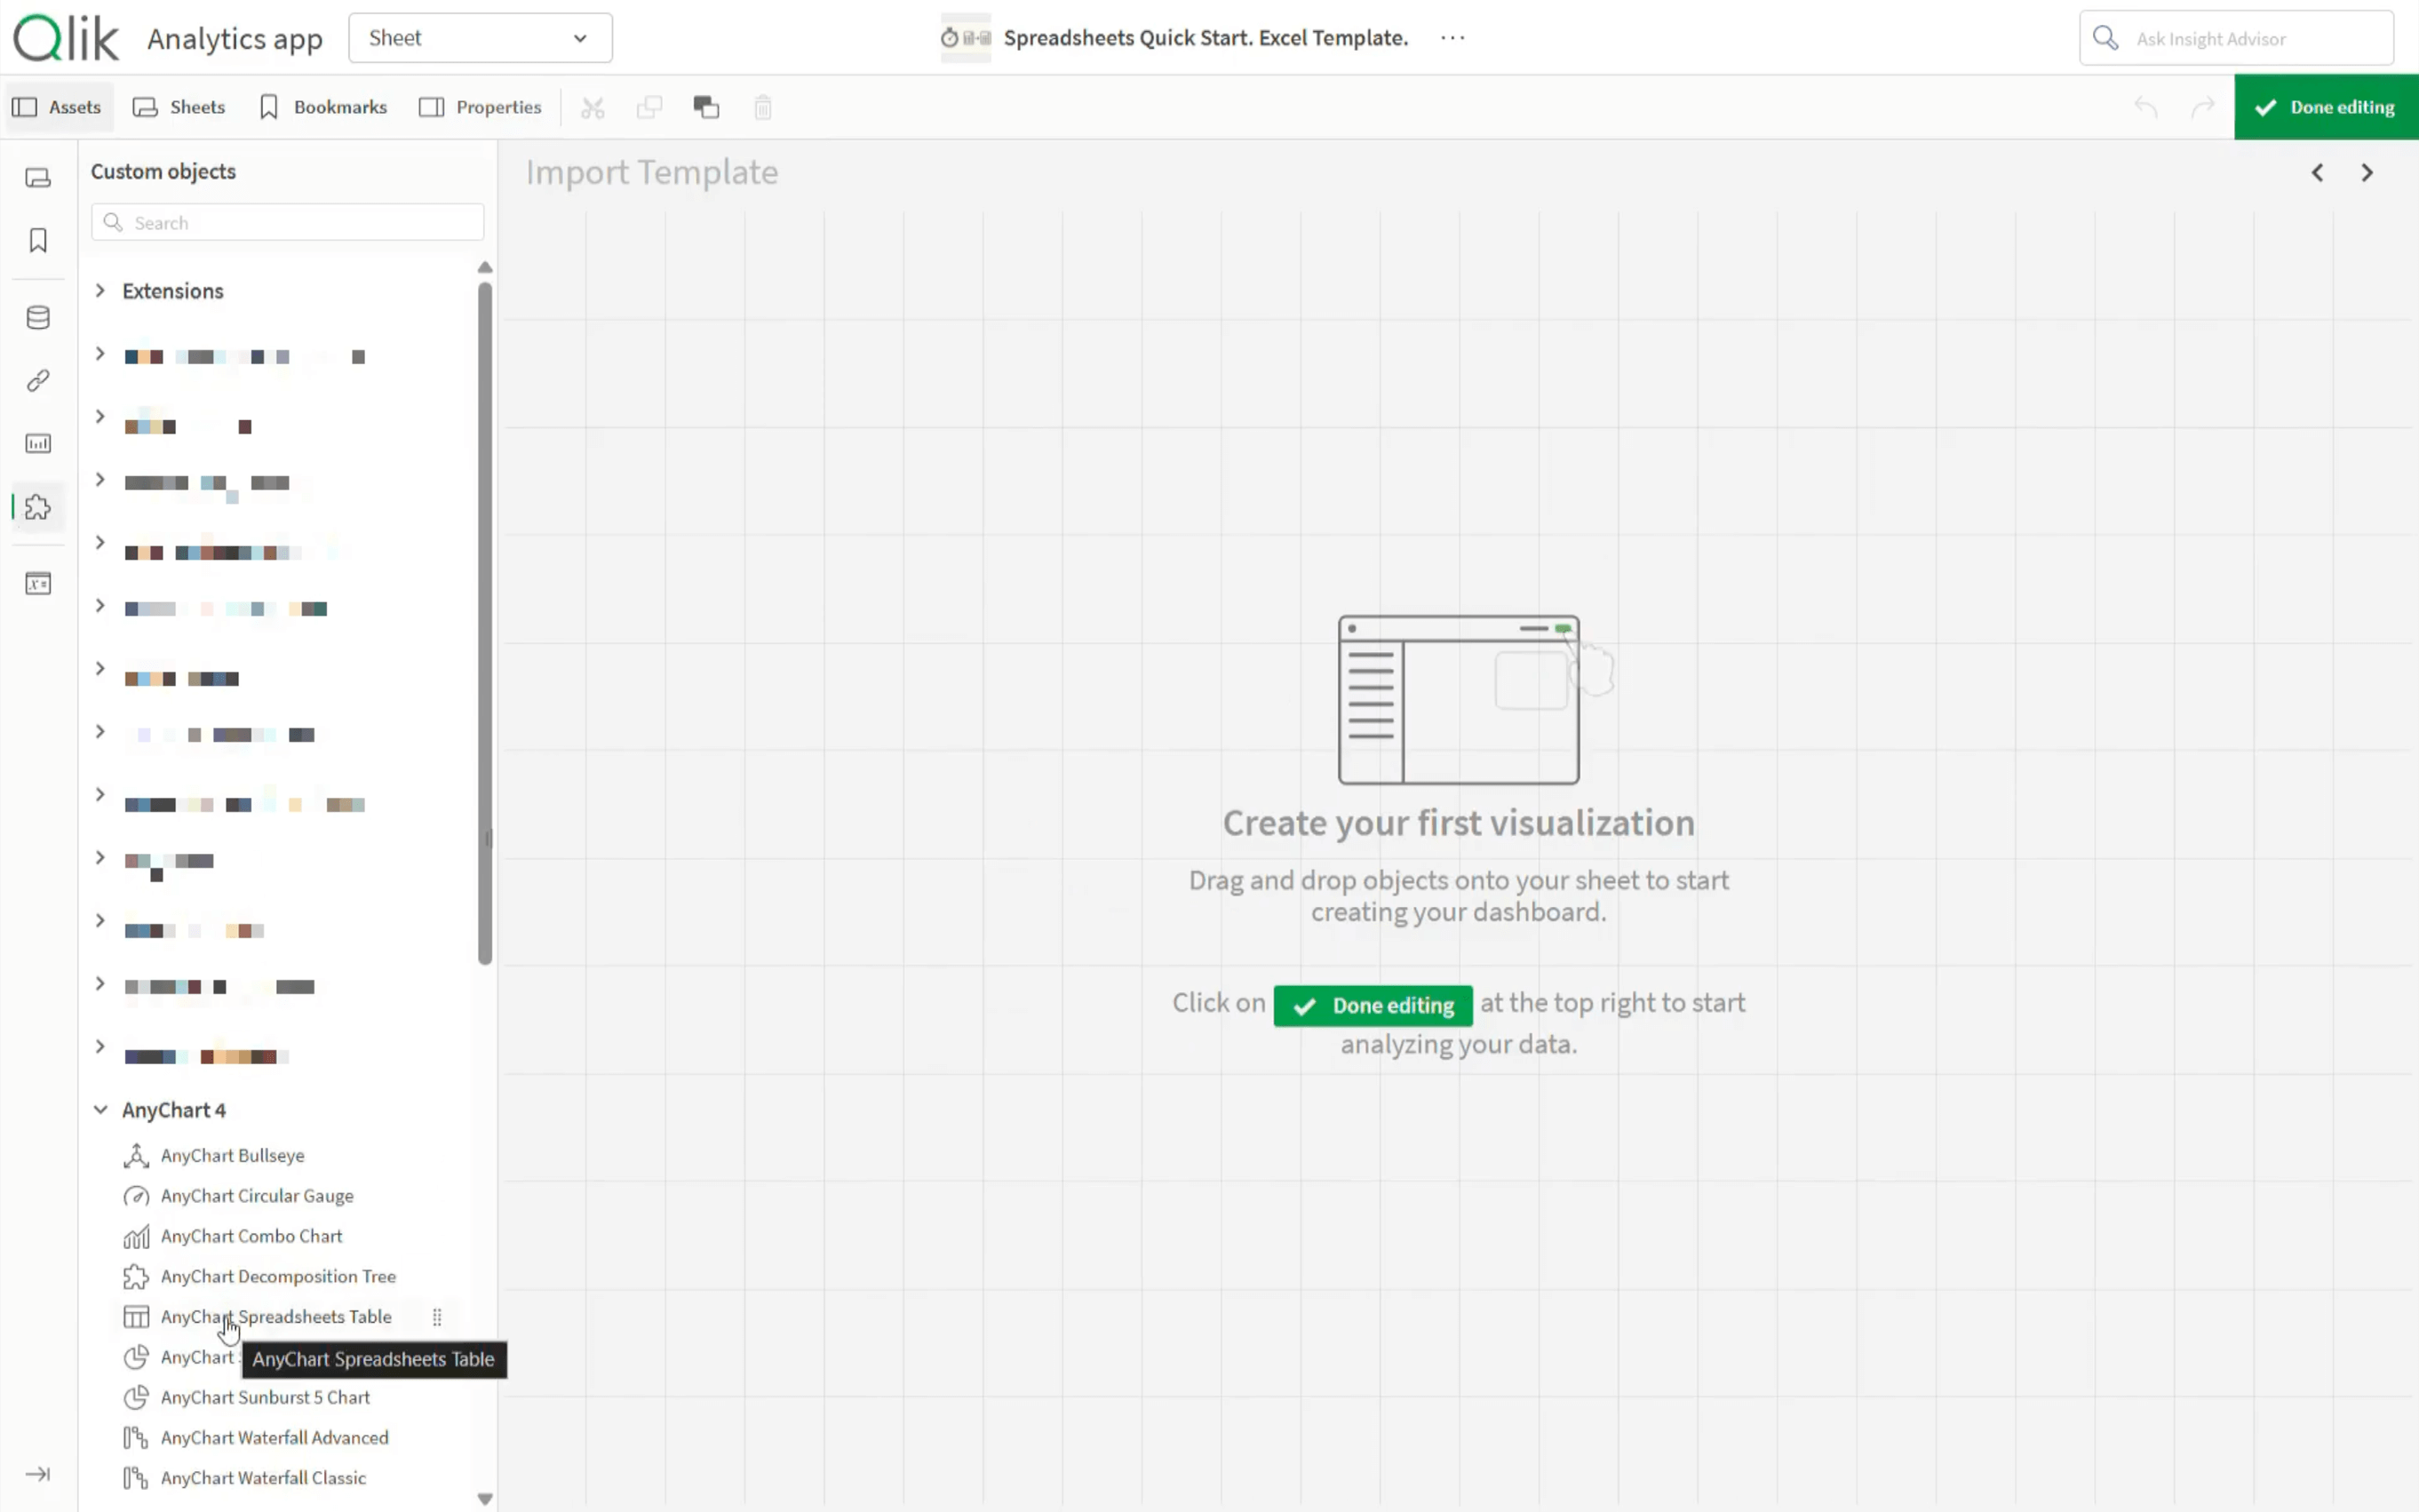
- Enter edit mode.
- Go to the Assets panel.
- Open Custom Objects.
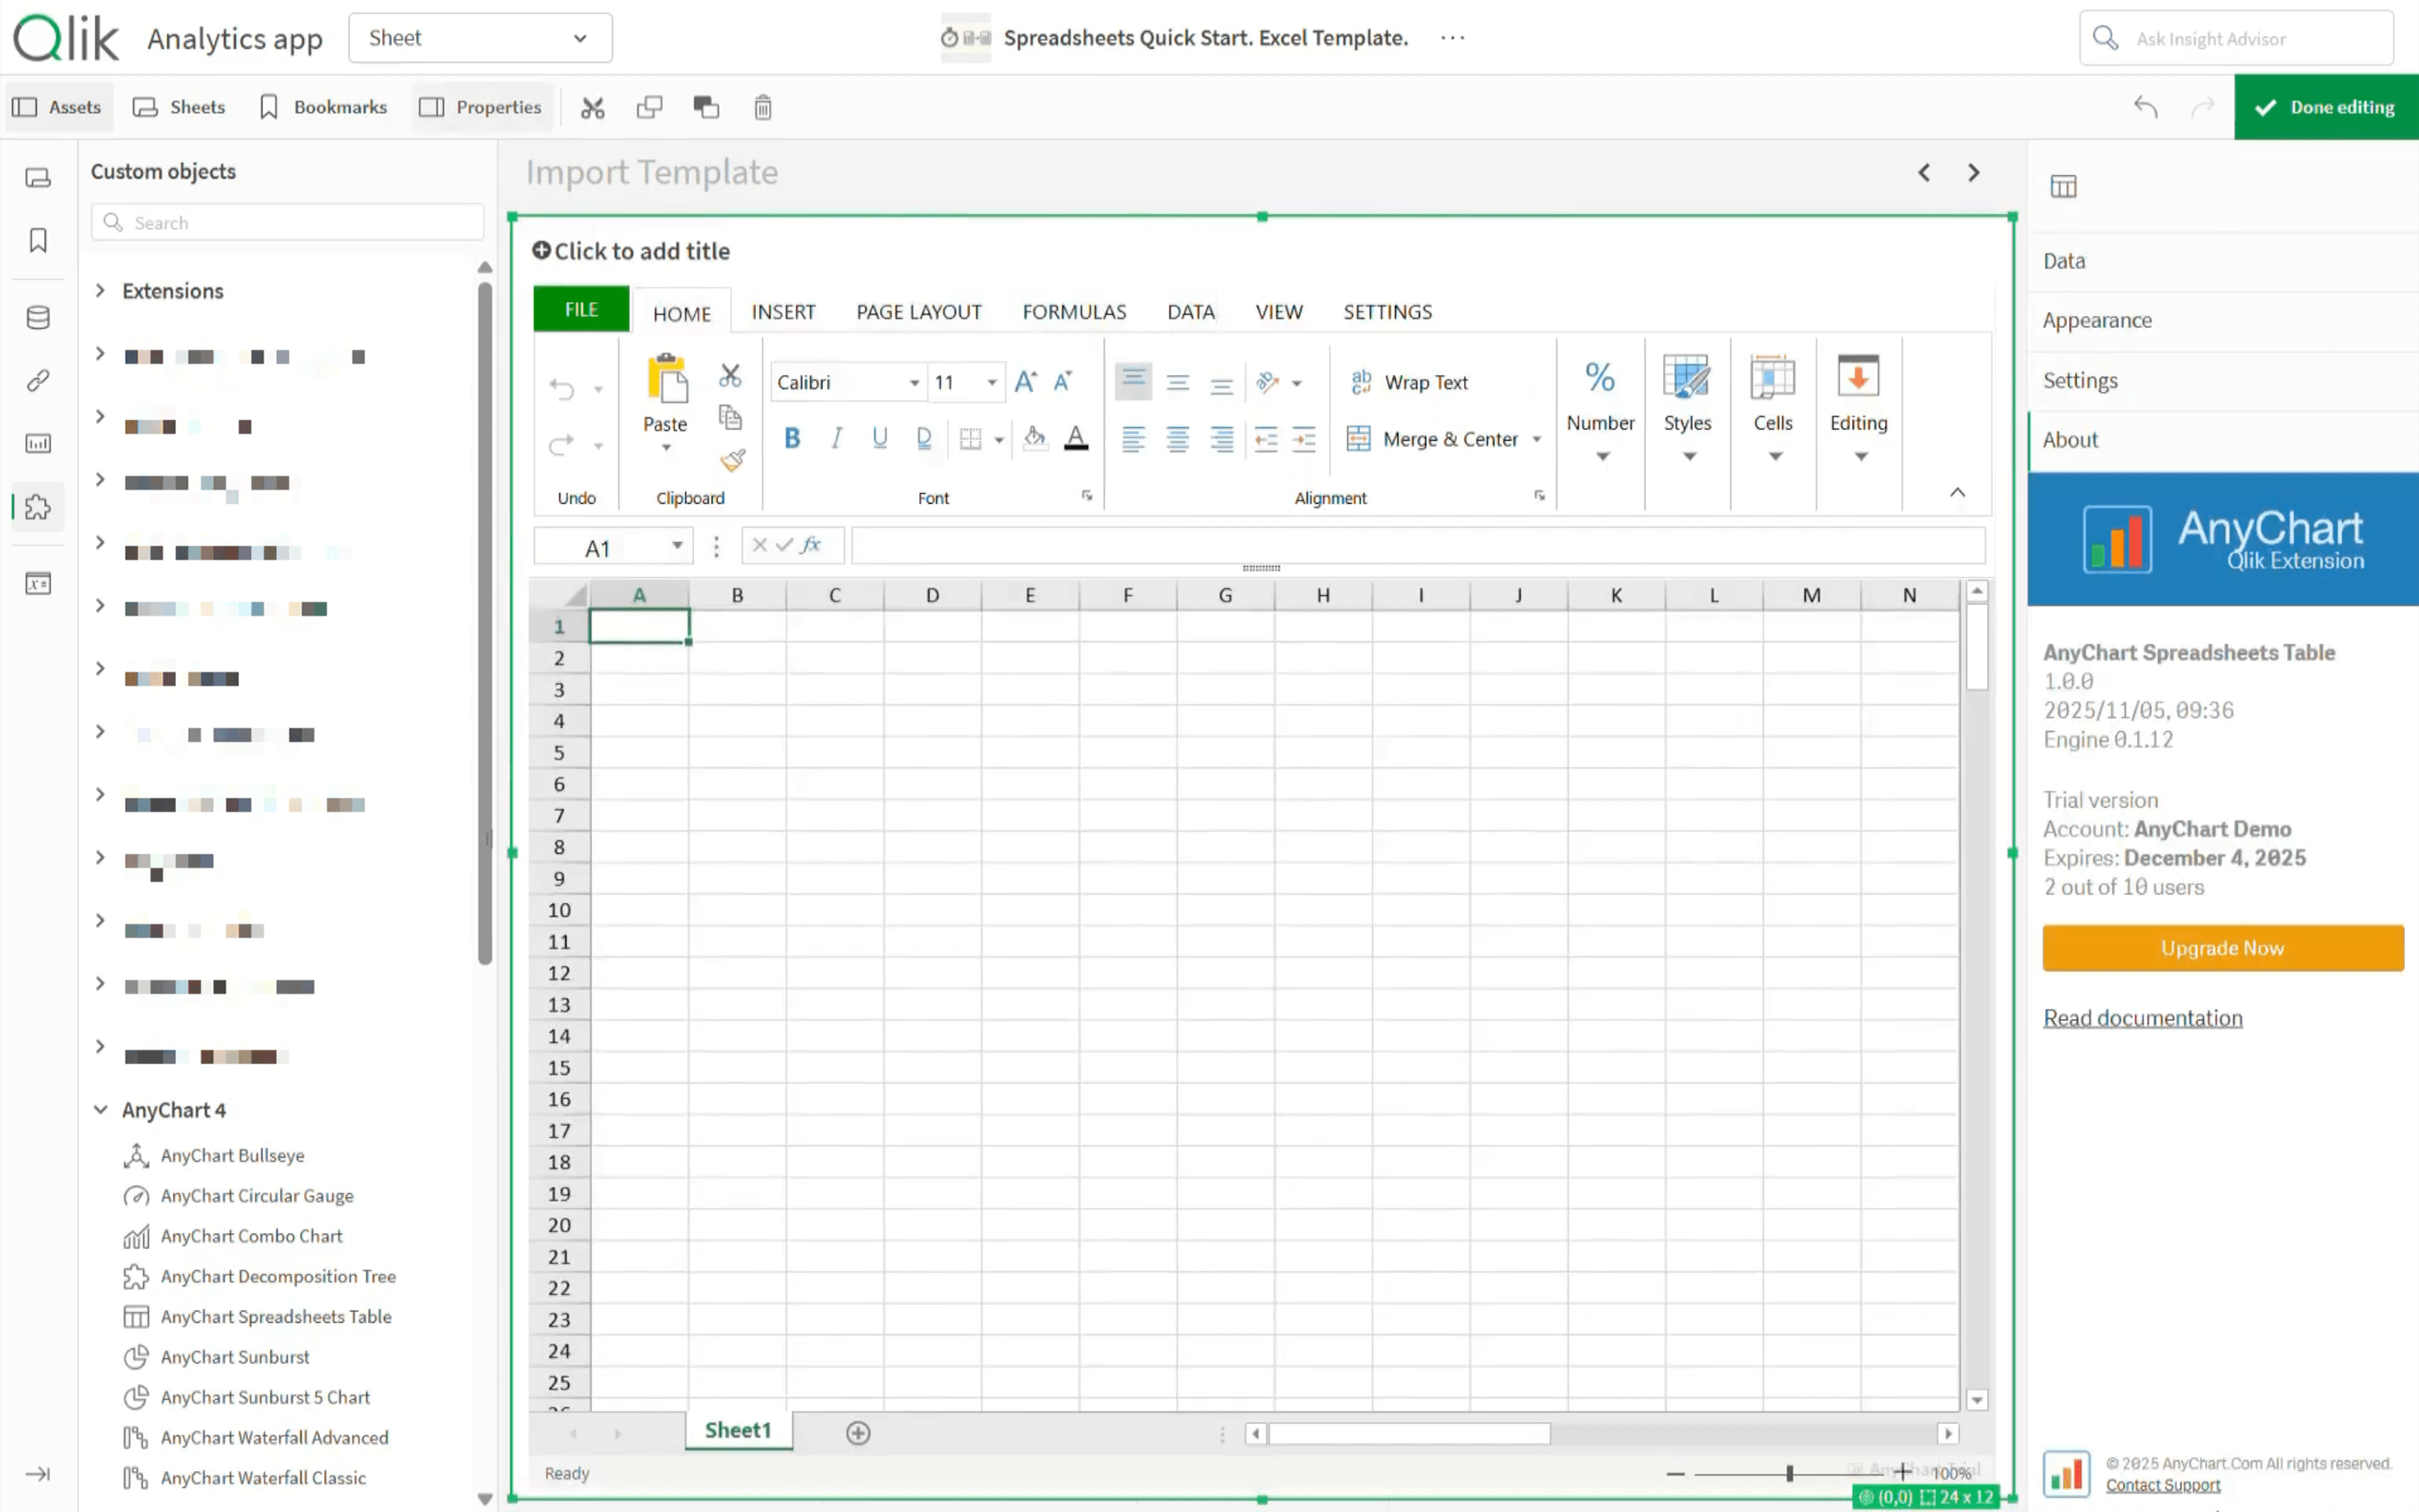
- Under AnyChart 4, find AnyChart Spreadsheets Table and drag it onto the sheet canvas.
You now have an Excel-style spreadsheet canvas right inside the sheet.
Enable Autosave
To ensure workbook changes are not lost while you are working, enable autosave.
- Select the spreadsheet object and open the properties panel.
- Go to Settings.
- Open Autosave.
- Select Browser IndexedDB in the Storage dropdown.
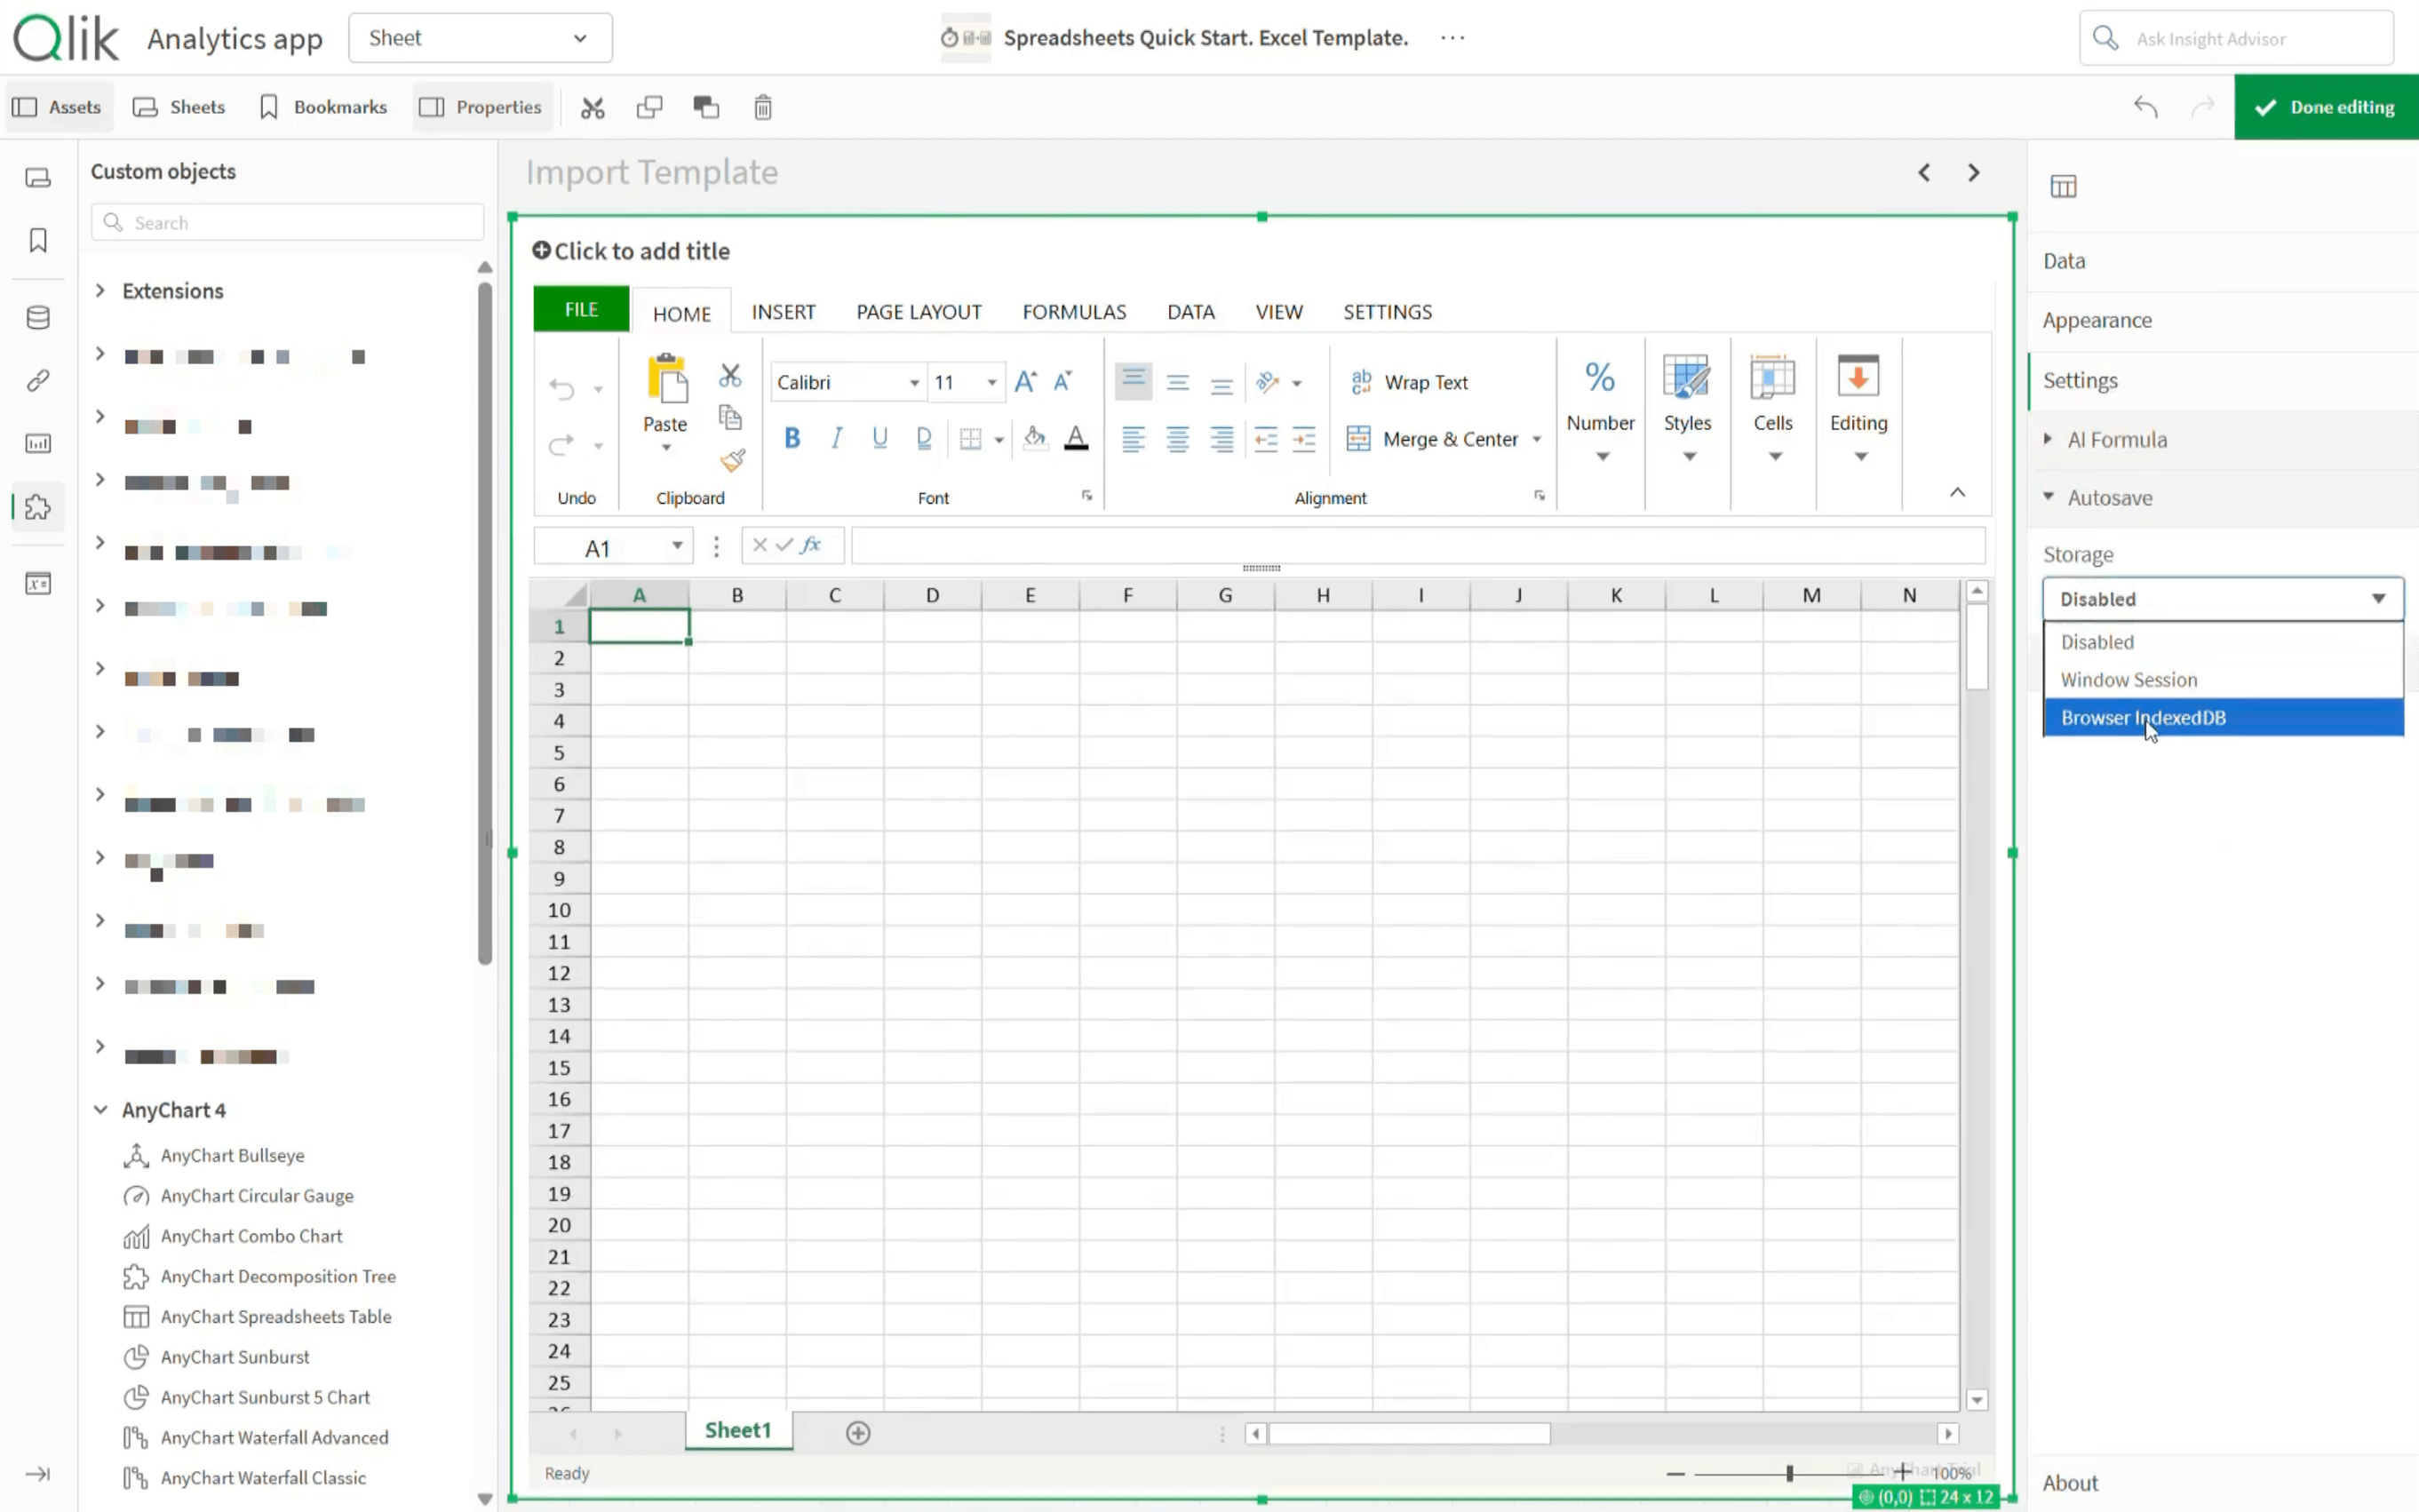
Now edits are recorded automatically as you work and stored locally in your browser.
Import Excel Template
With the spreadsheet object completely ready, it's time to actually import the Excel template file.
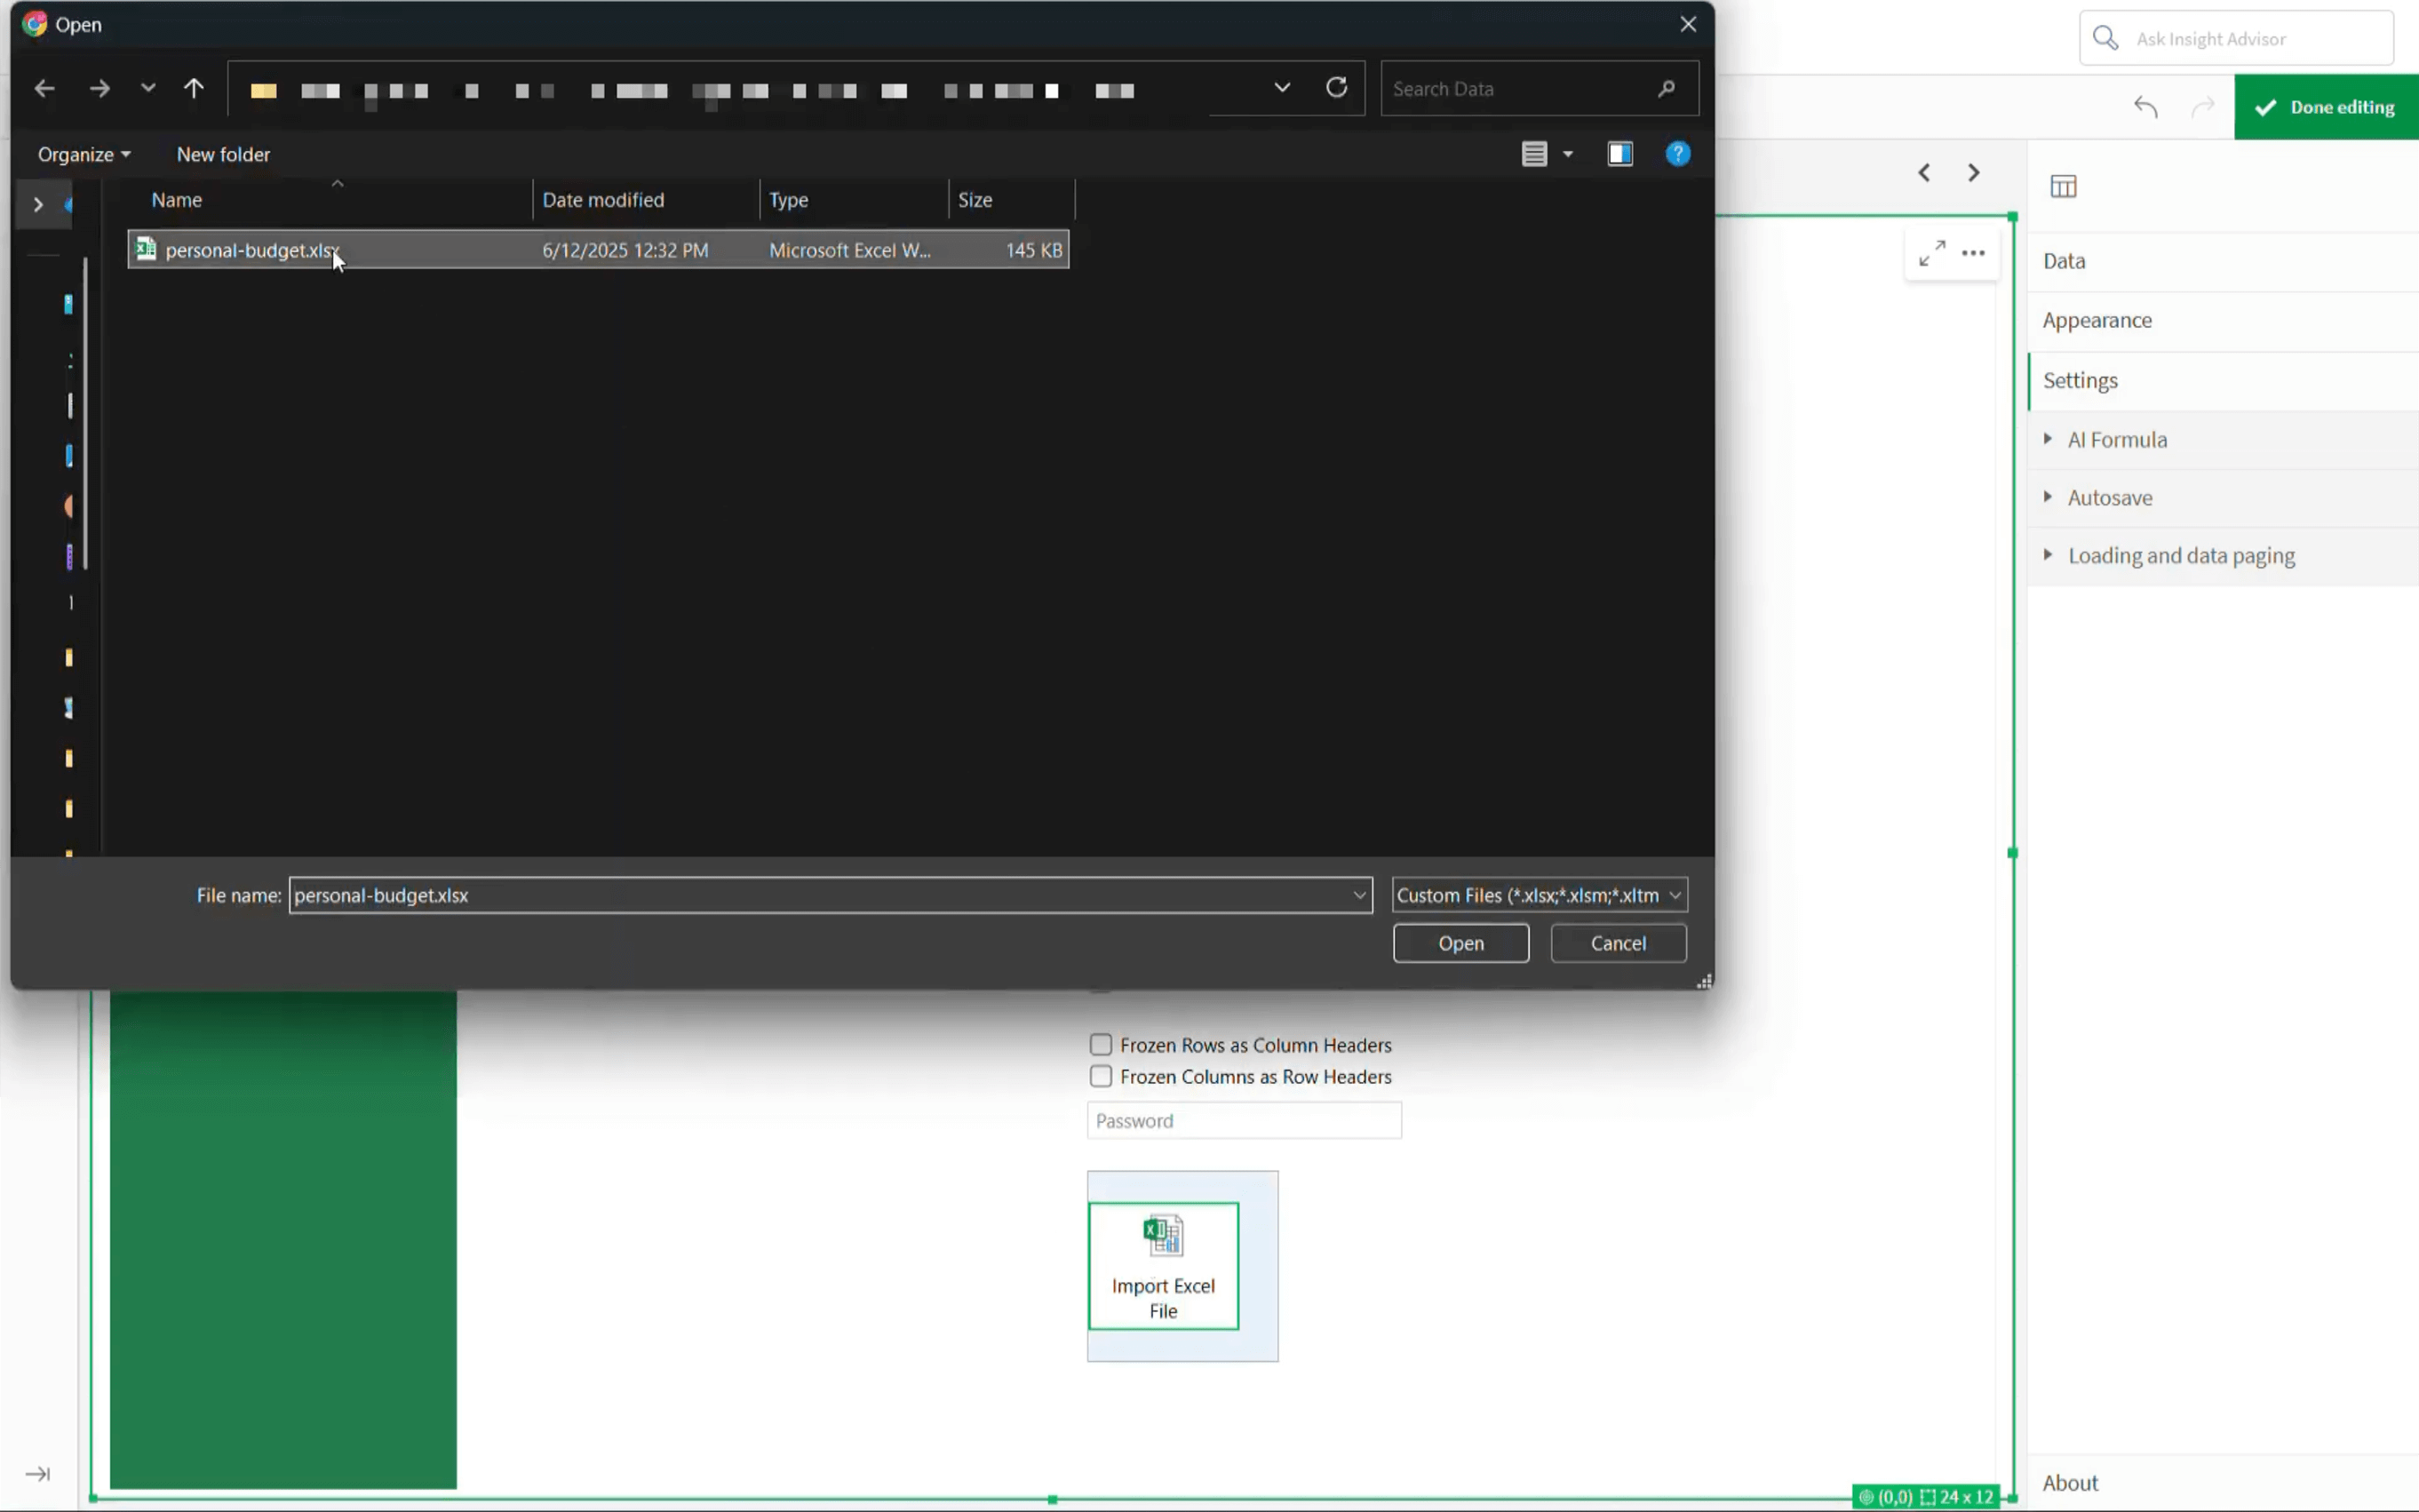
- Open the FILE tab in the ribbon menu.
- Click Import.
- Select Excel File.
- Click Import Excel File.
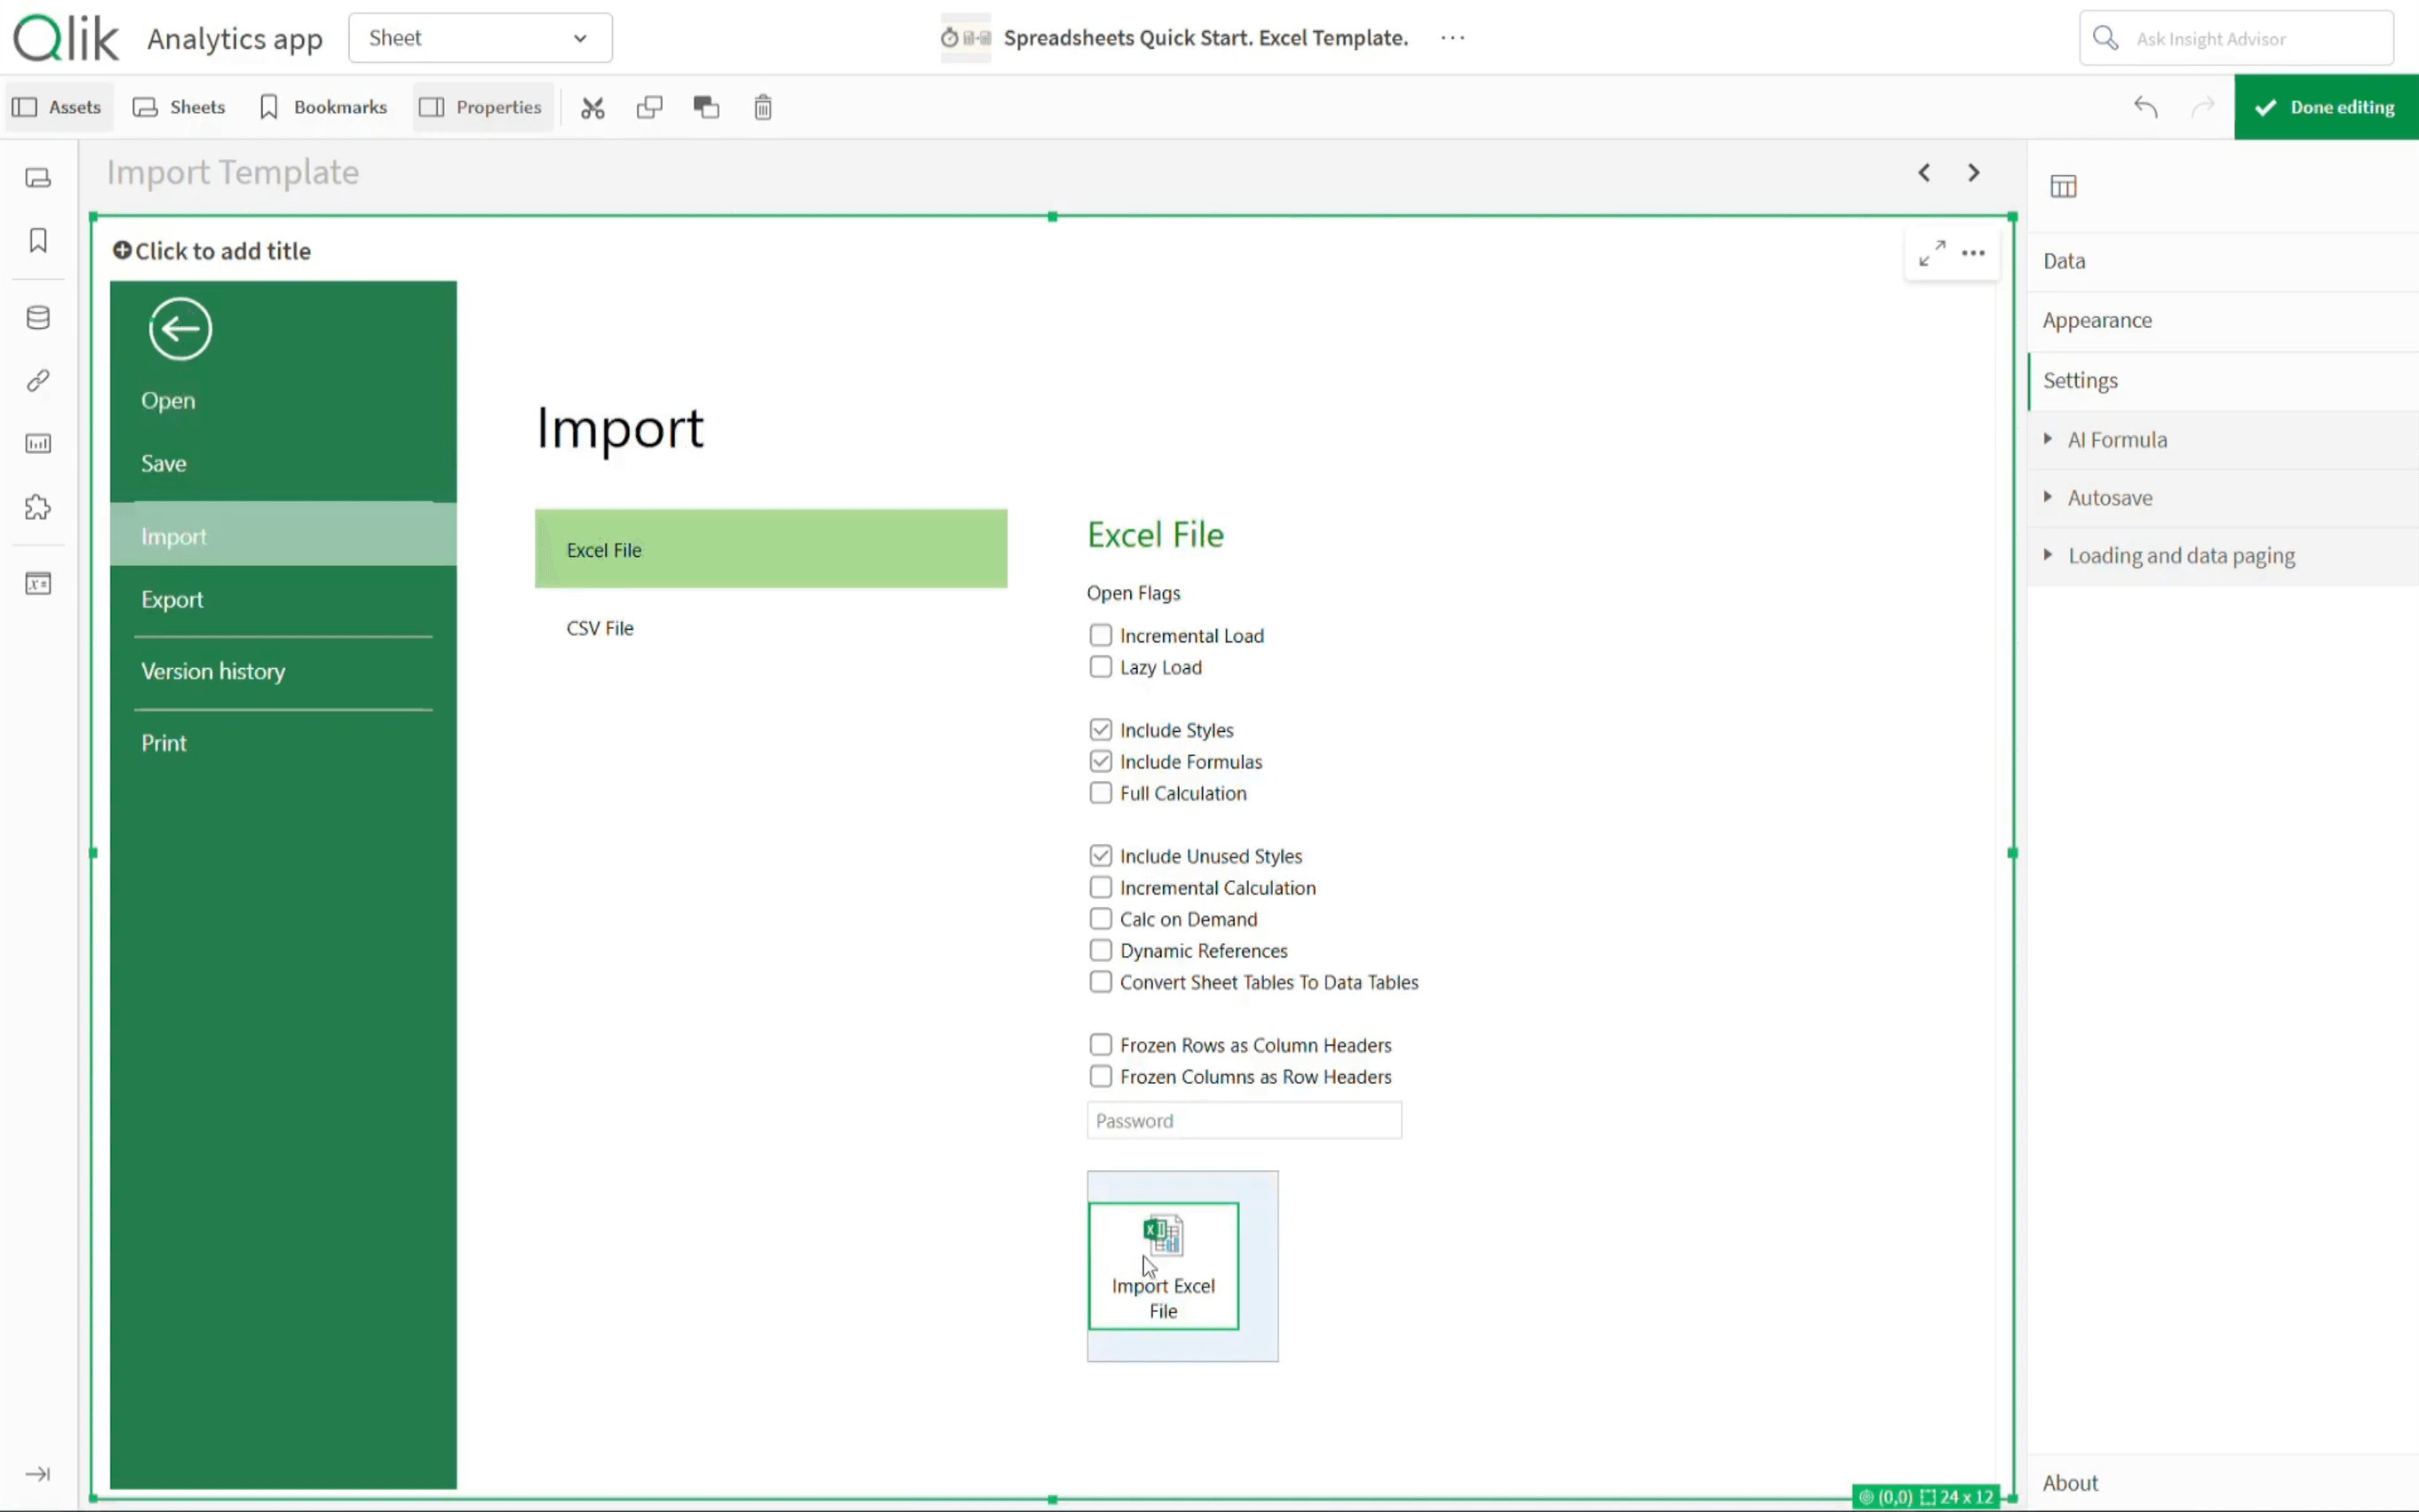
- Select the template file and click Open.
At this point, the workbook structure is in Qlik Sense. In our example, it includes two Excel sheets:
- "Budget" for budget summaries
- "Transactions" for the transaction list
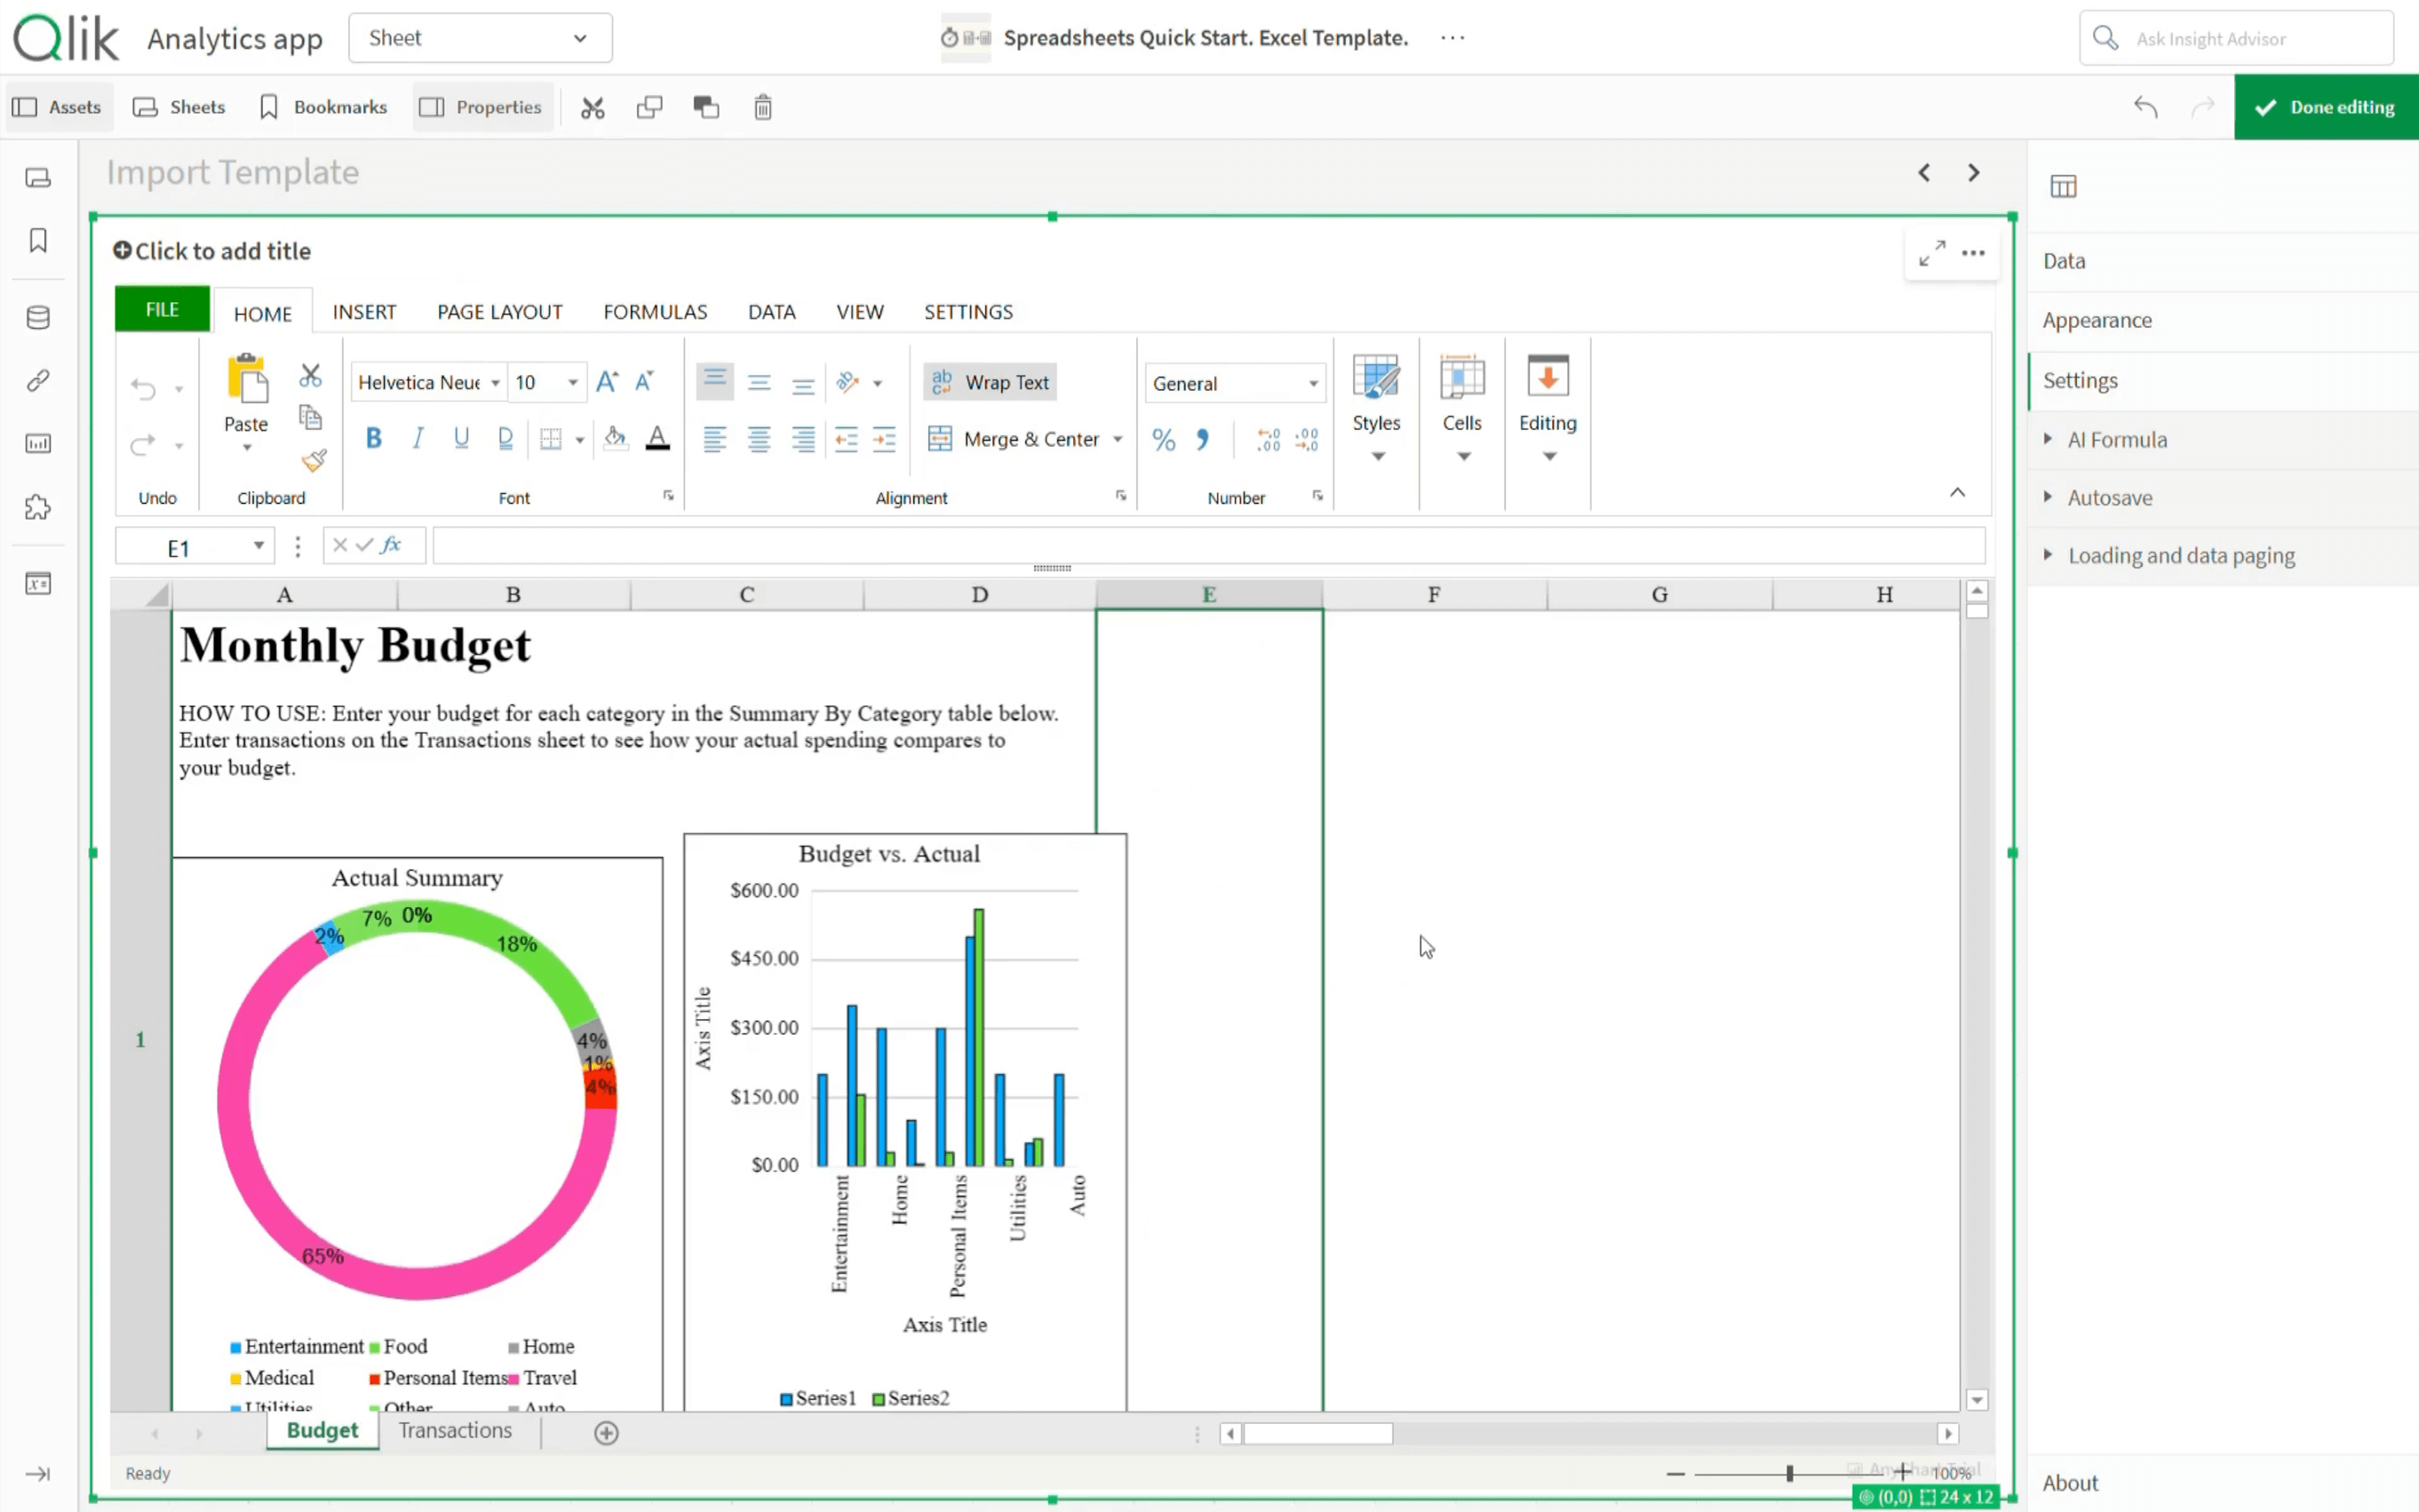
The workbook is now ready to be connected to live Qlik data.
Connect Qlik Data
The real value of bringing Excel templates into a Qlik app is not only the familiar interface, but also staying connected to live Qlik data. To do this, create data sections and then link them to the tables inside the template.
Here's the flow:
- Open Data in the properties panel.
- Add data sections.
- Connect each data section to the corresponding table.
Let's do it for our current template.
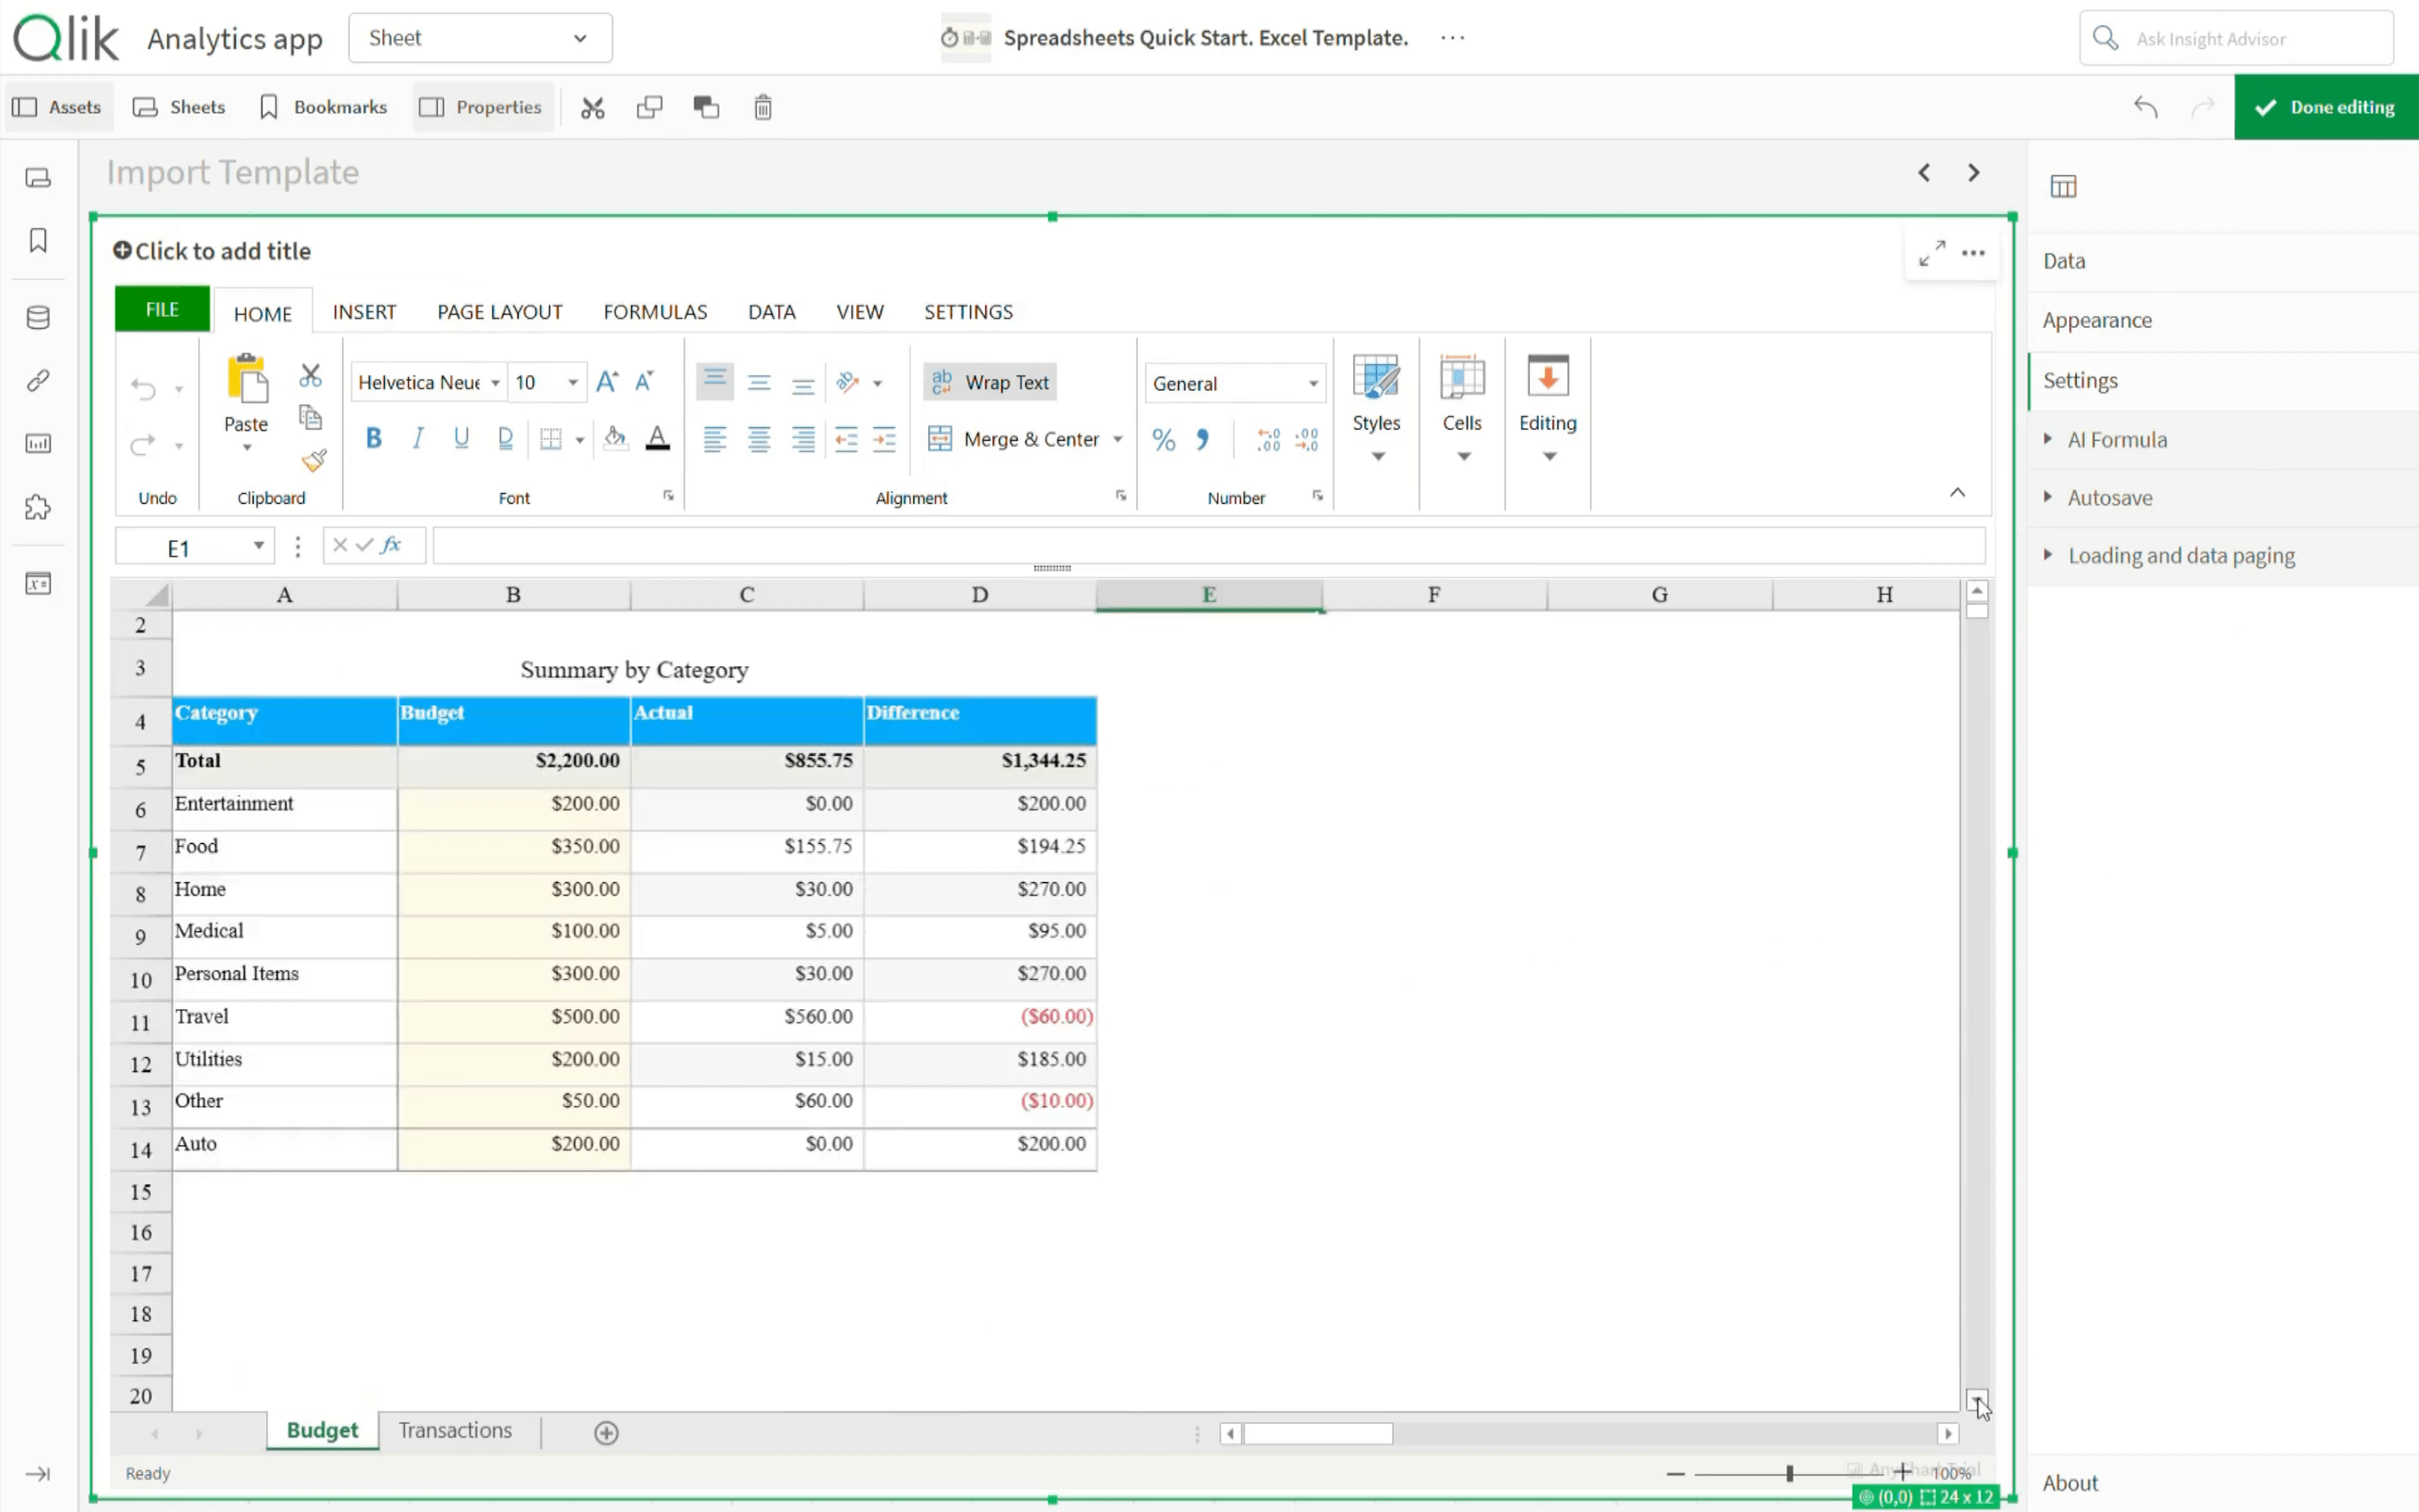
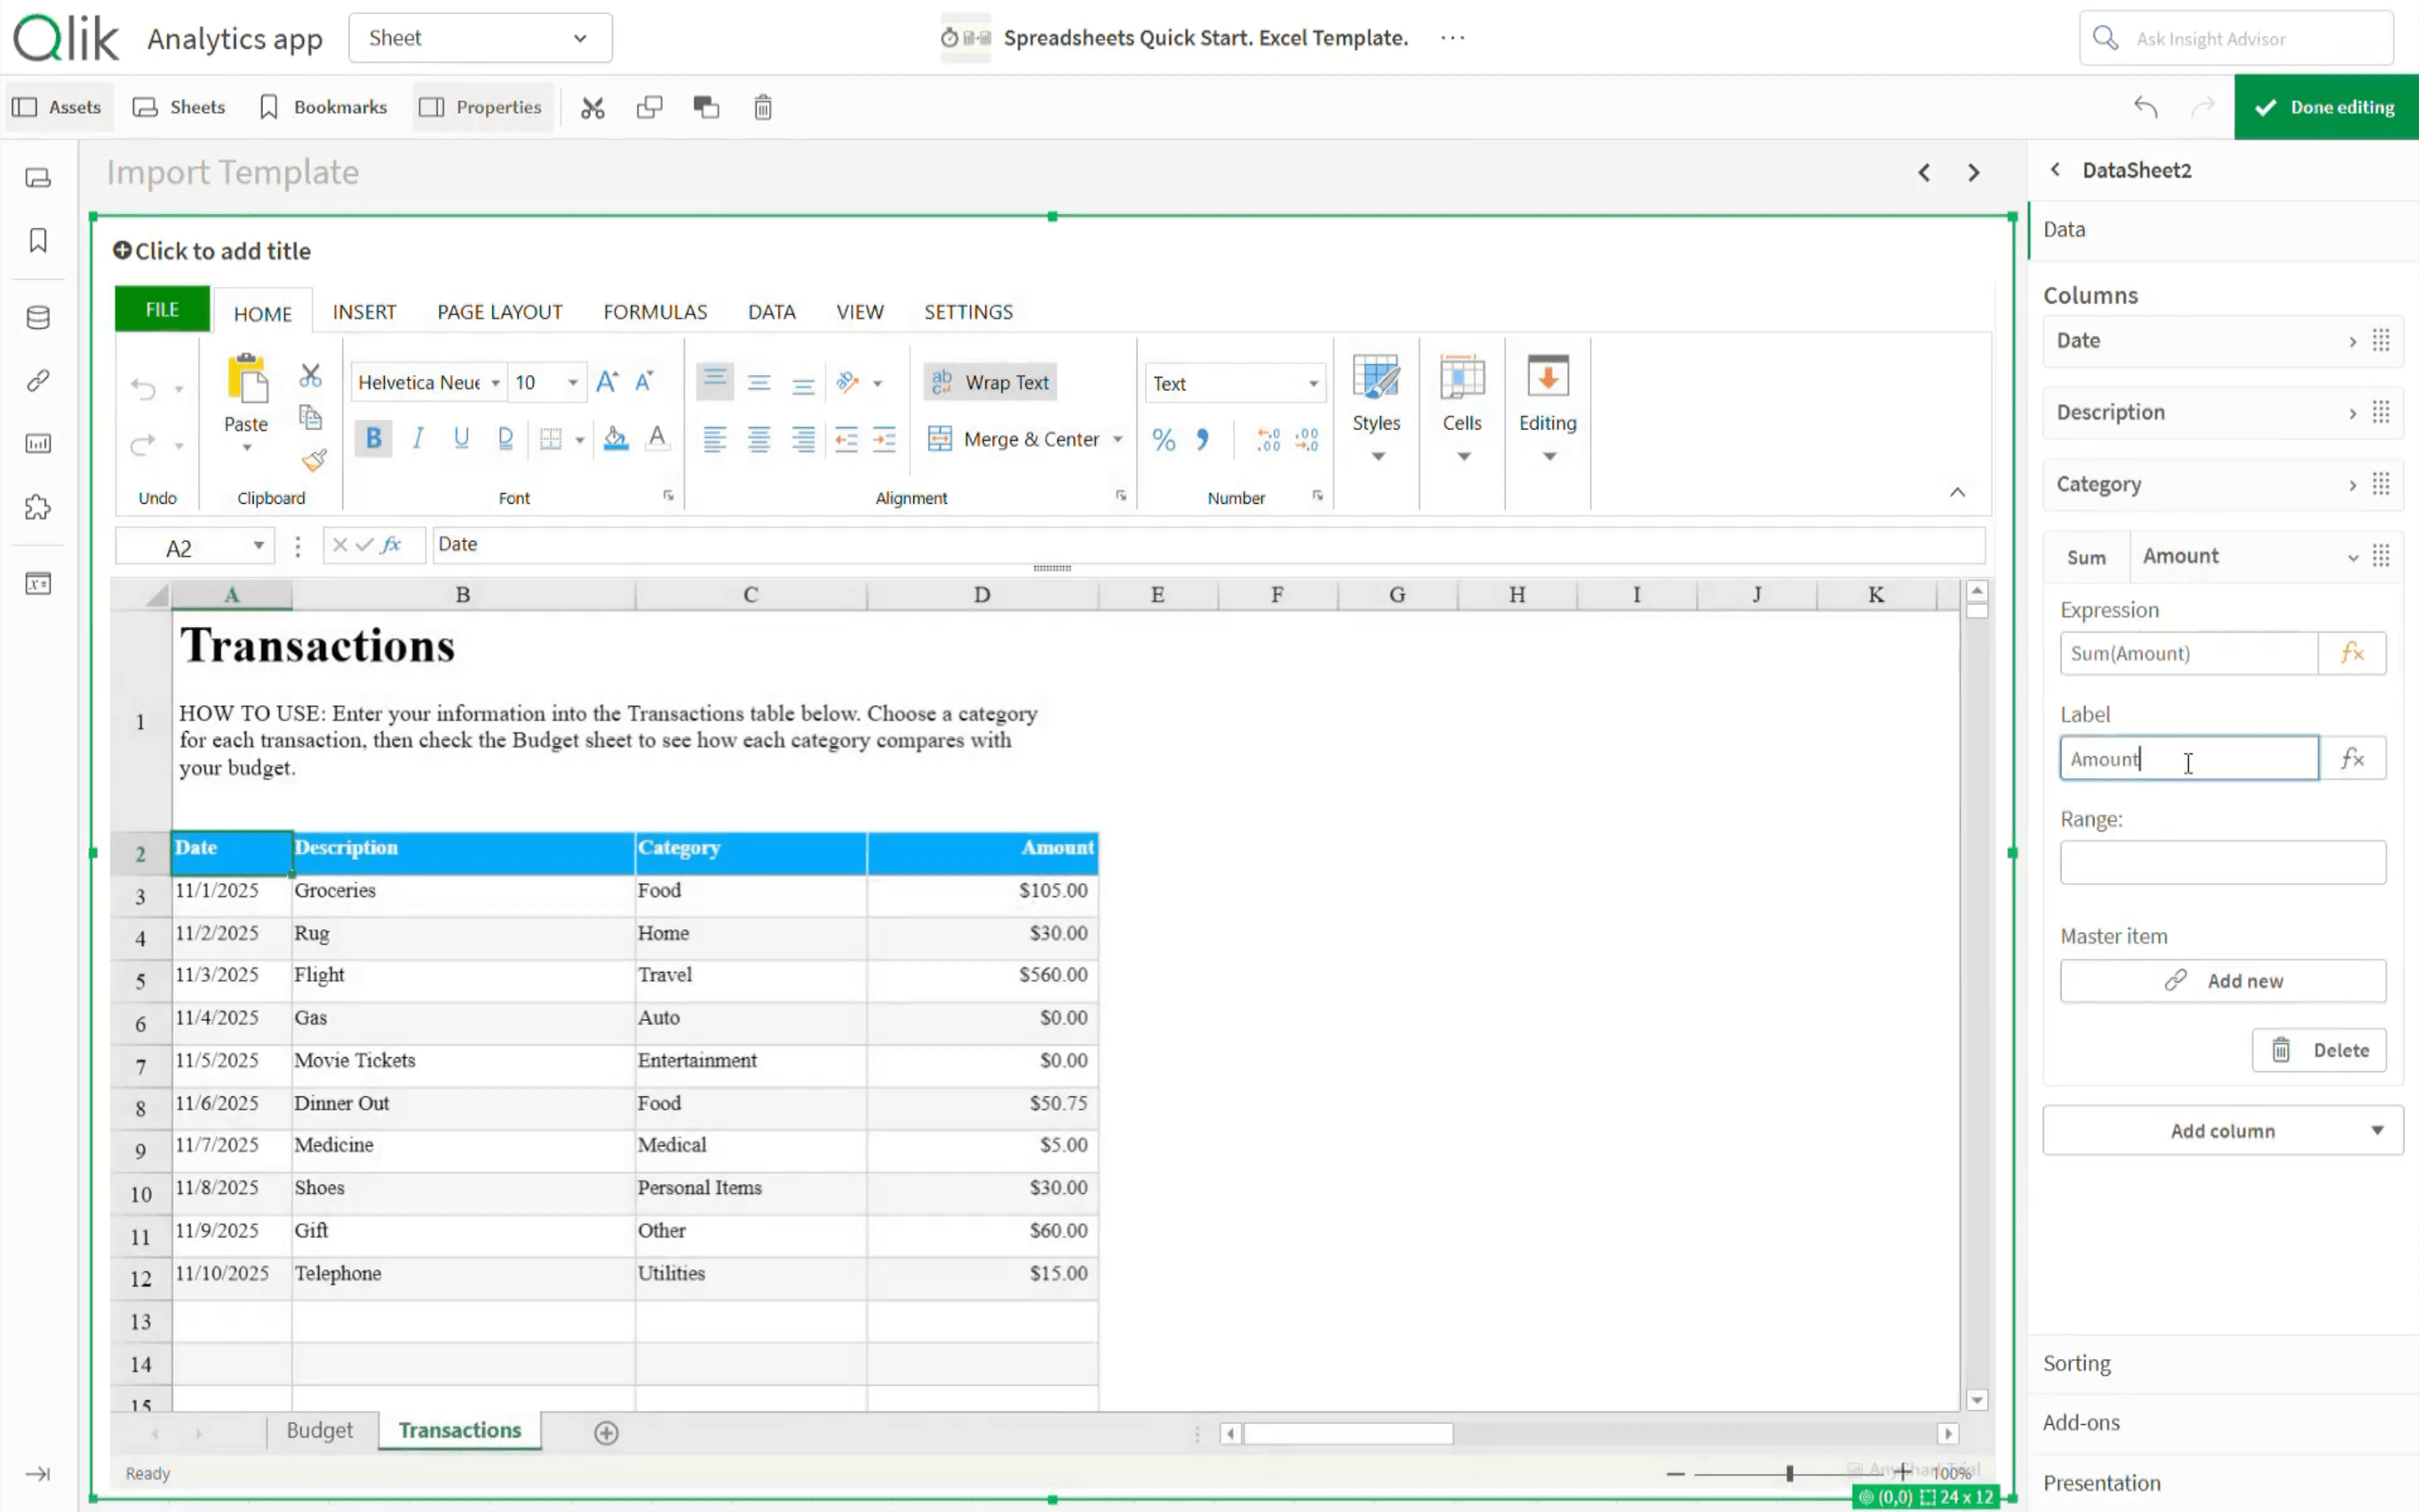
Create Budget Data Section
For the data section intended for the "Budget" sheet, add the "Category" dimension and these measures:
- "Sum of Budget"
- "Sum of Amount"
- a calculated measure that subtracts "Sum of Amount" from "Sum of Budget"

This first data section will feed the budget summary table in the "Budget" sheet.
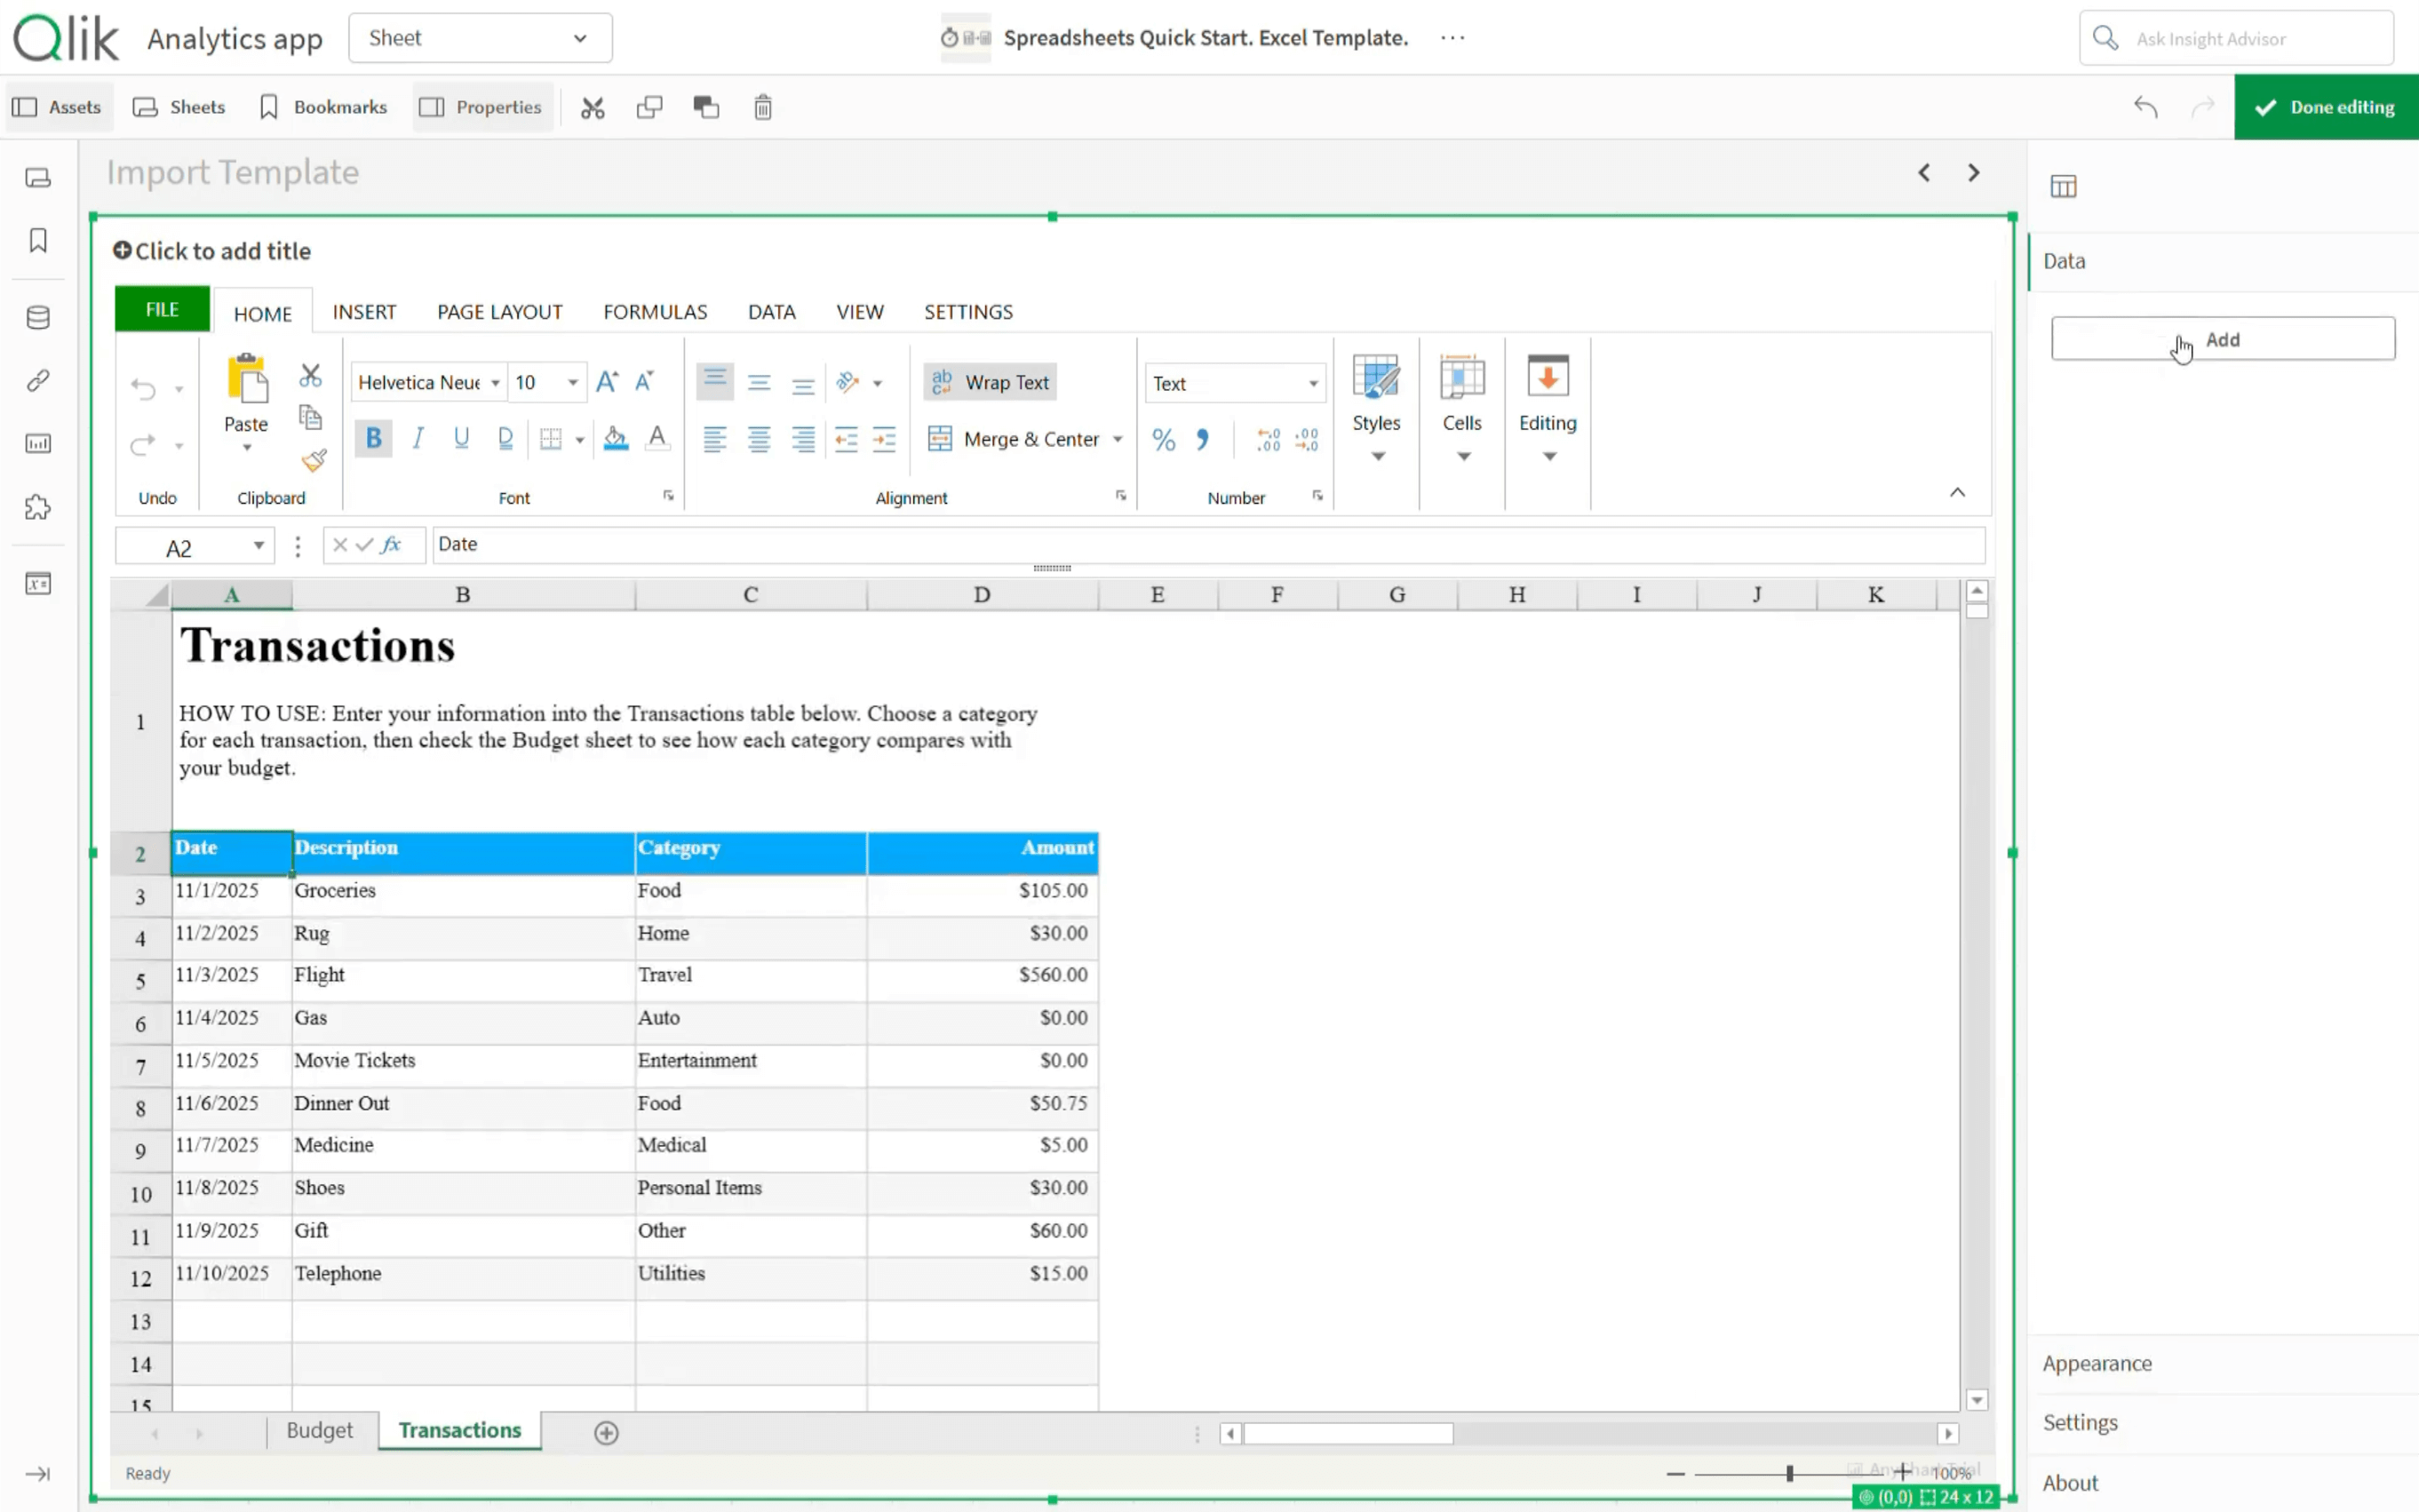
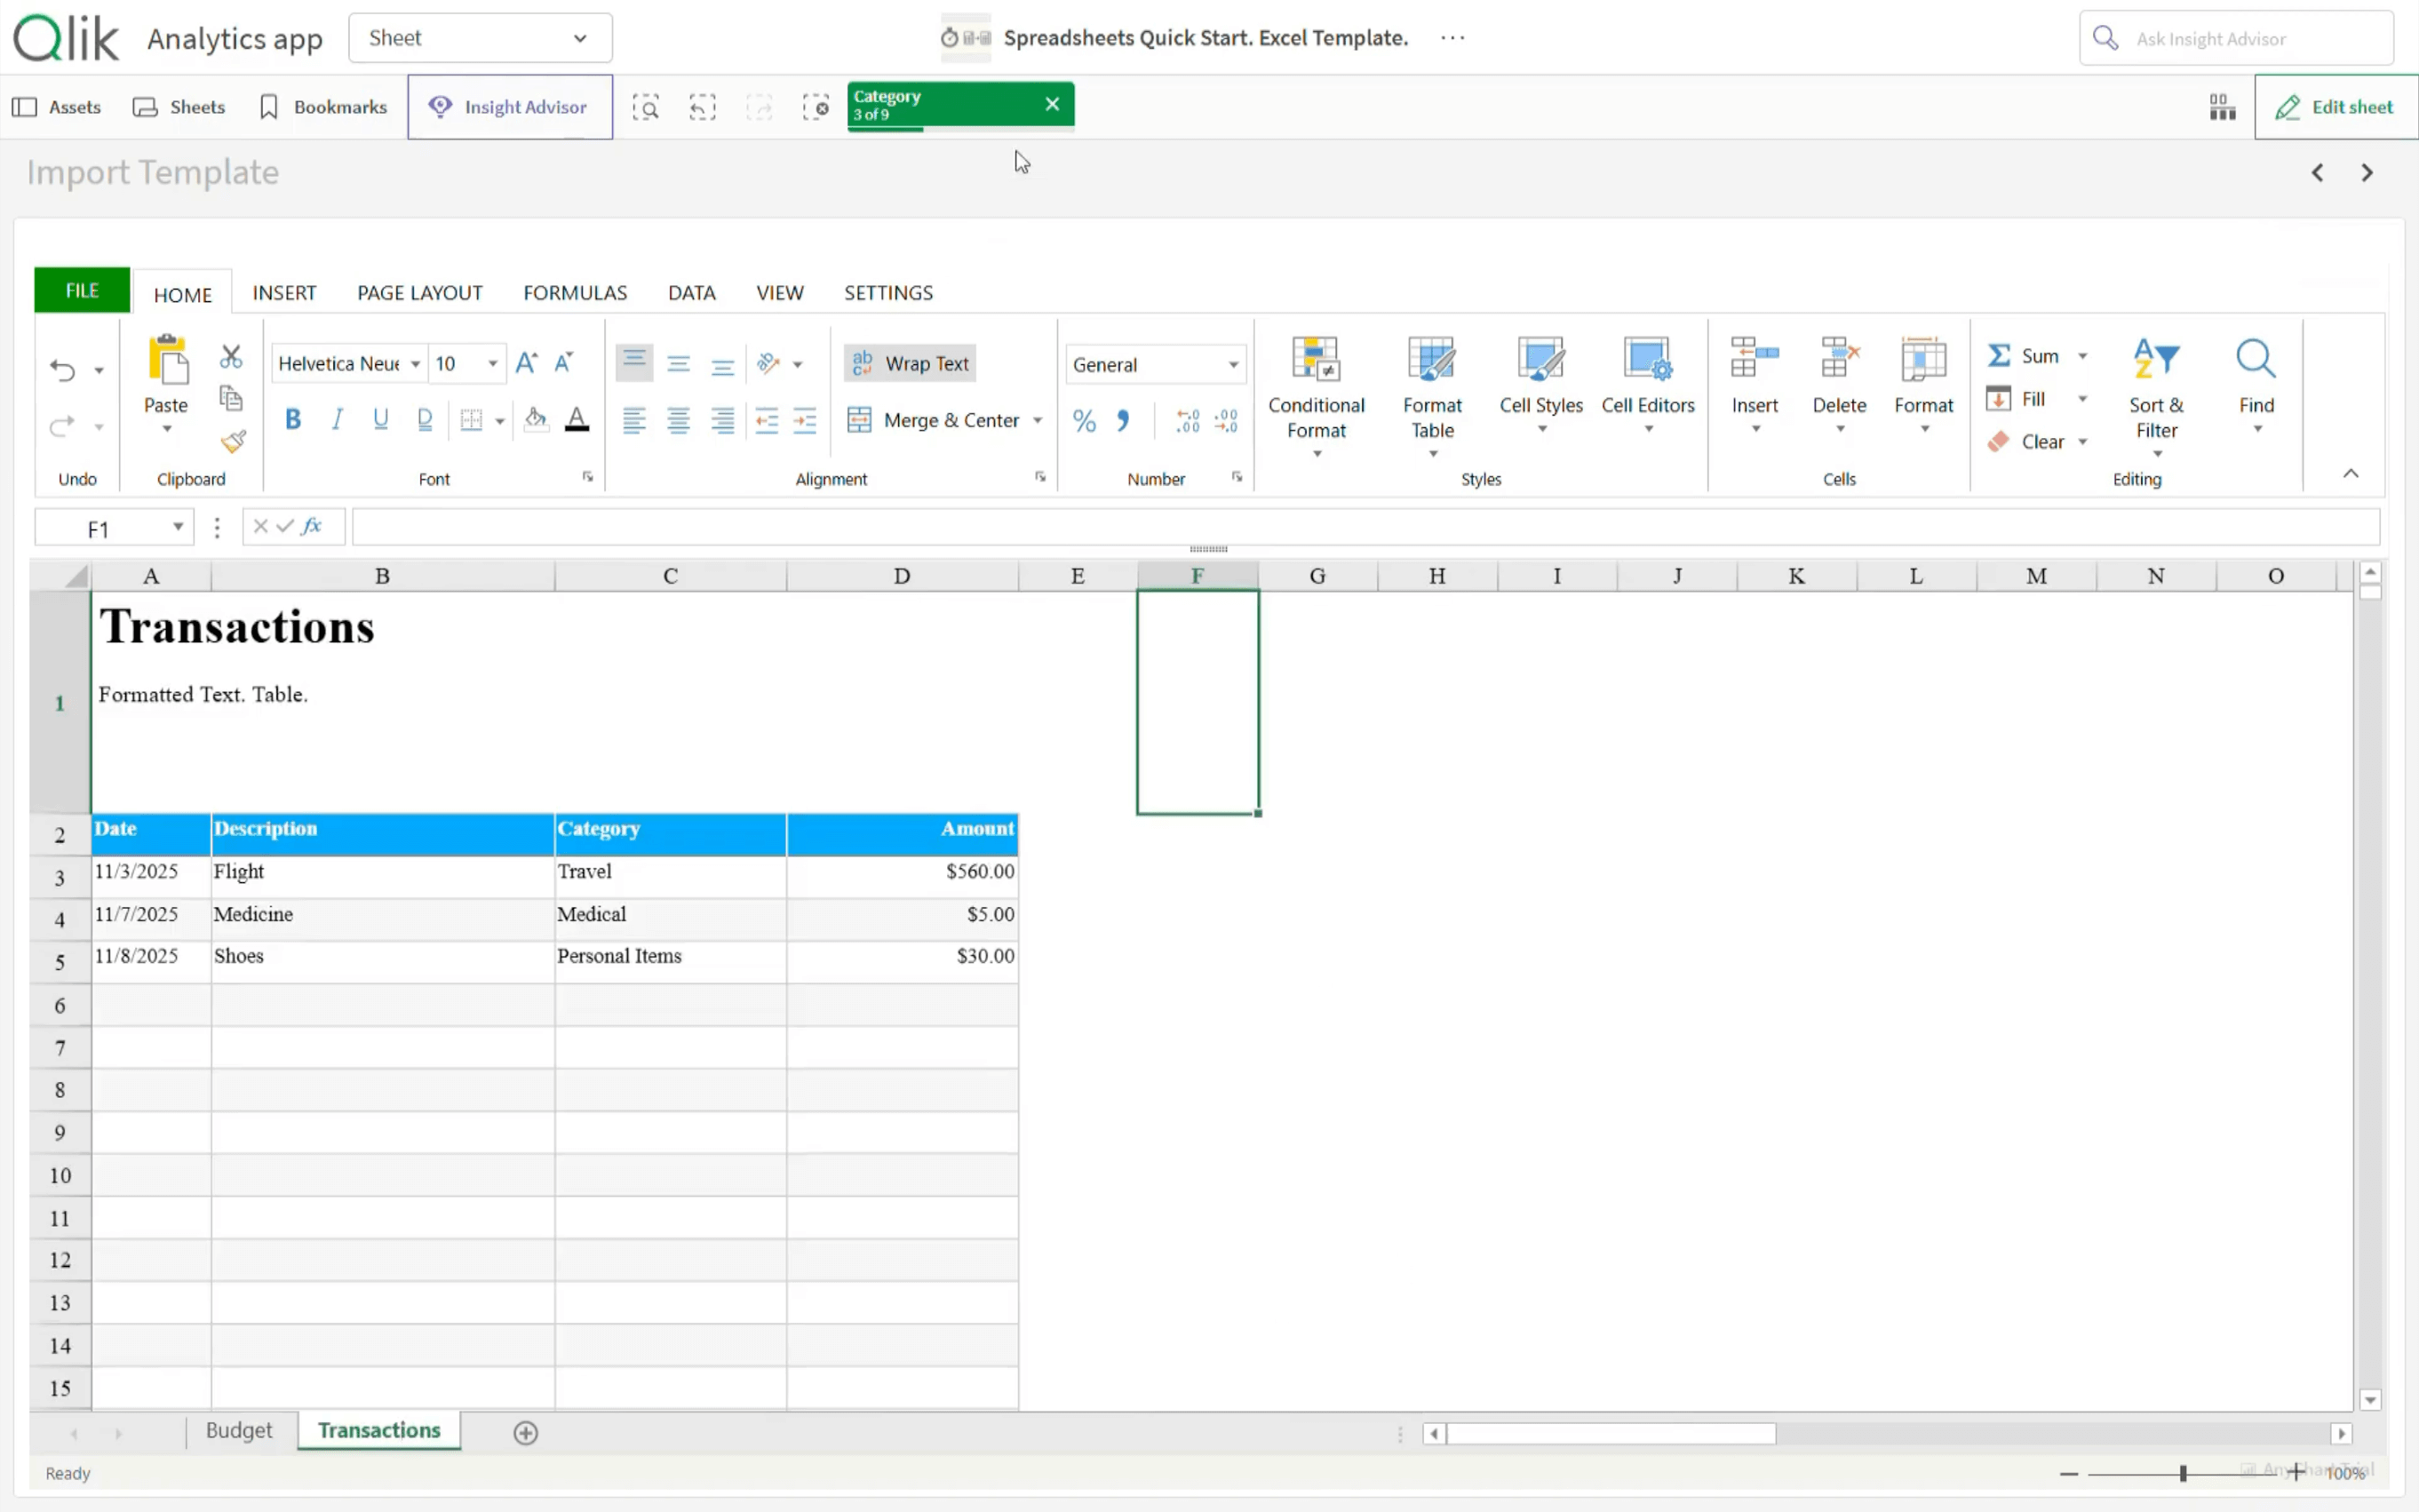
Create Transactions Data Section
For the "Transactions" sheet, we add these dimensions:
- "Date"
- "Description"
- "Category"
Then add the measure:
- "Sum of Amount"
This second data section will feed the transactions table in the "Transactions" sheet.
Connect Data Sections to Tables
At this point, there are two data sections intended to match the tables in the two sheets of the template.
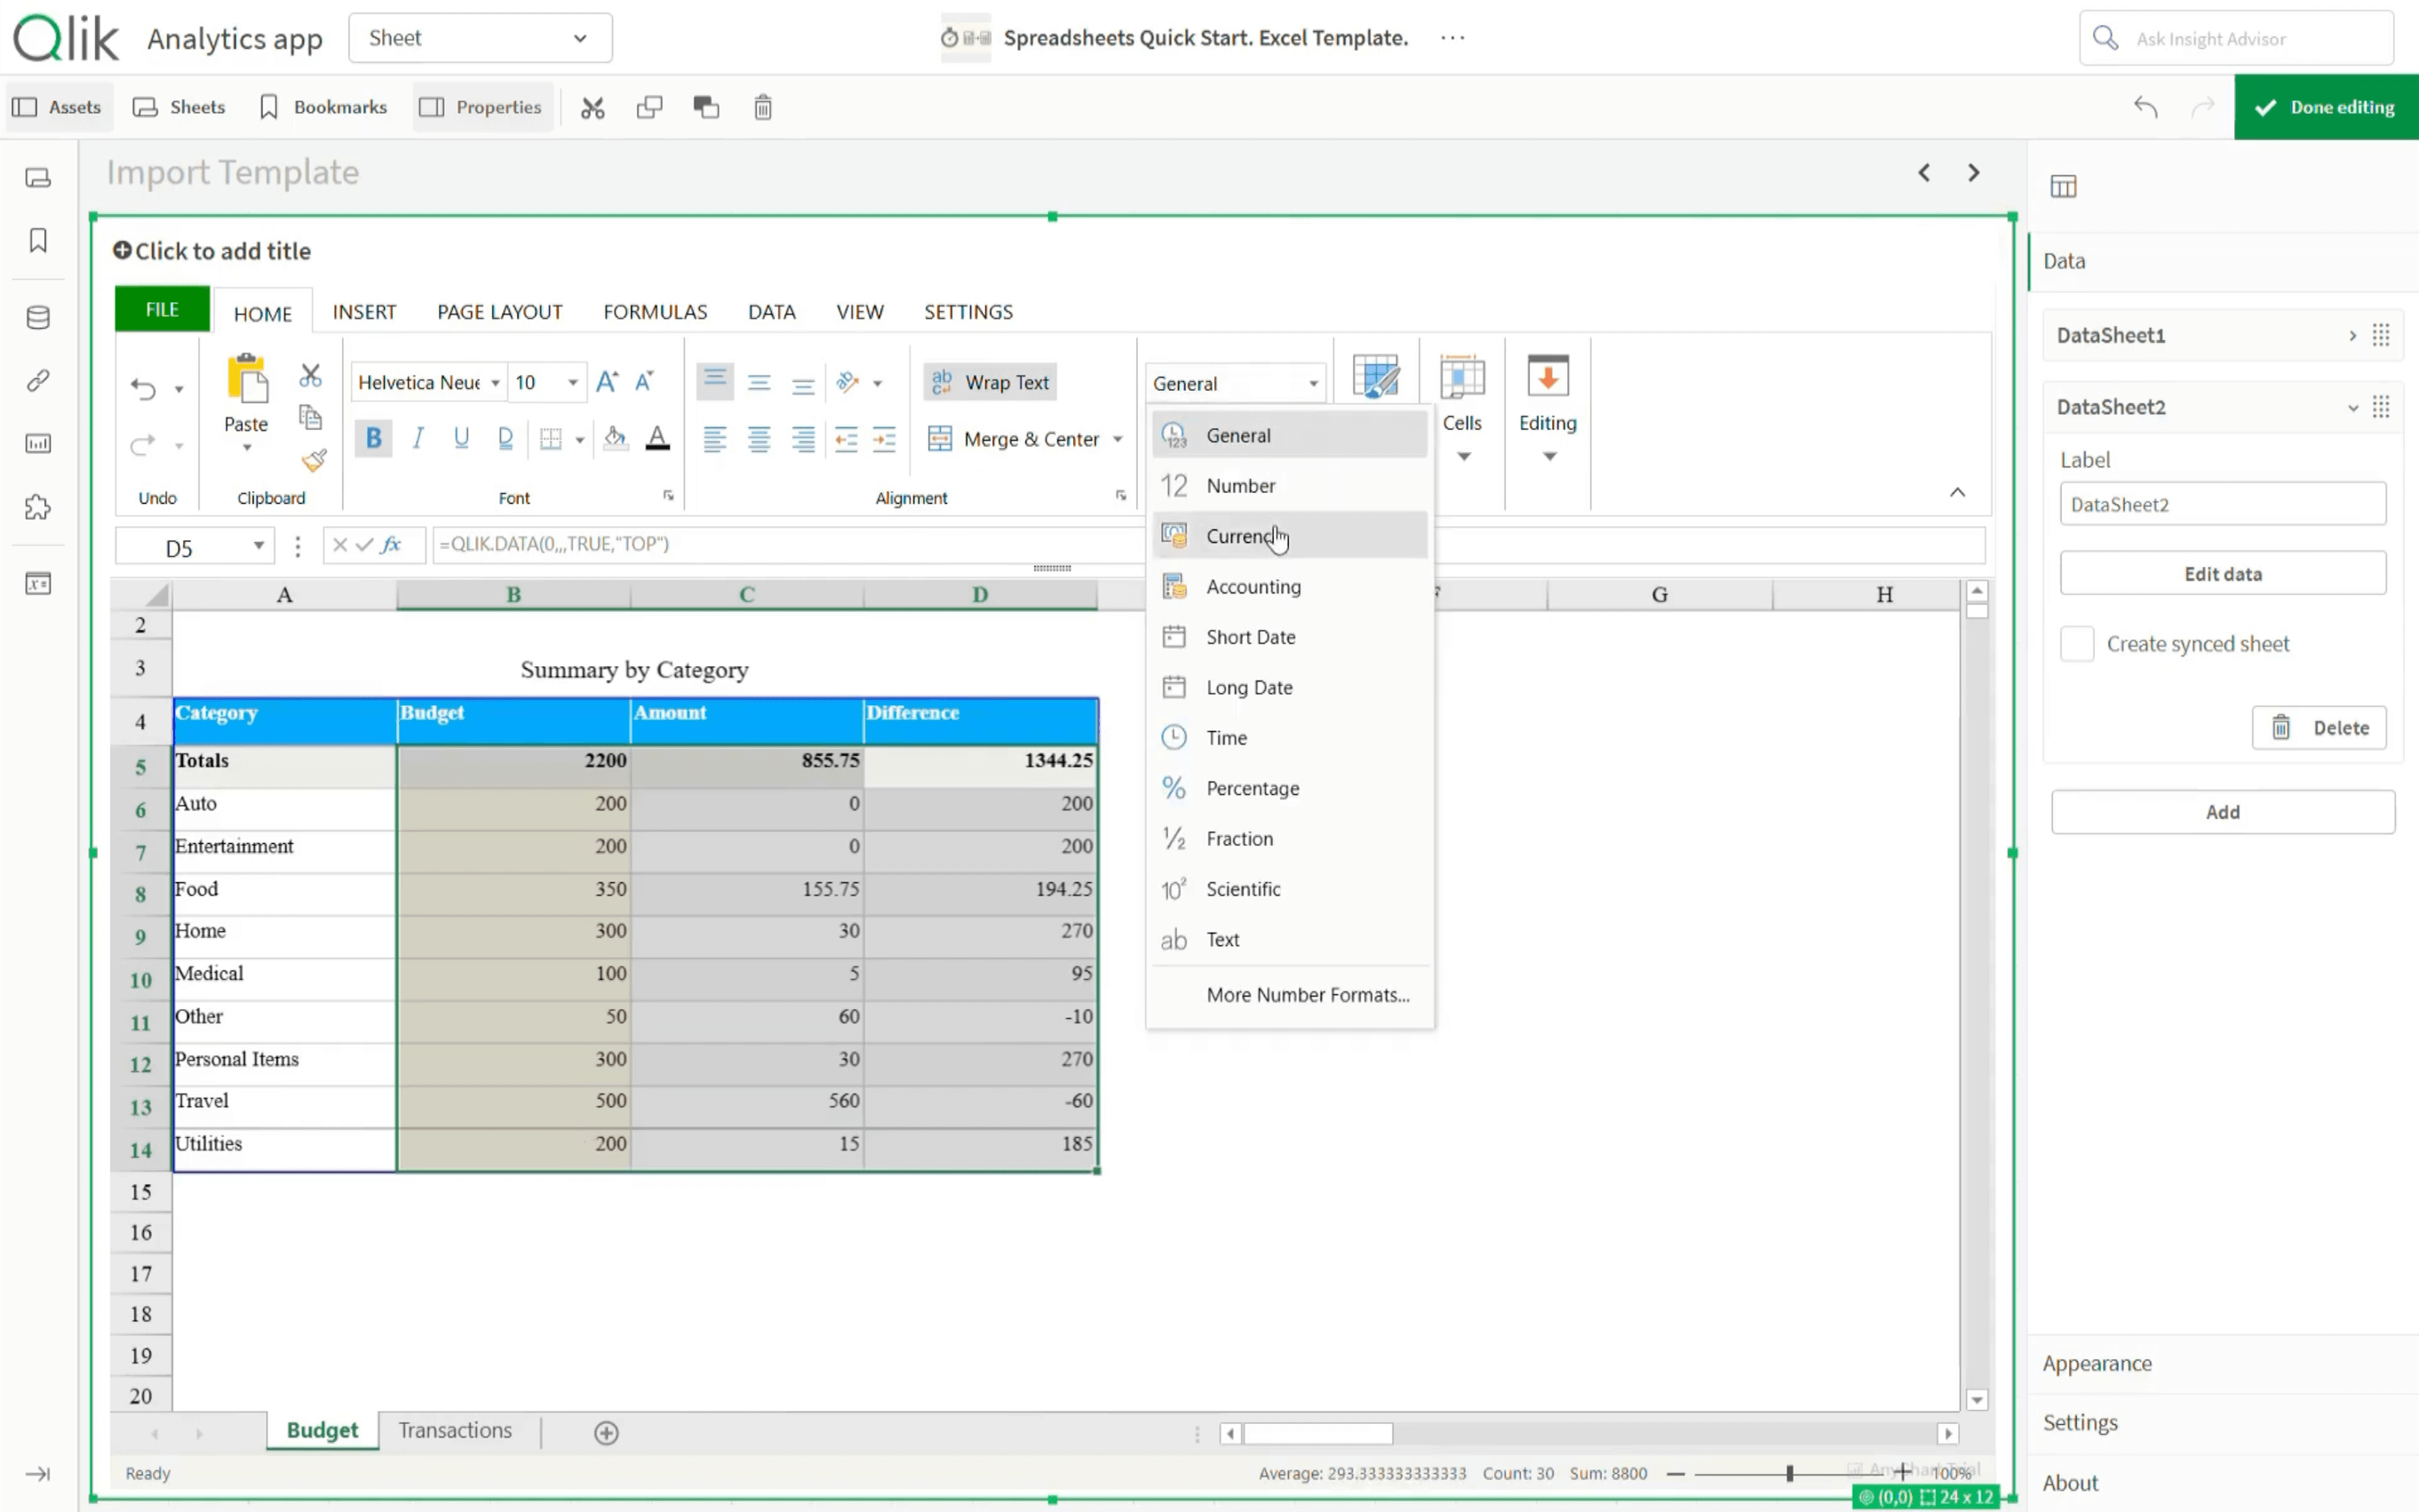
Cell preparation
Before injecting live Qlik data, prepare the target cells in the workbook:
- Switch back to the imported template.
- Clear the cells where Qlik data will be added.
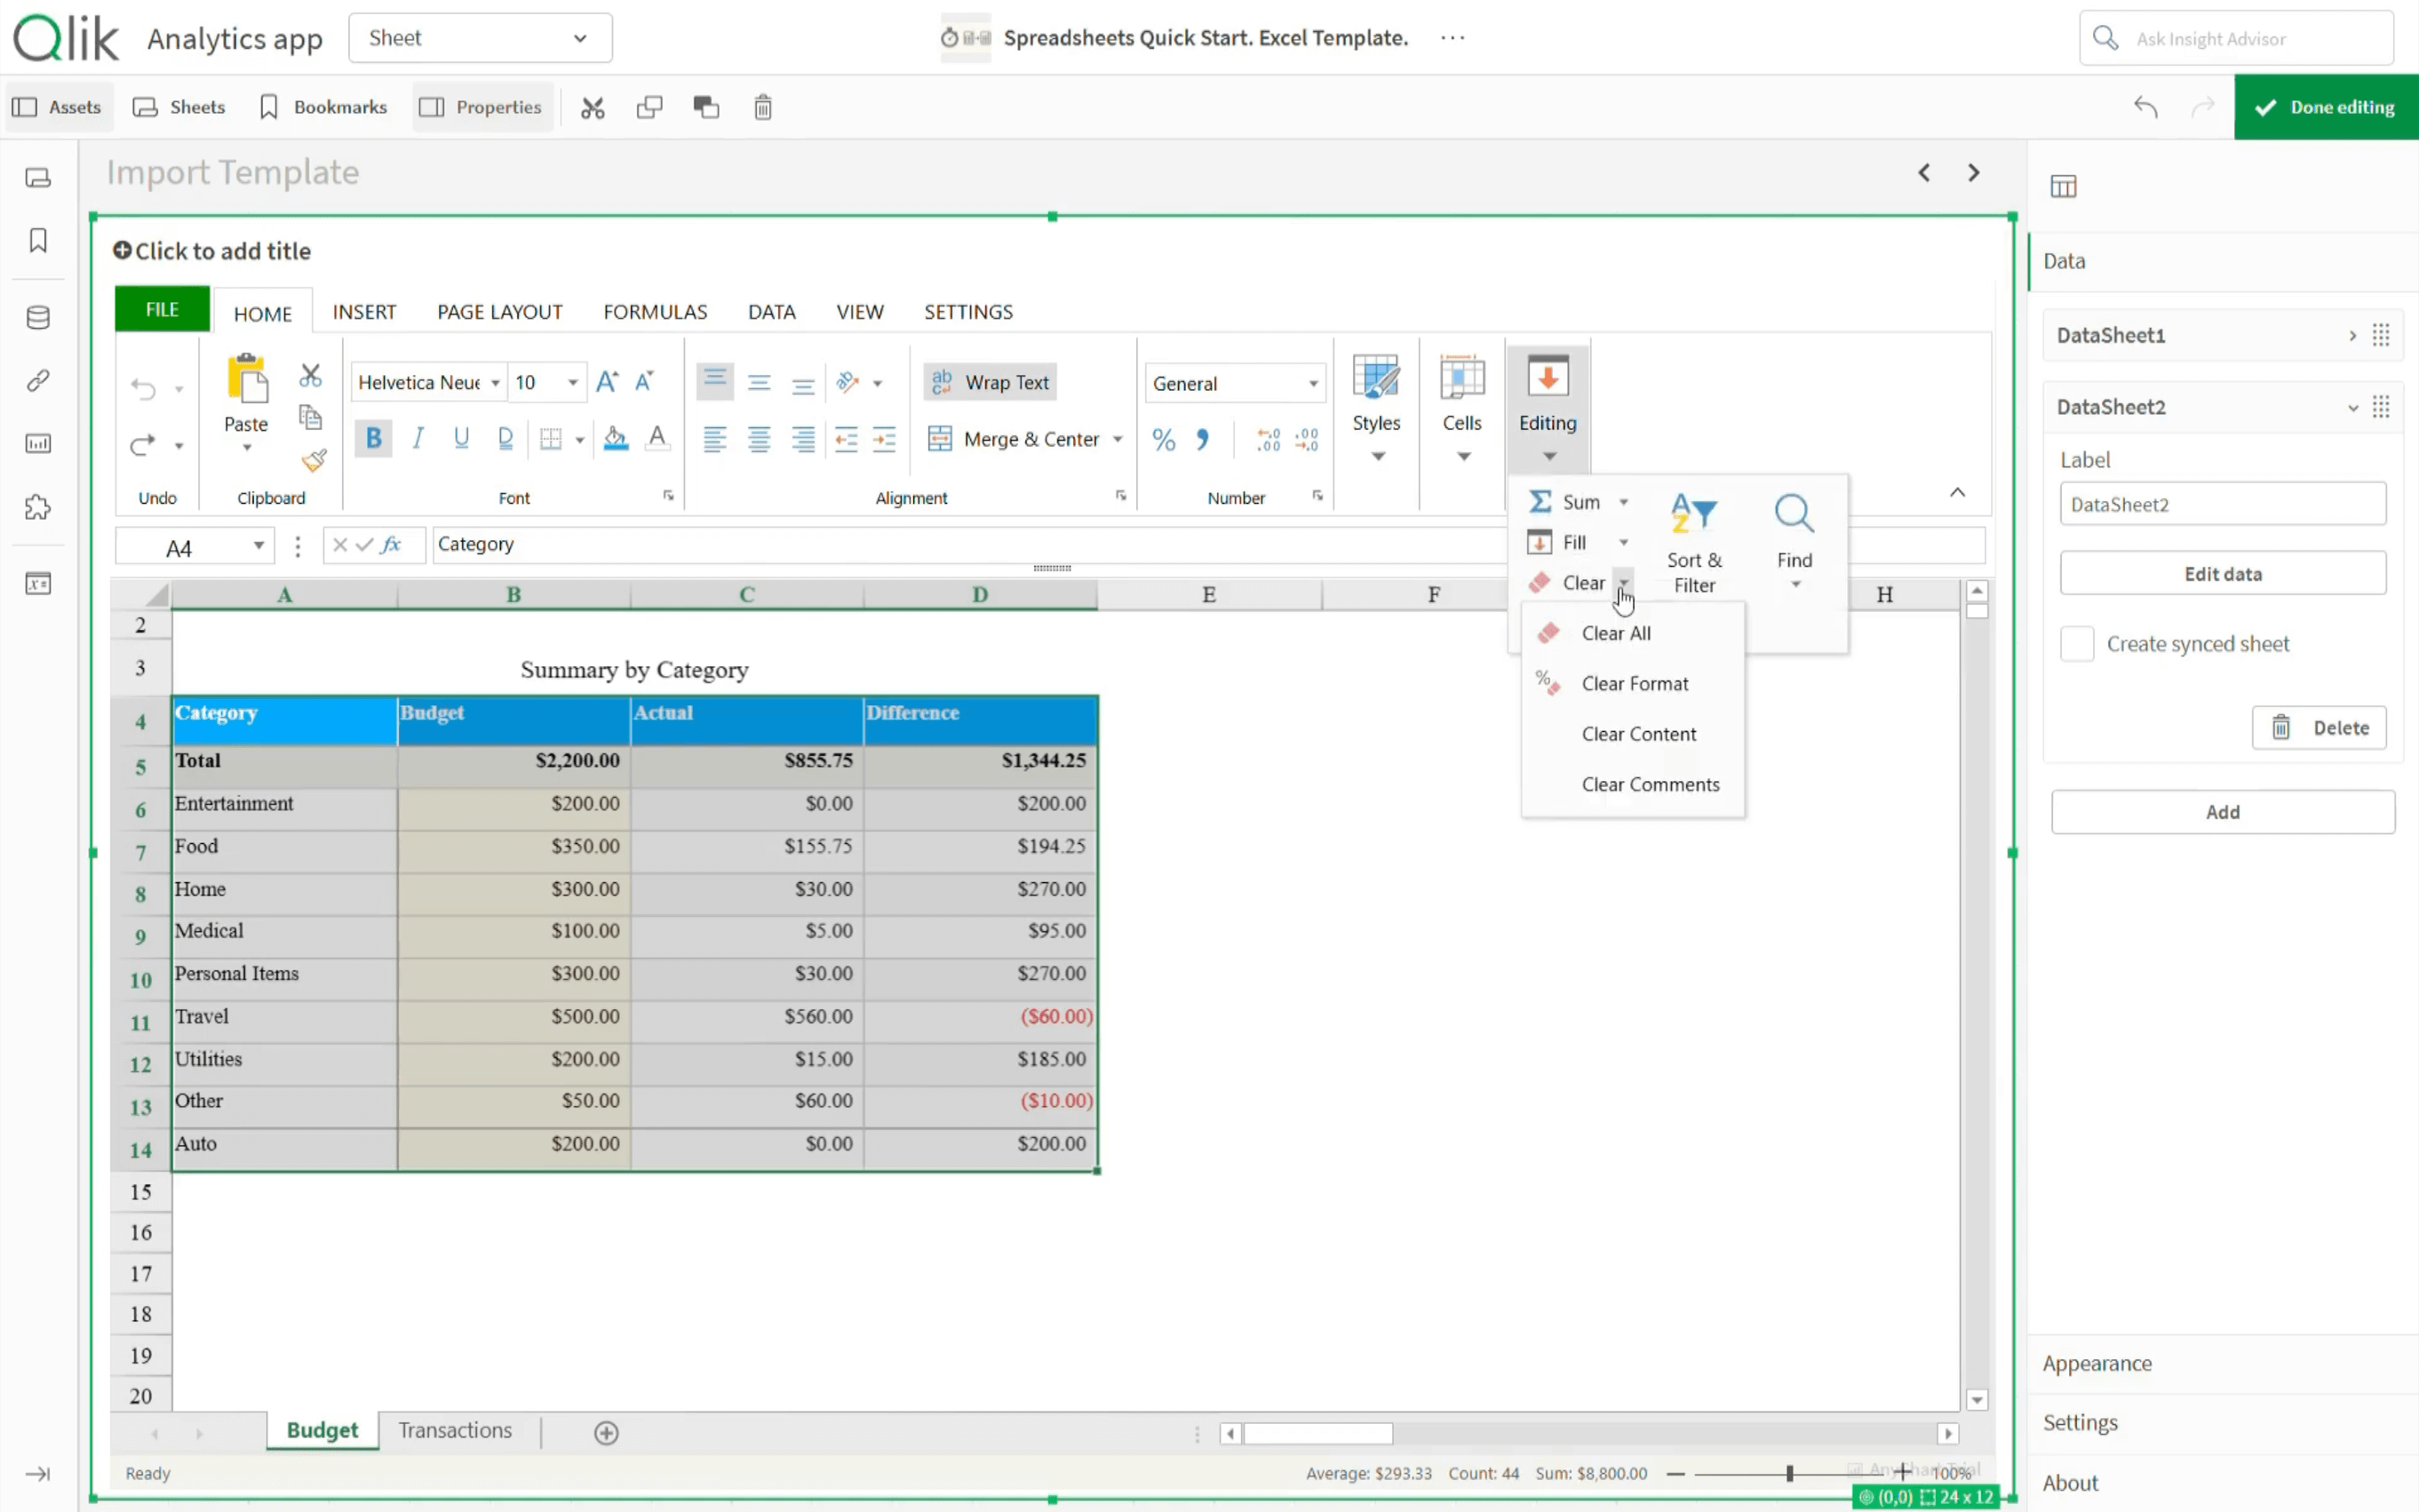
- Set the cell types to General.
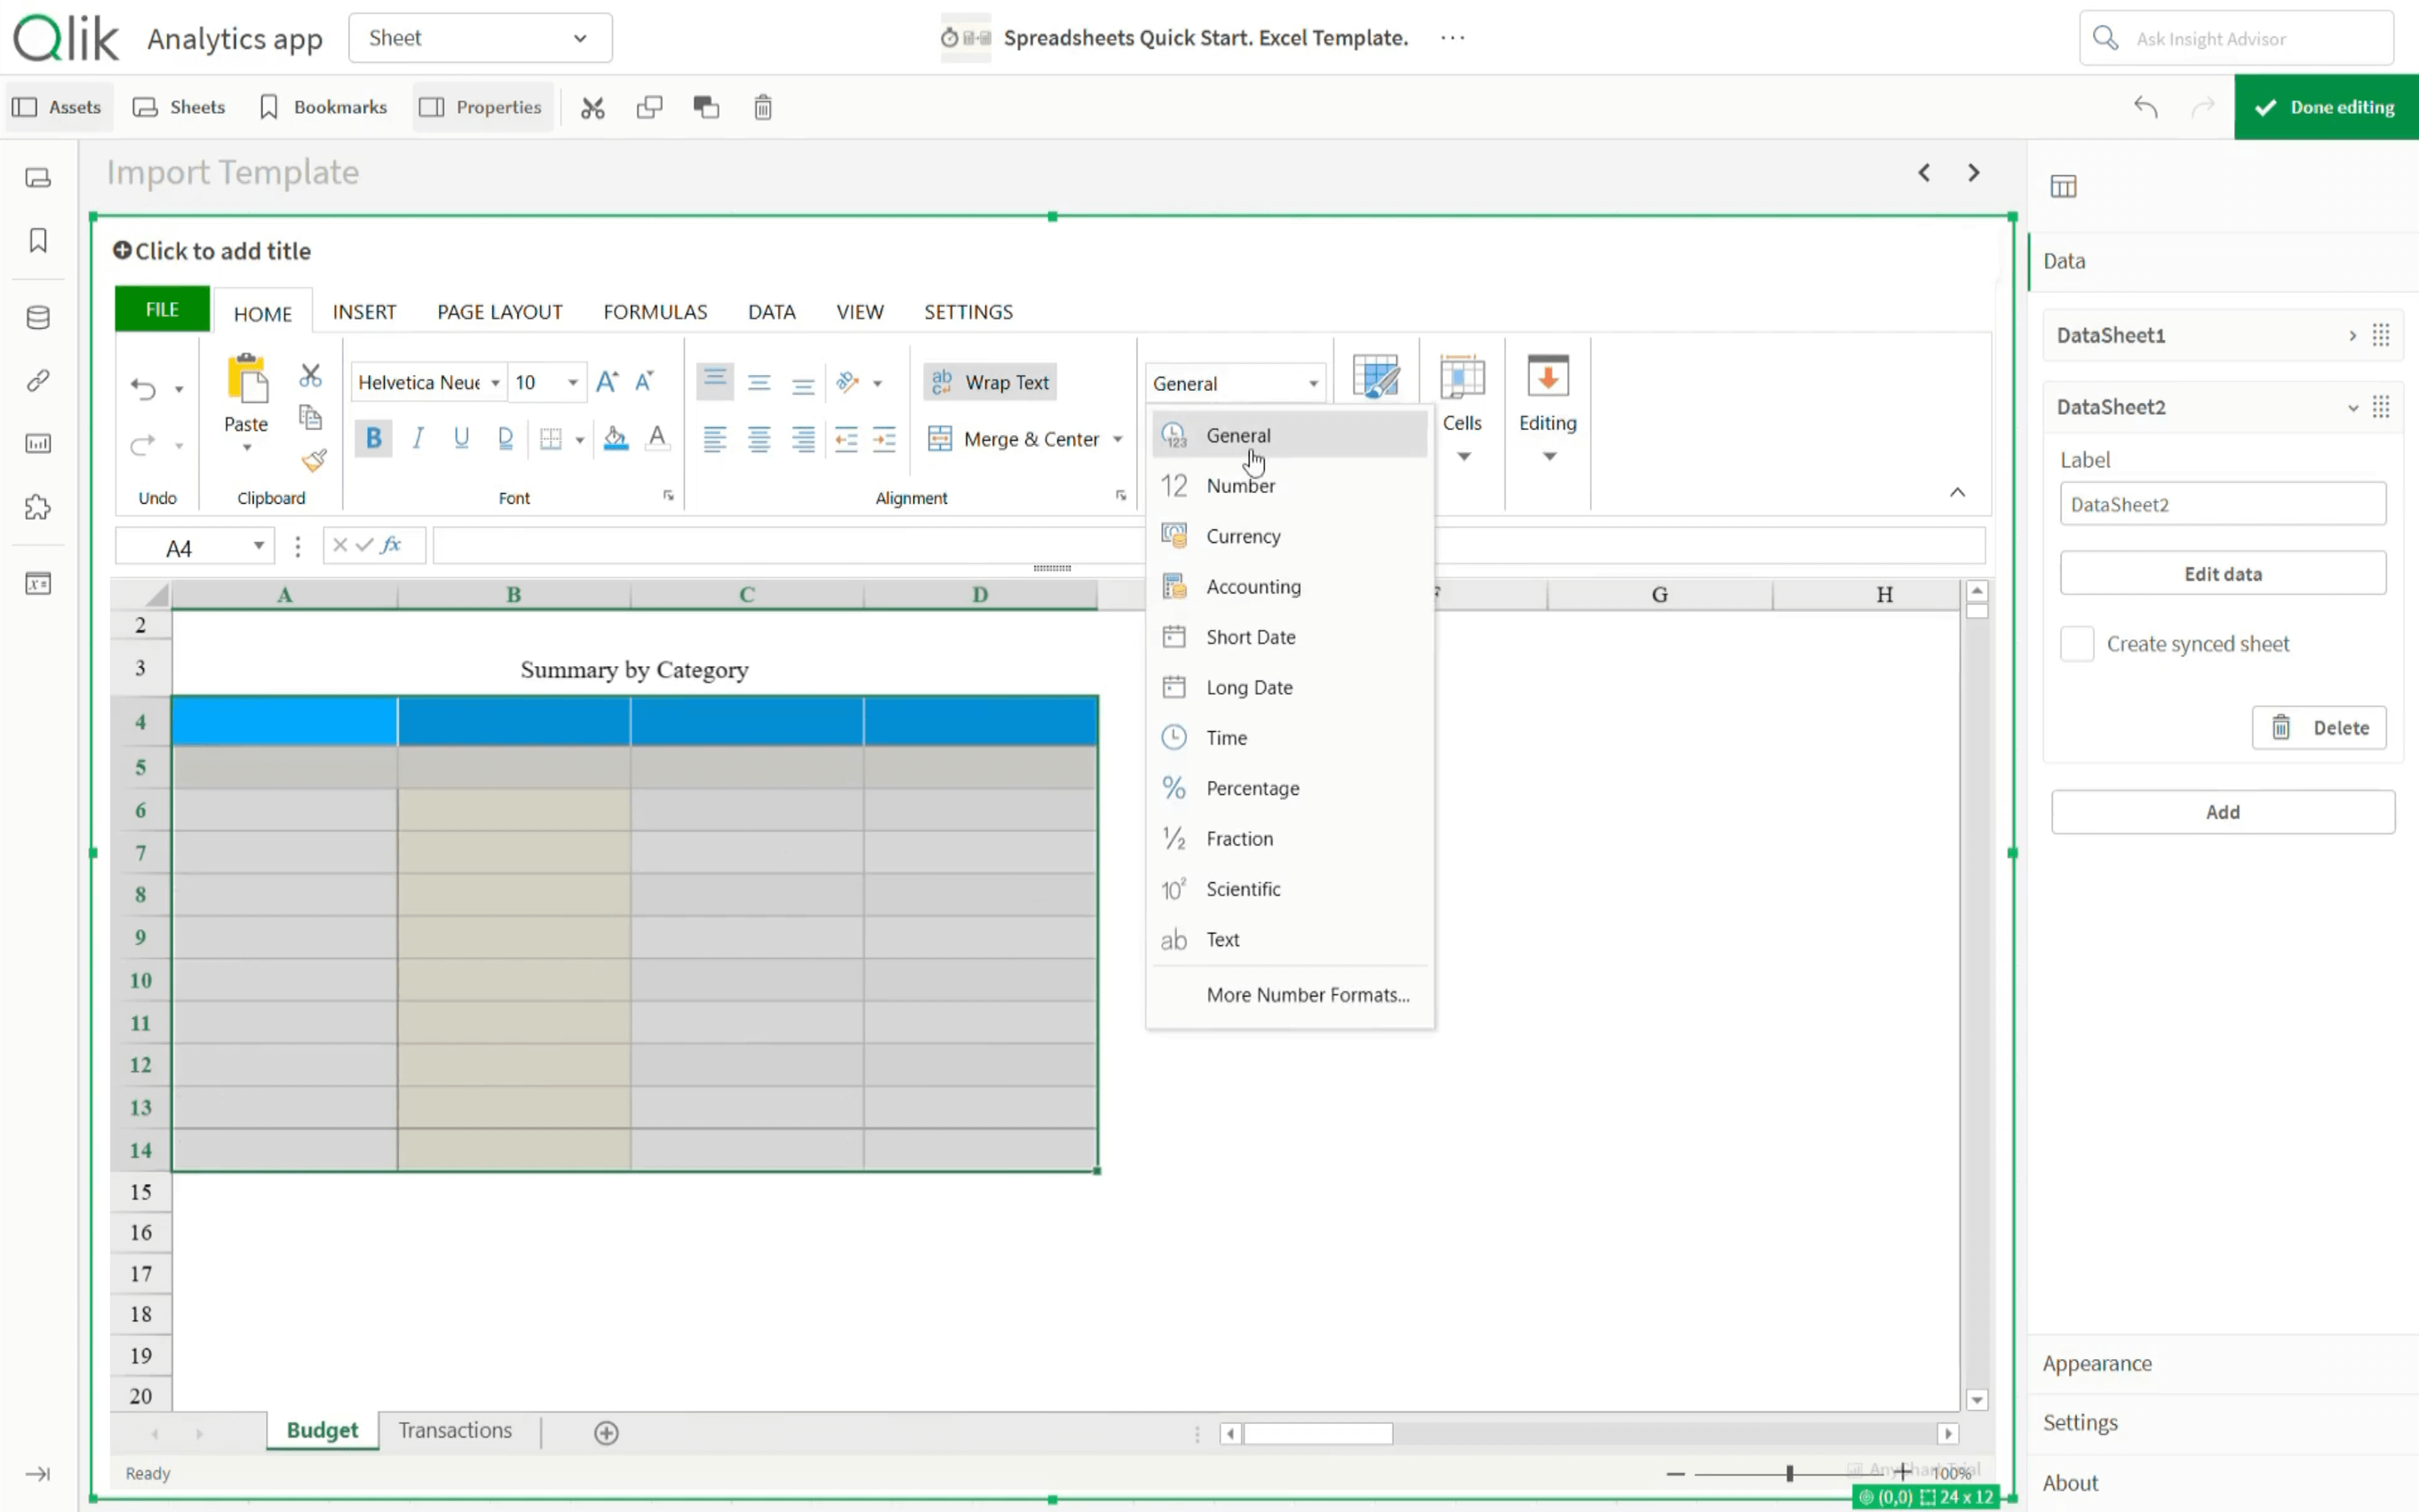
Clearing and formatting the cells ensures that template formulas evaluate correctly once Qlik data is injected.
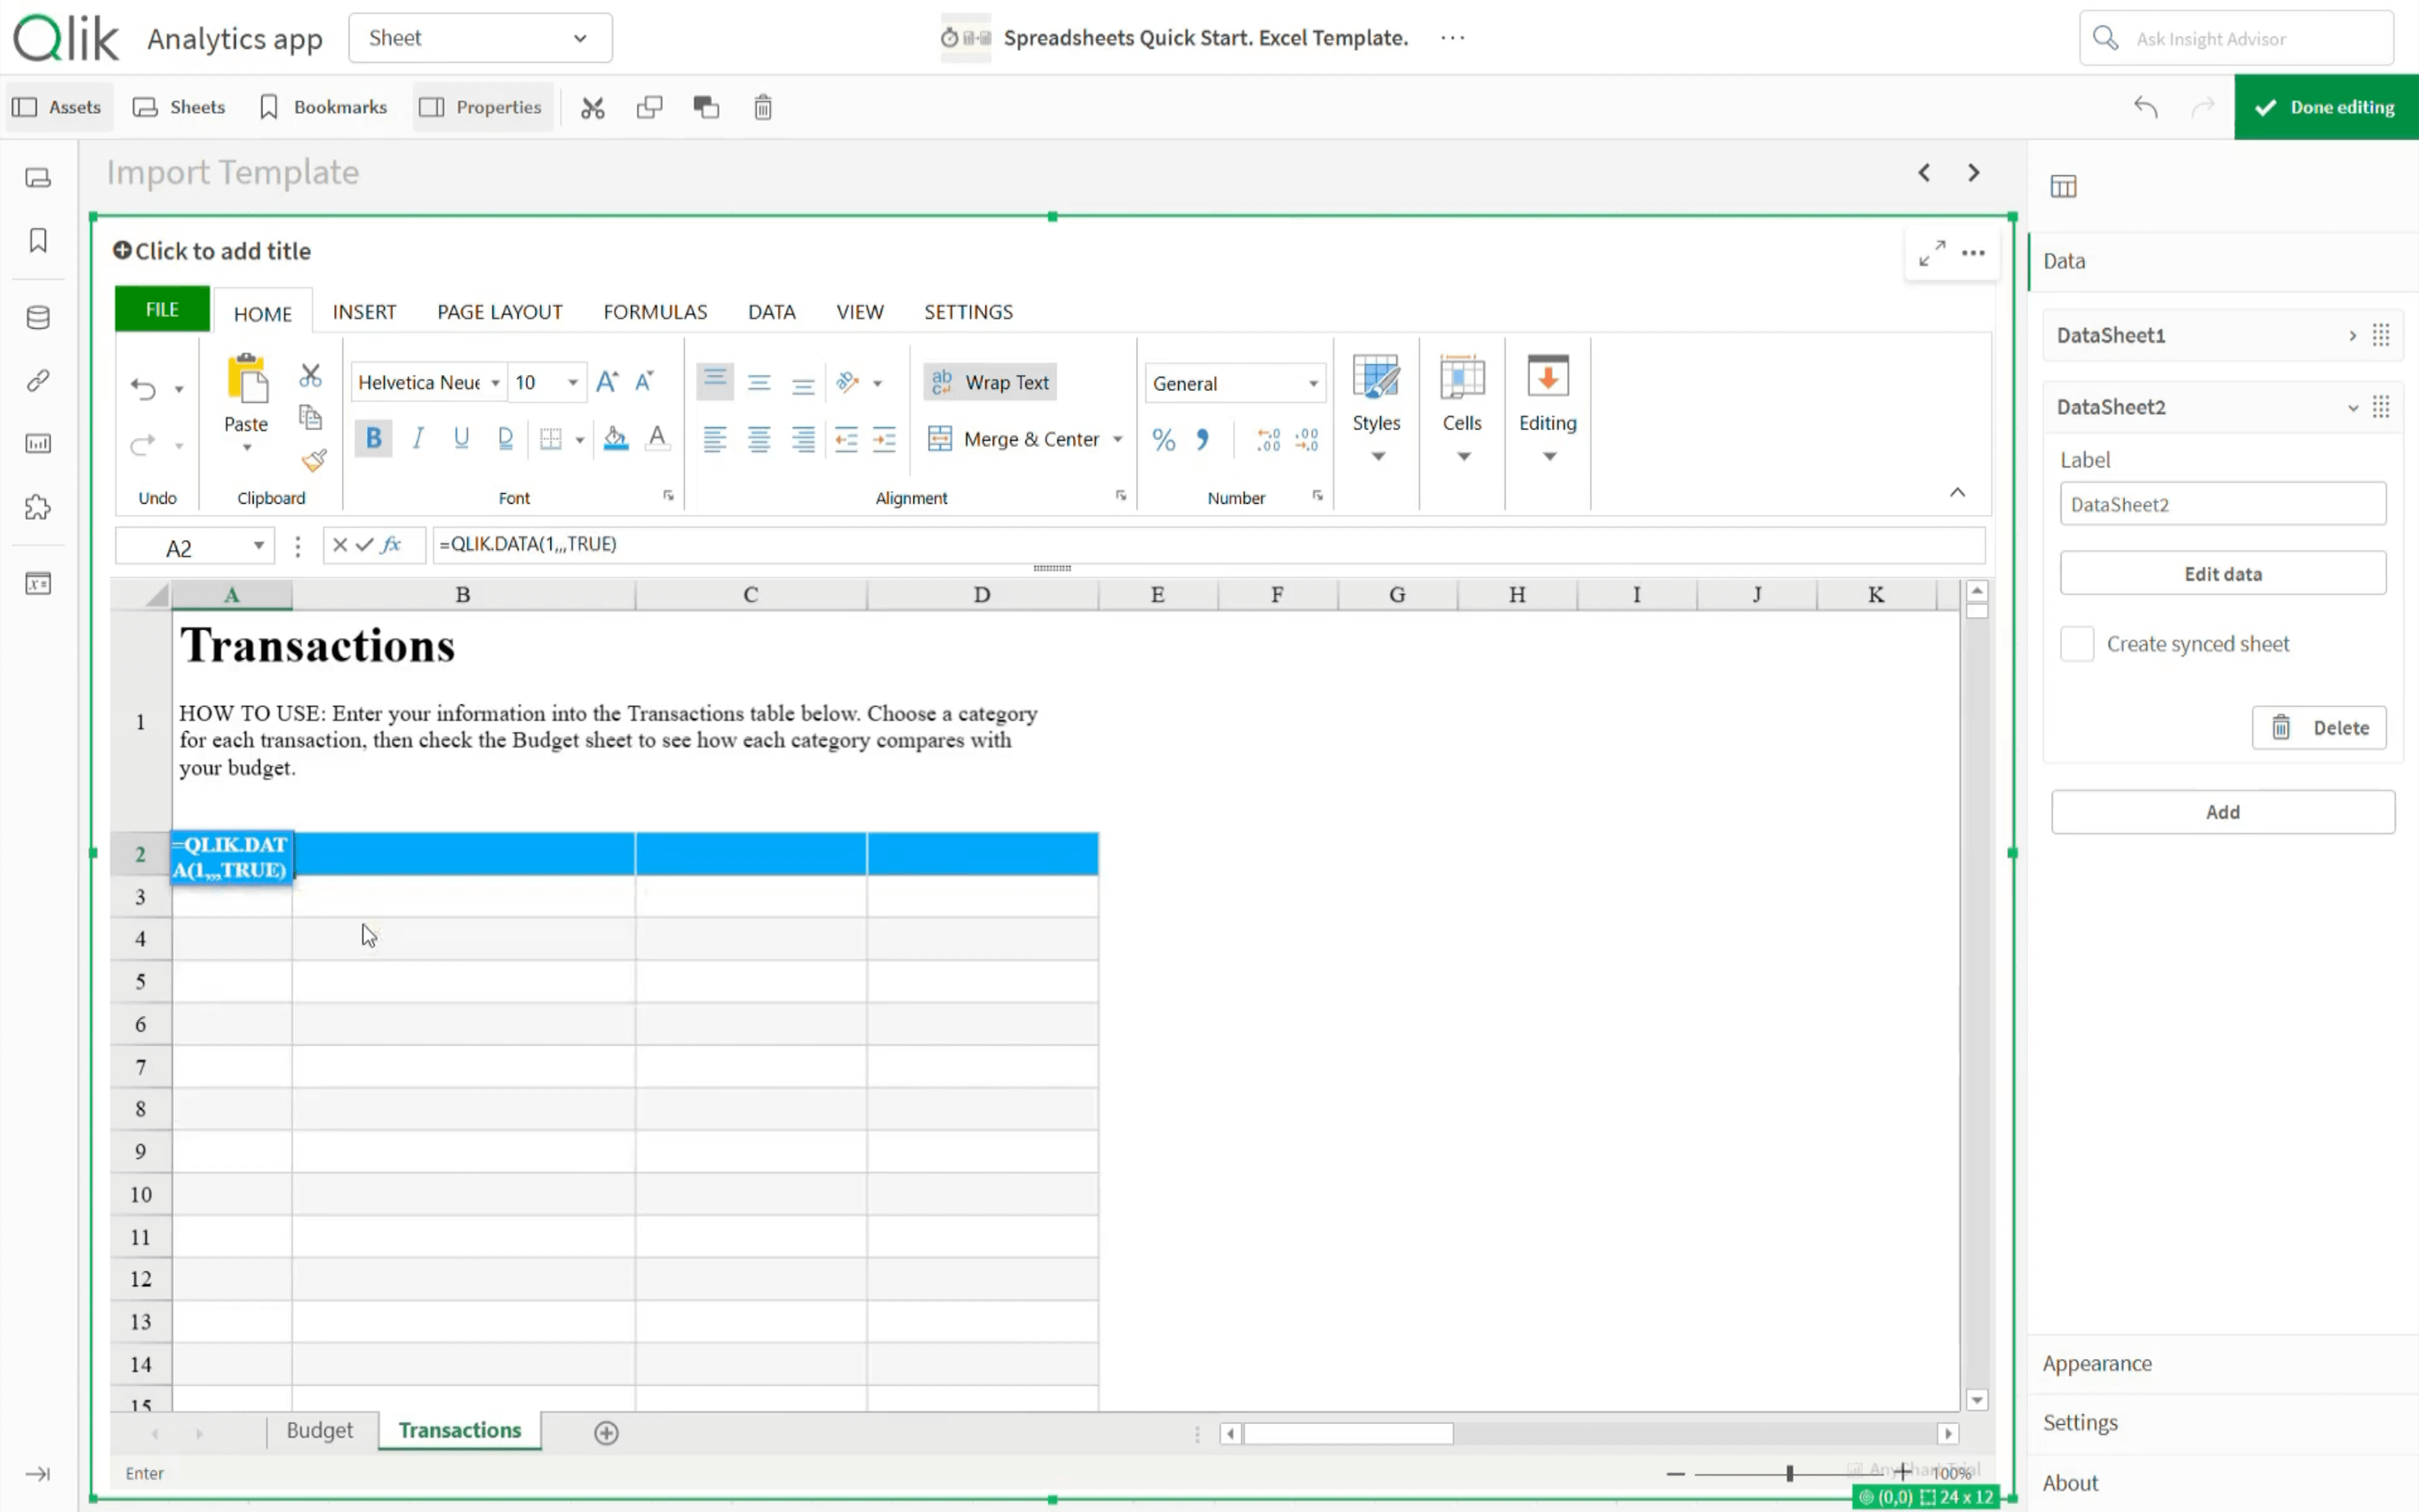
Now, everything is ready to insert live Qlik data into the template. This is done using the QLIK.DATA formula in the cell where the corresponding table begins. Each data section is referenced by its index.
Budget data connection
In the "Budget" sheet, enter the QLIK.DATA formula with these parameters:
0as the index for the first data sectionTRUEfor Show LabelTOPfor Show Total
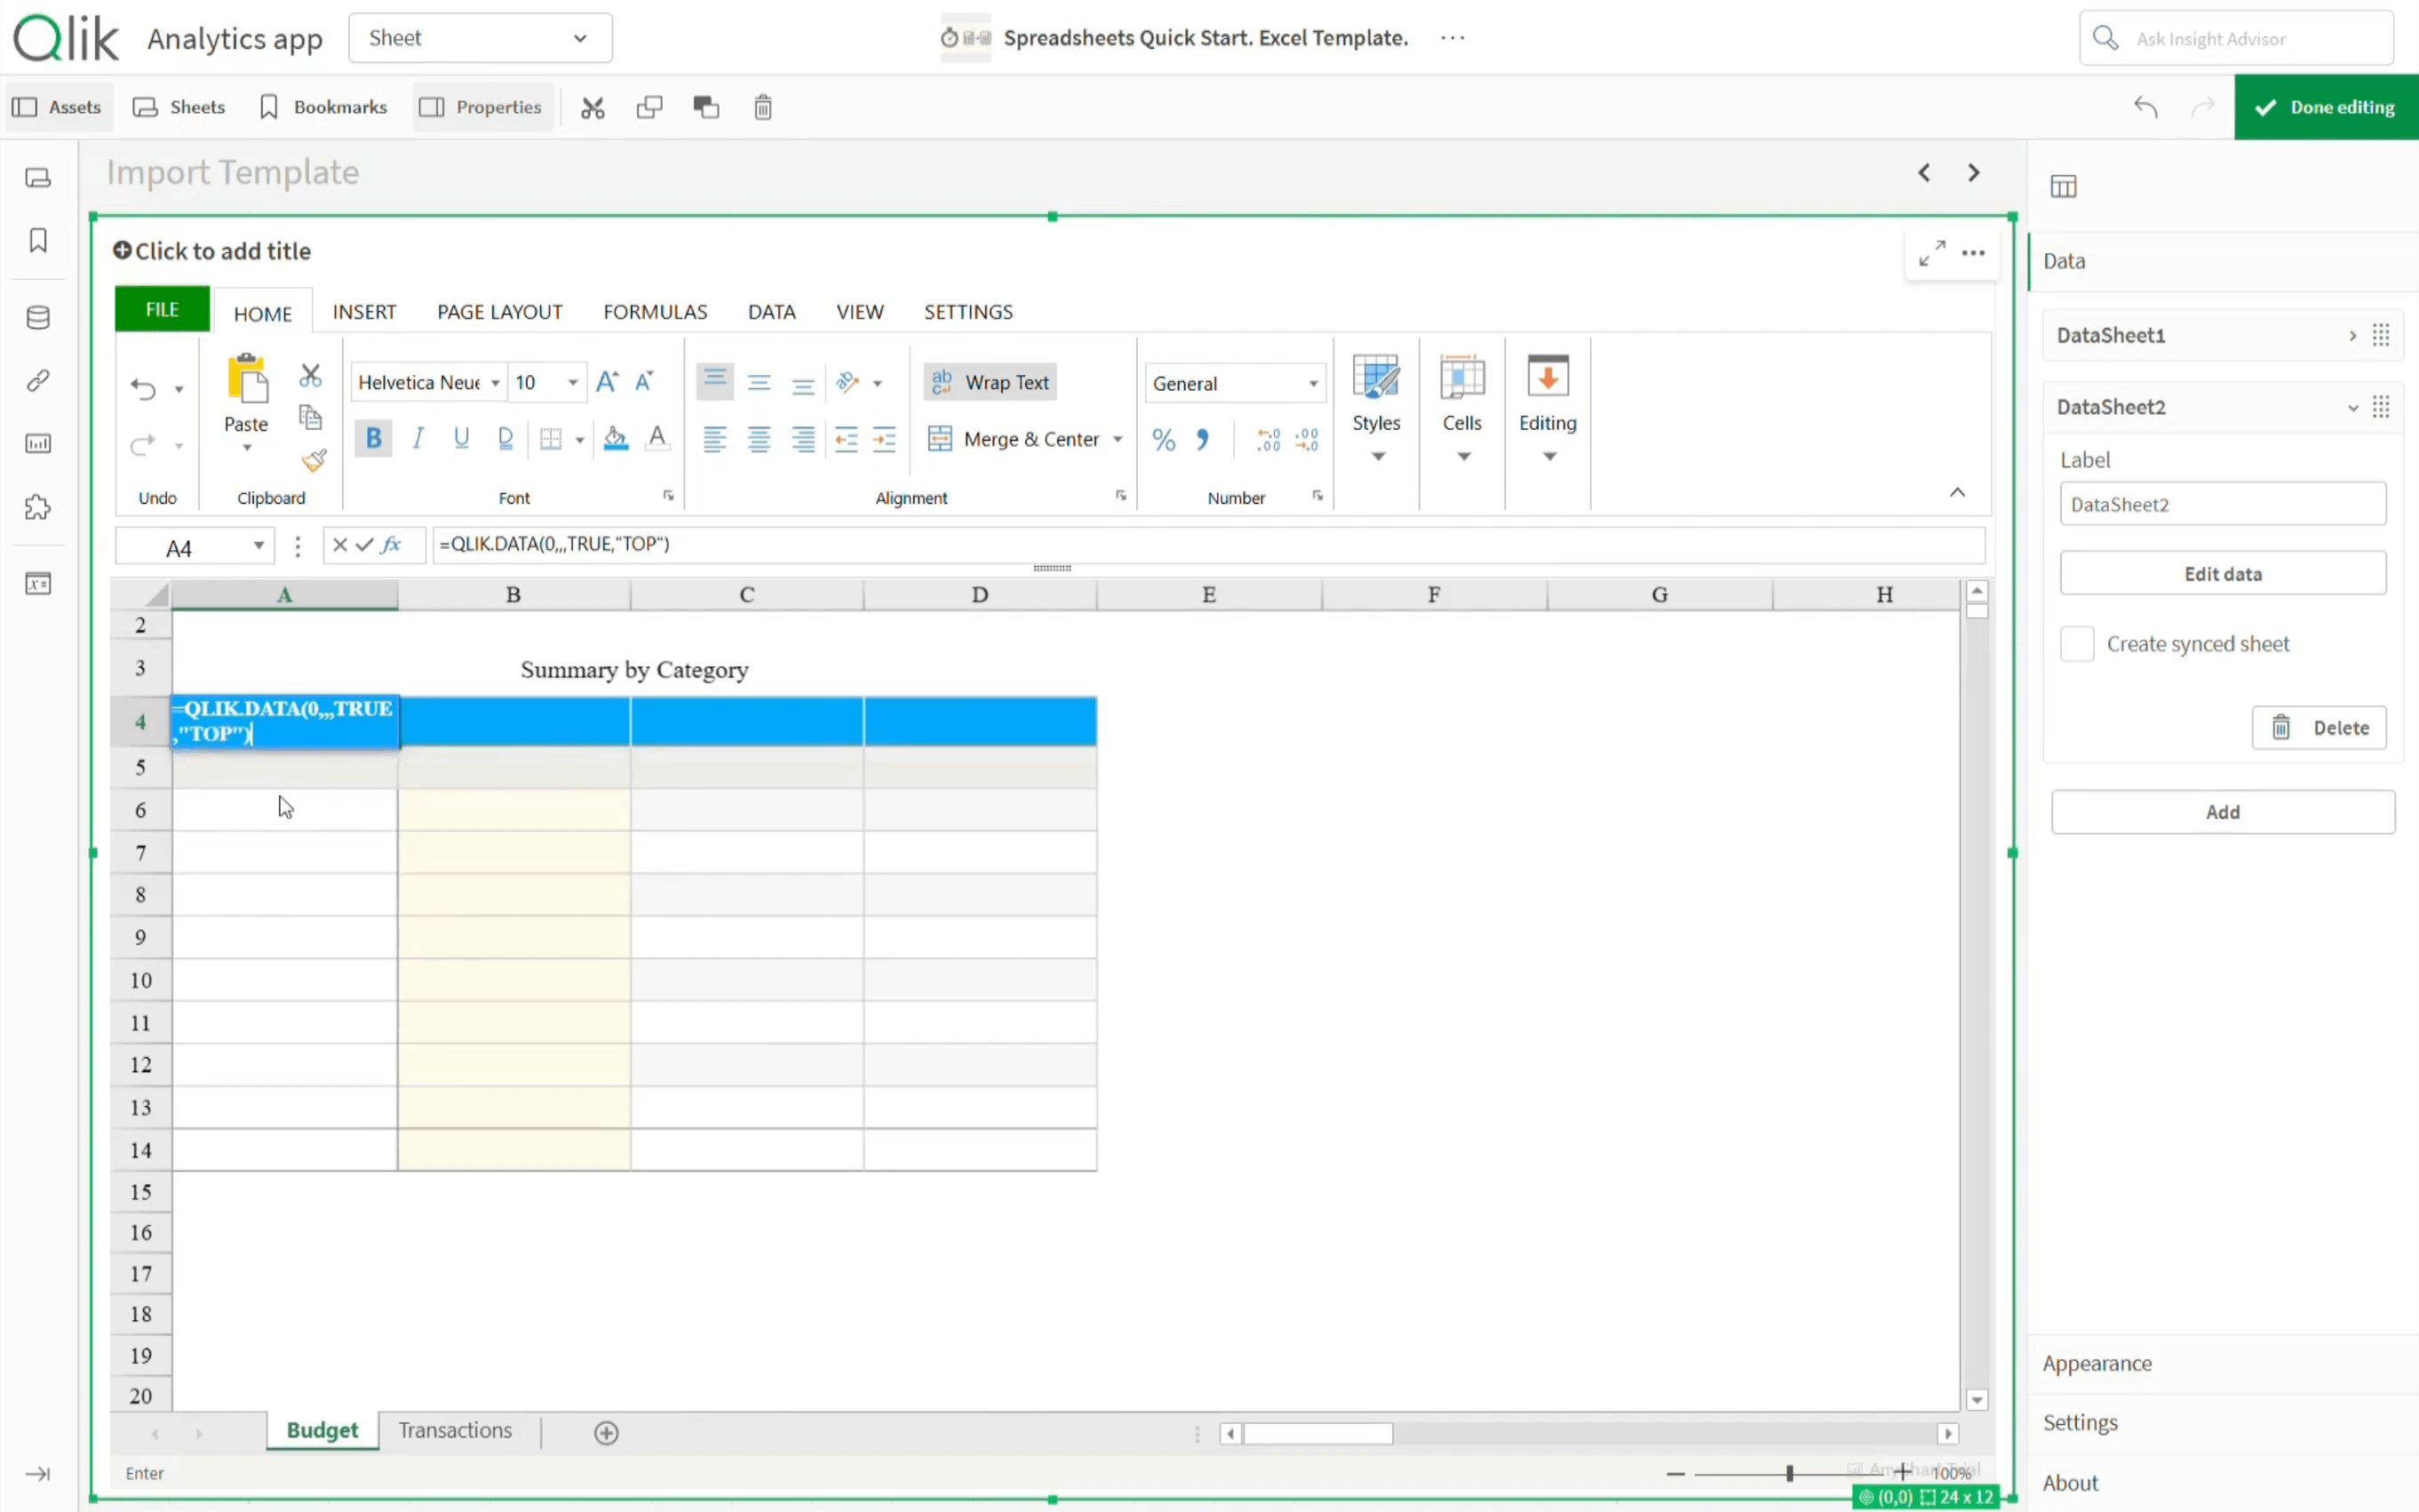
Press Enter.
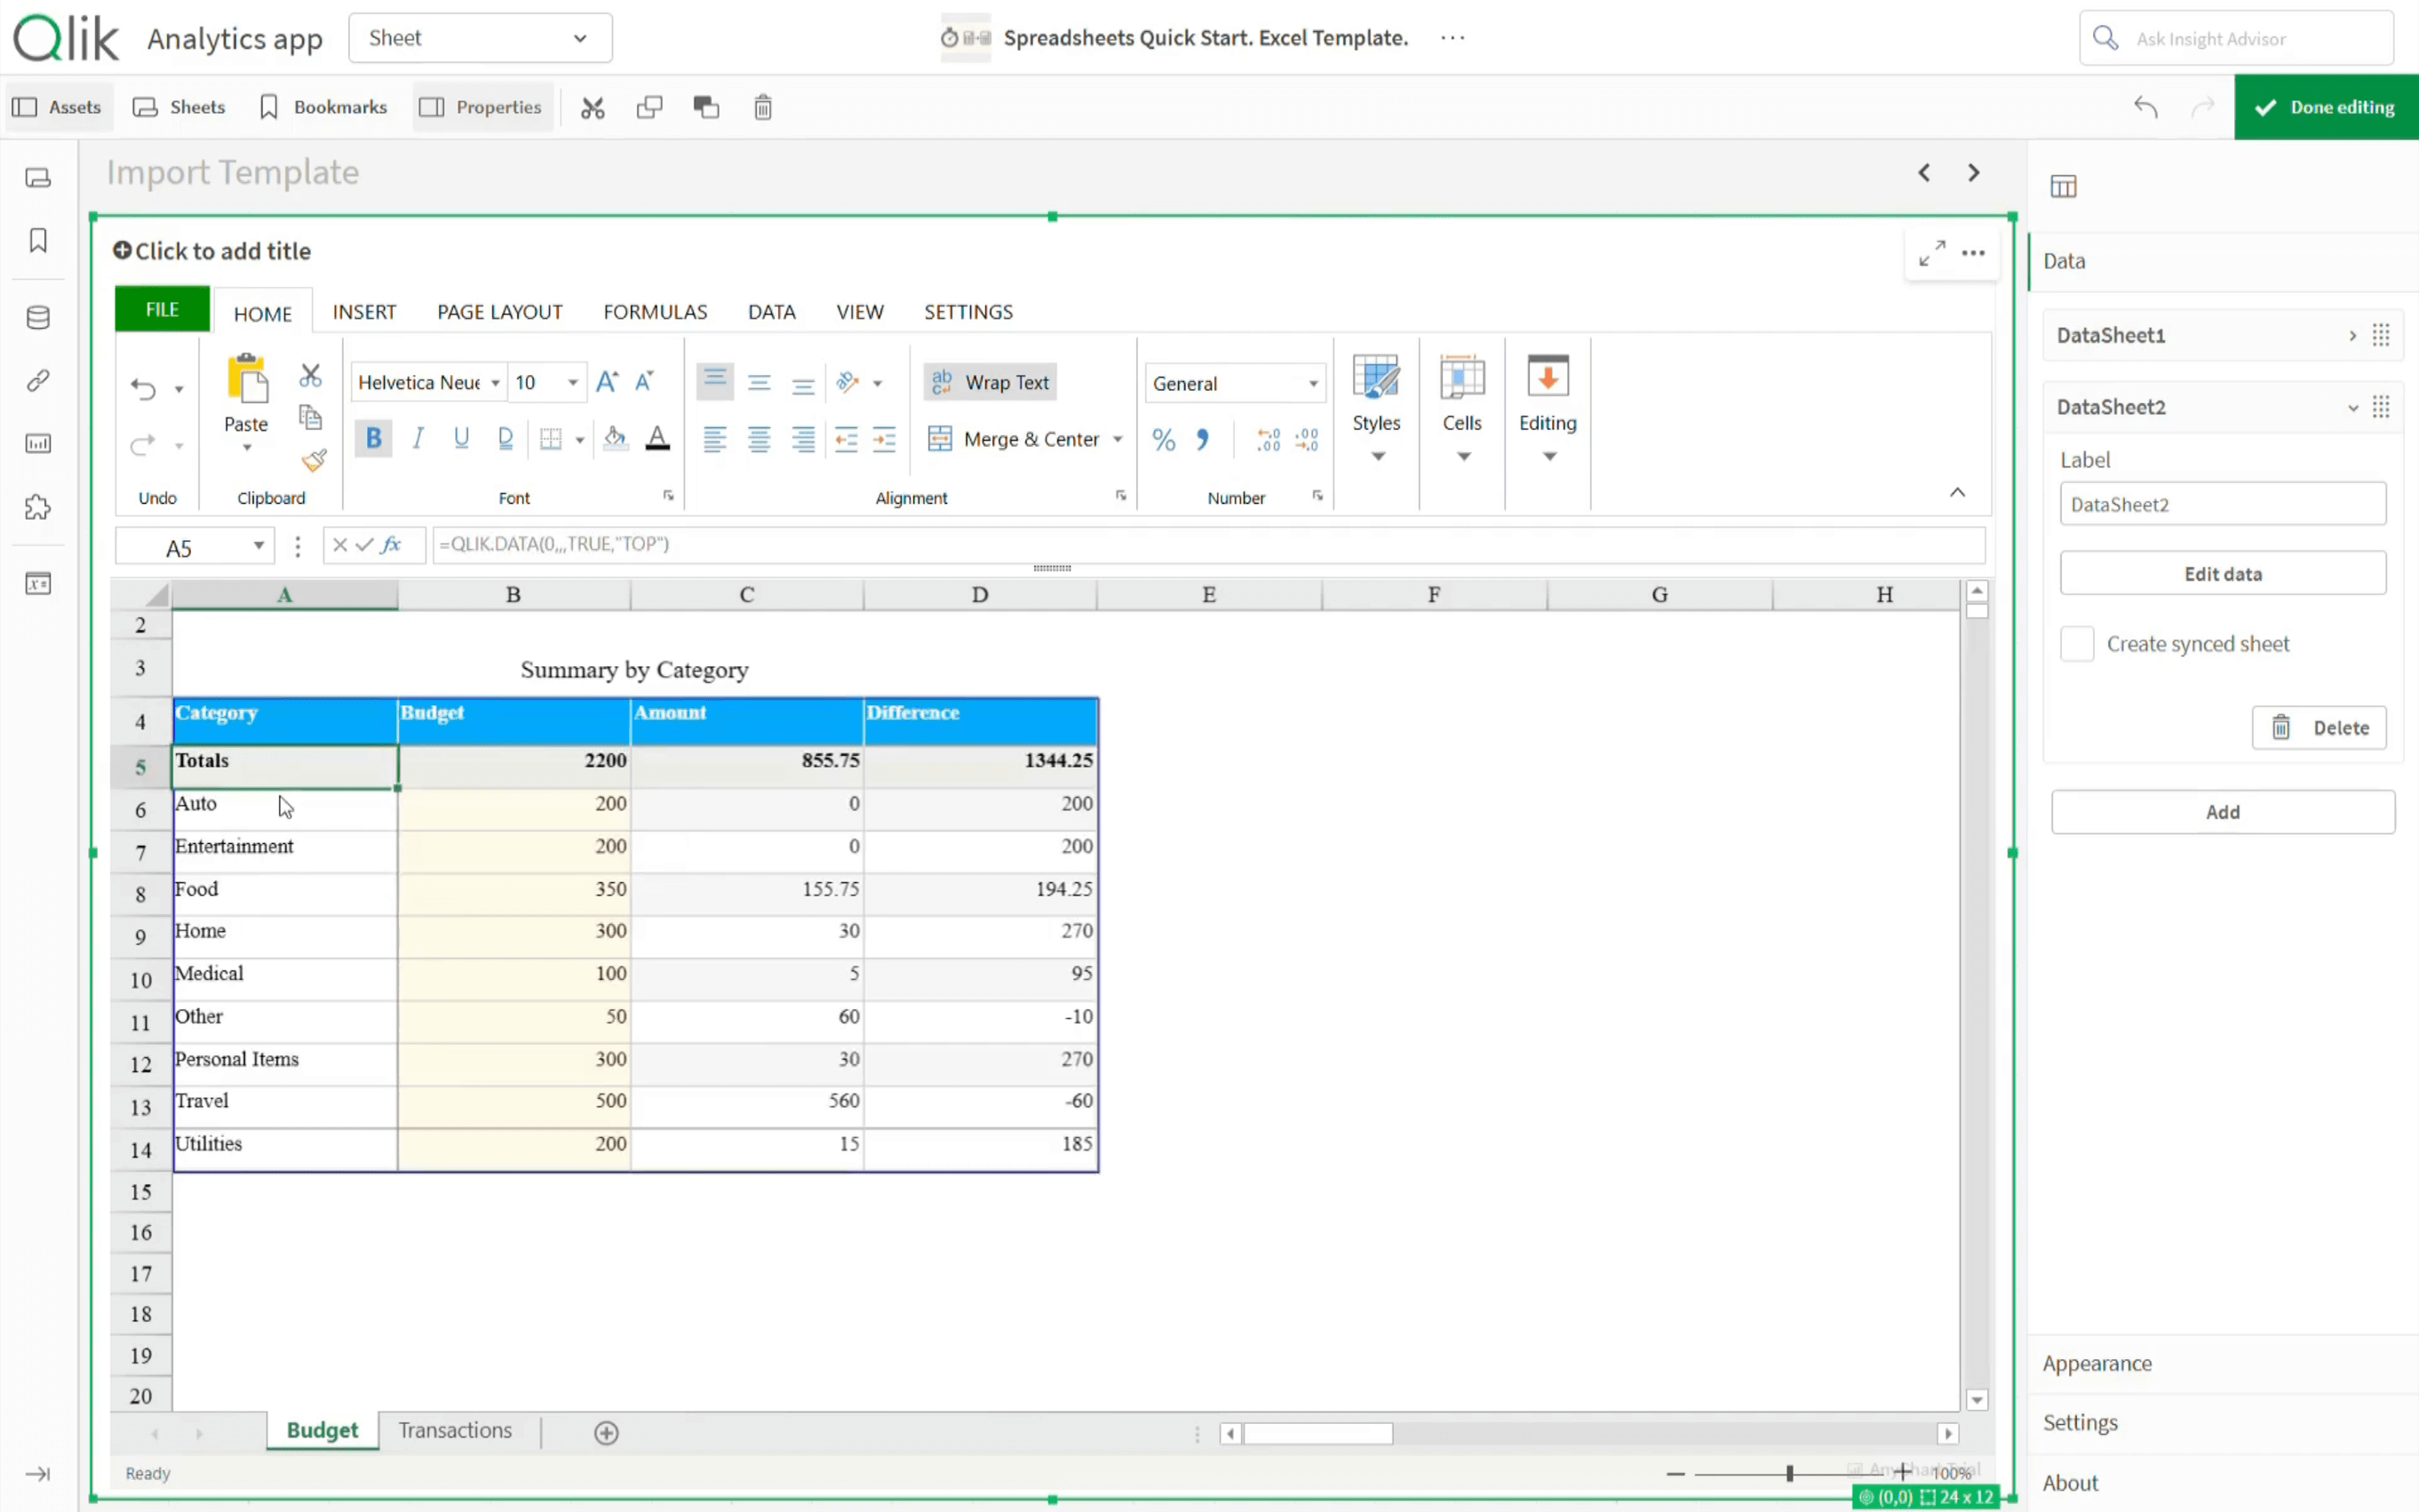
Because budget summaries use currency values, set the corresponding value cell types to Currency.
The "Budget" sheet is now connected to live Qlik data.
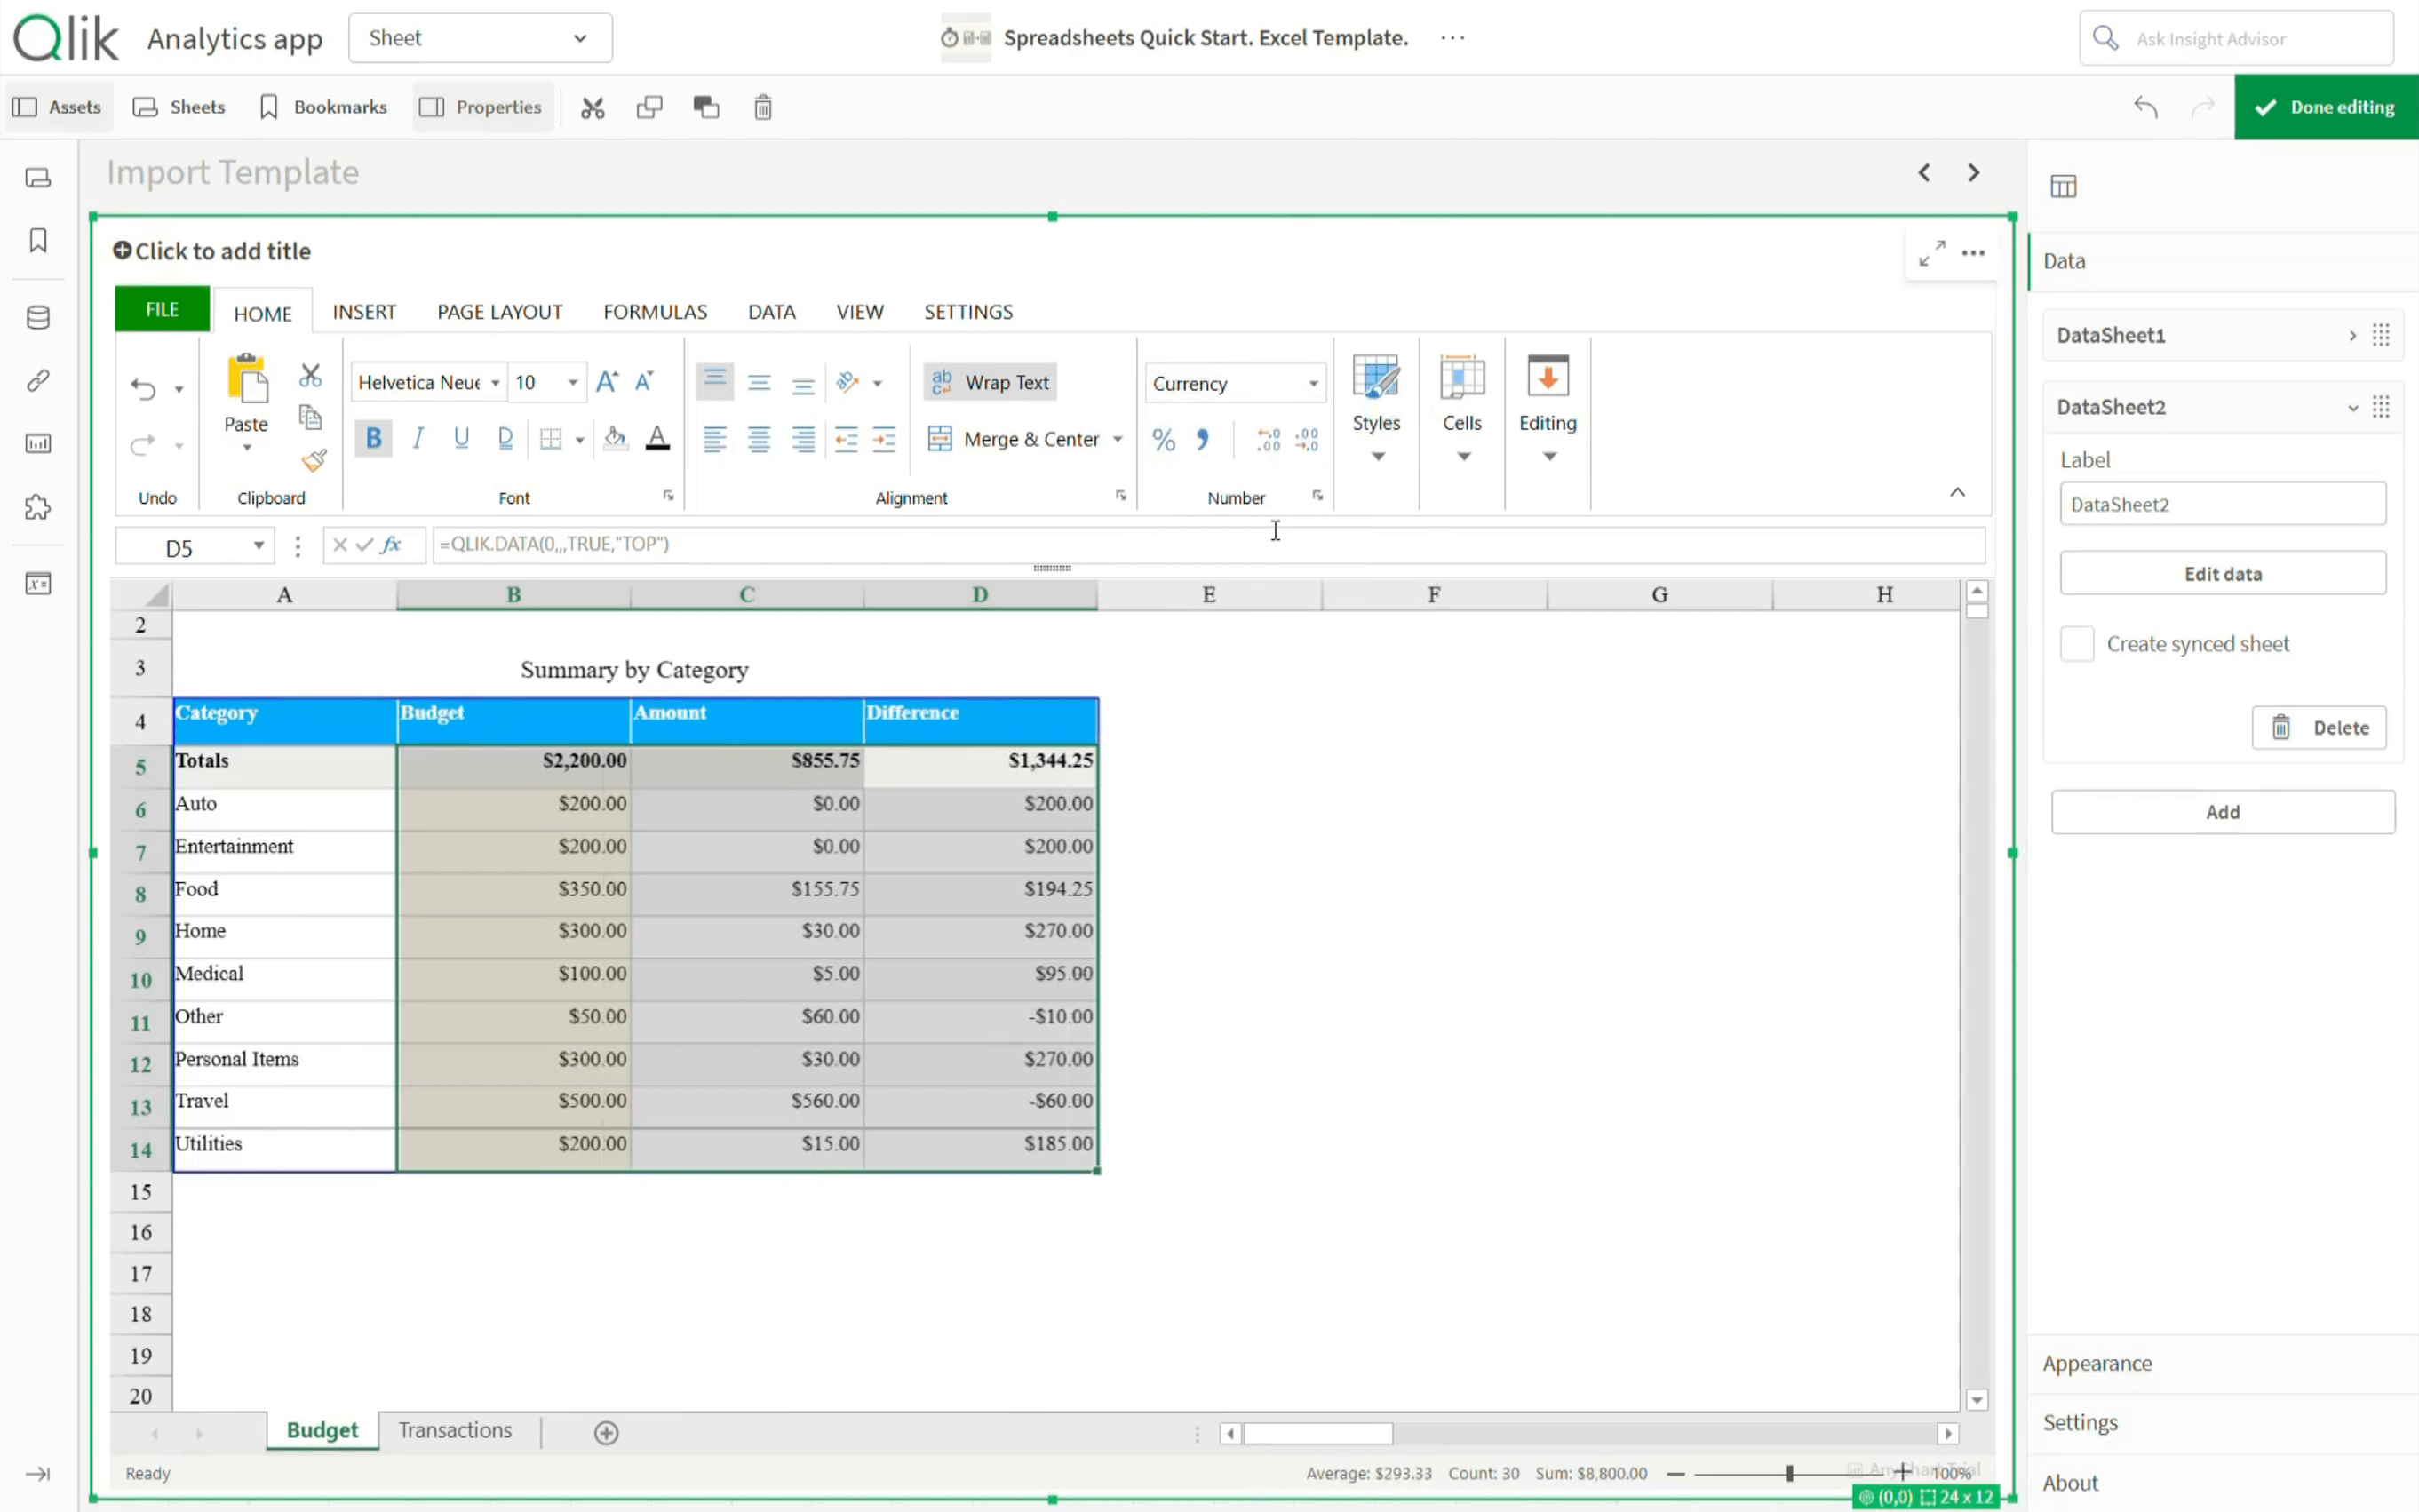
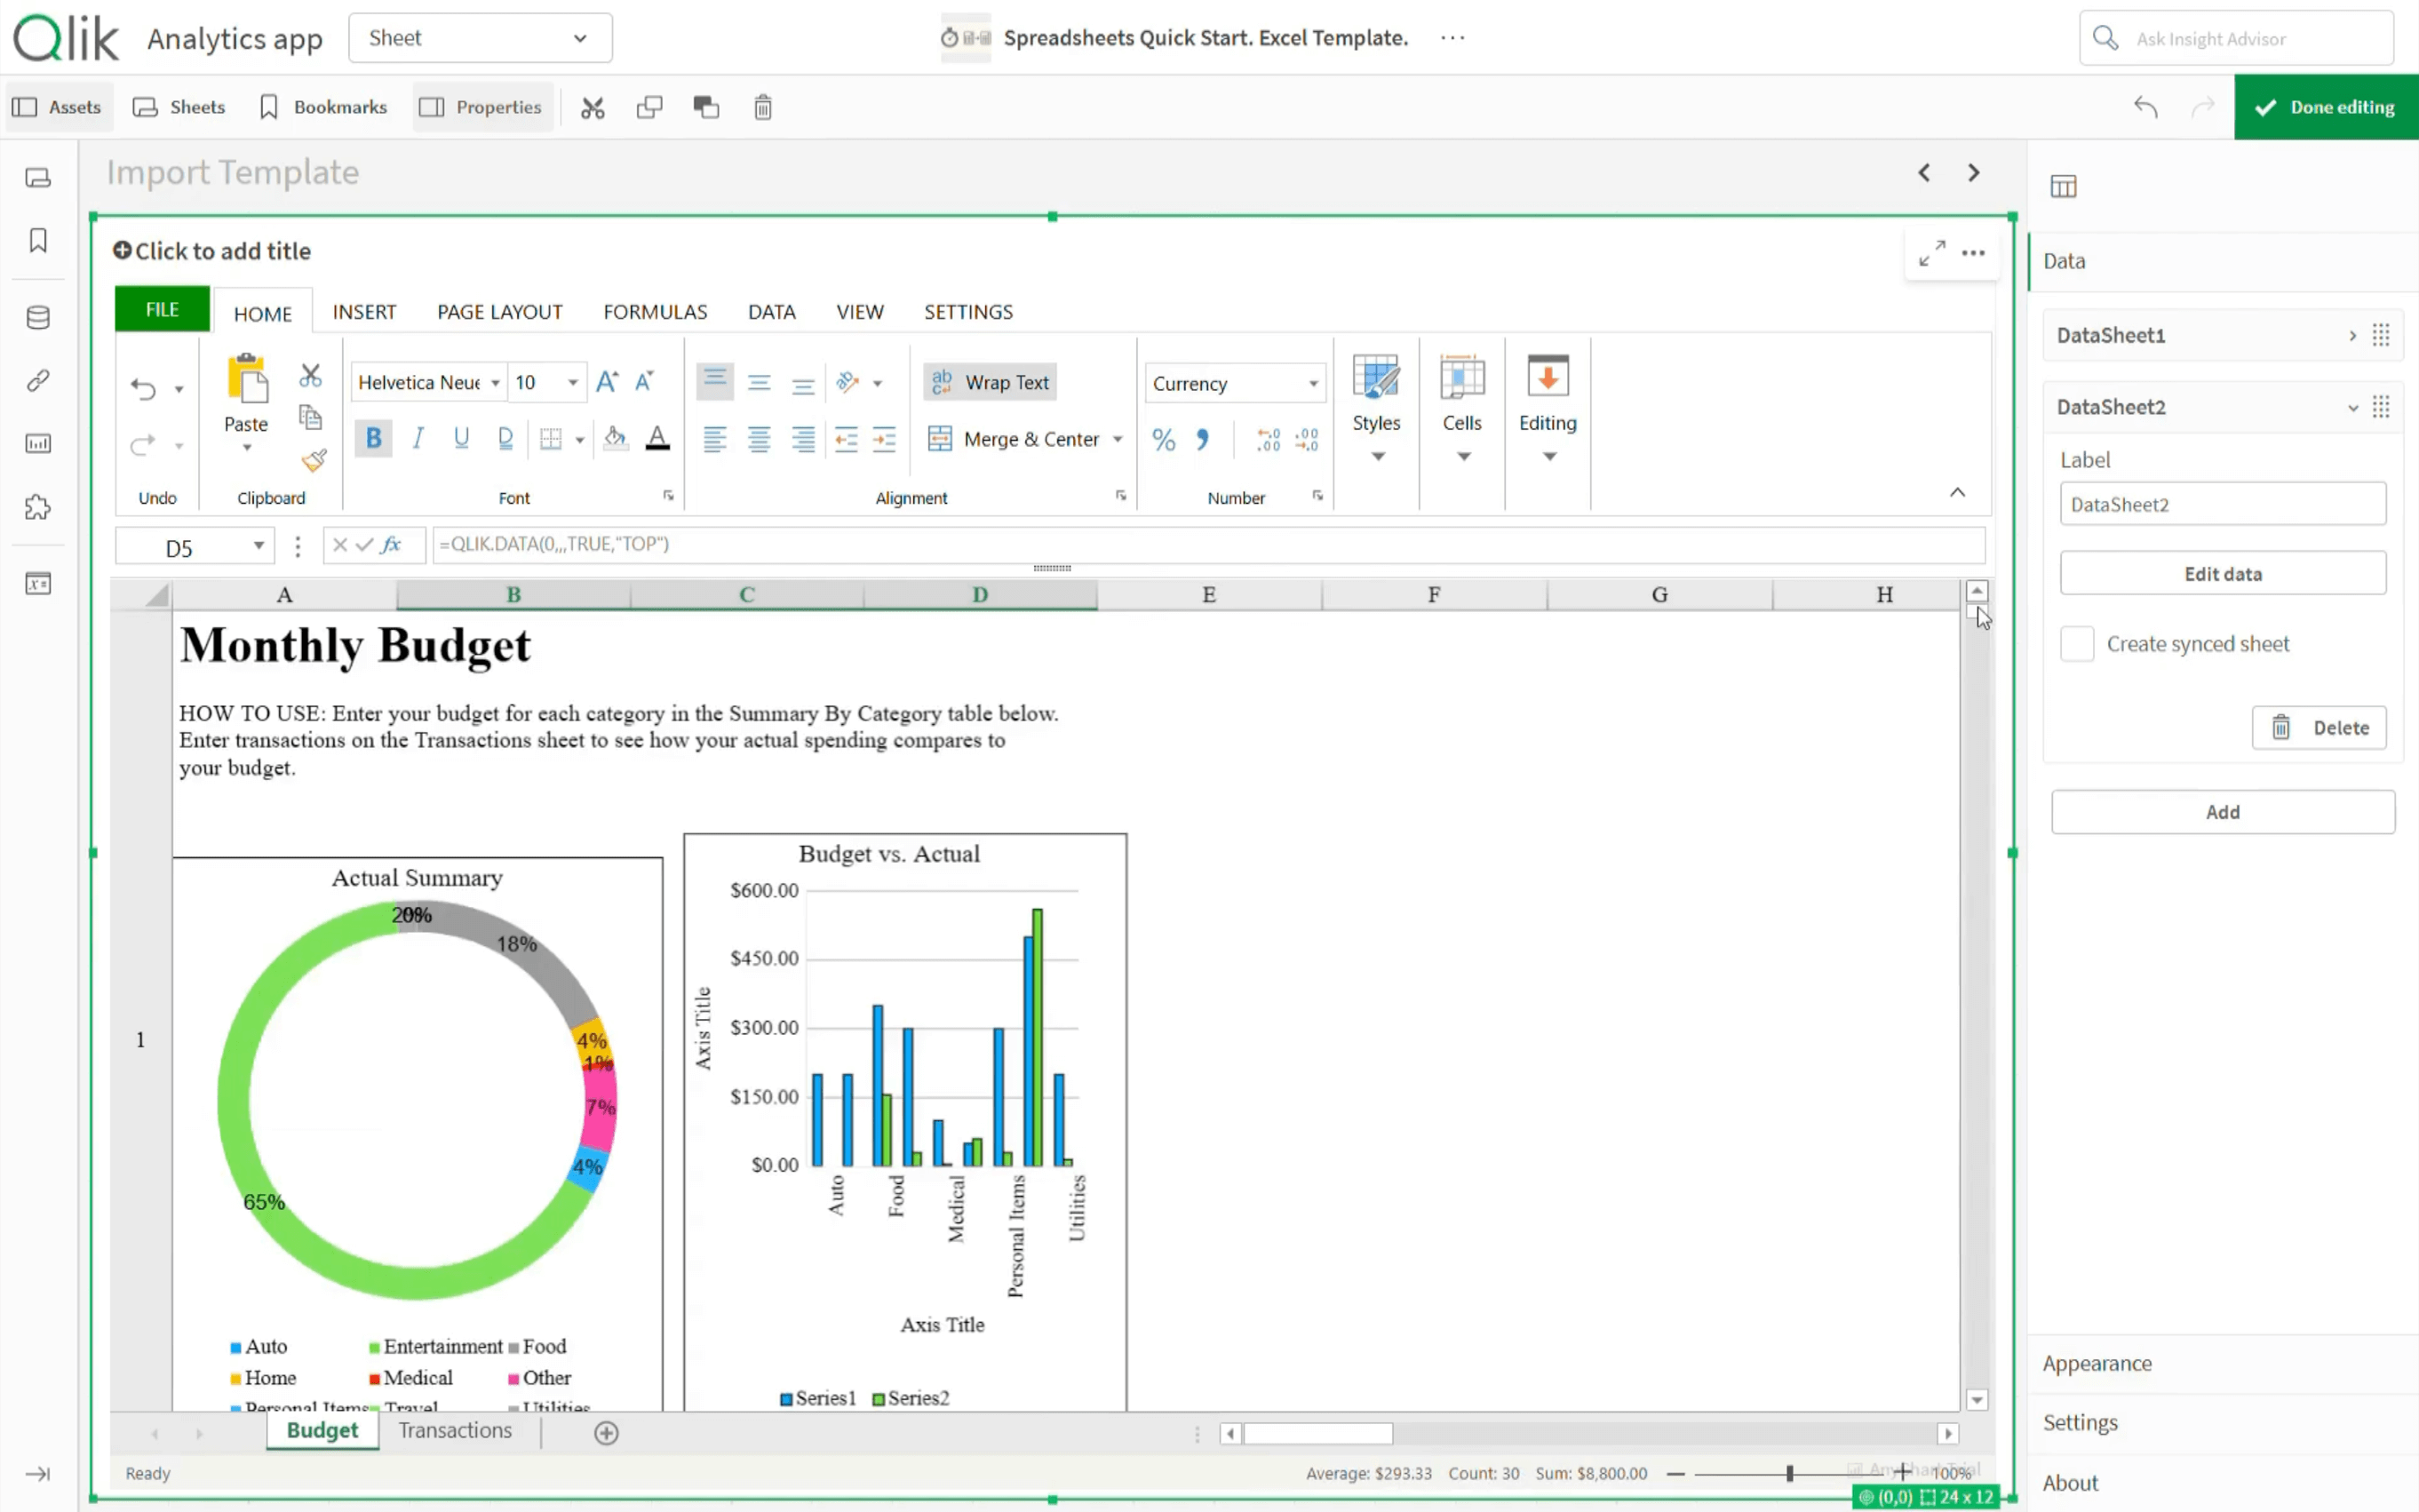
And all the charts originally built in the Excel template remain in place.
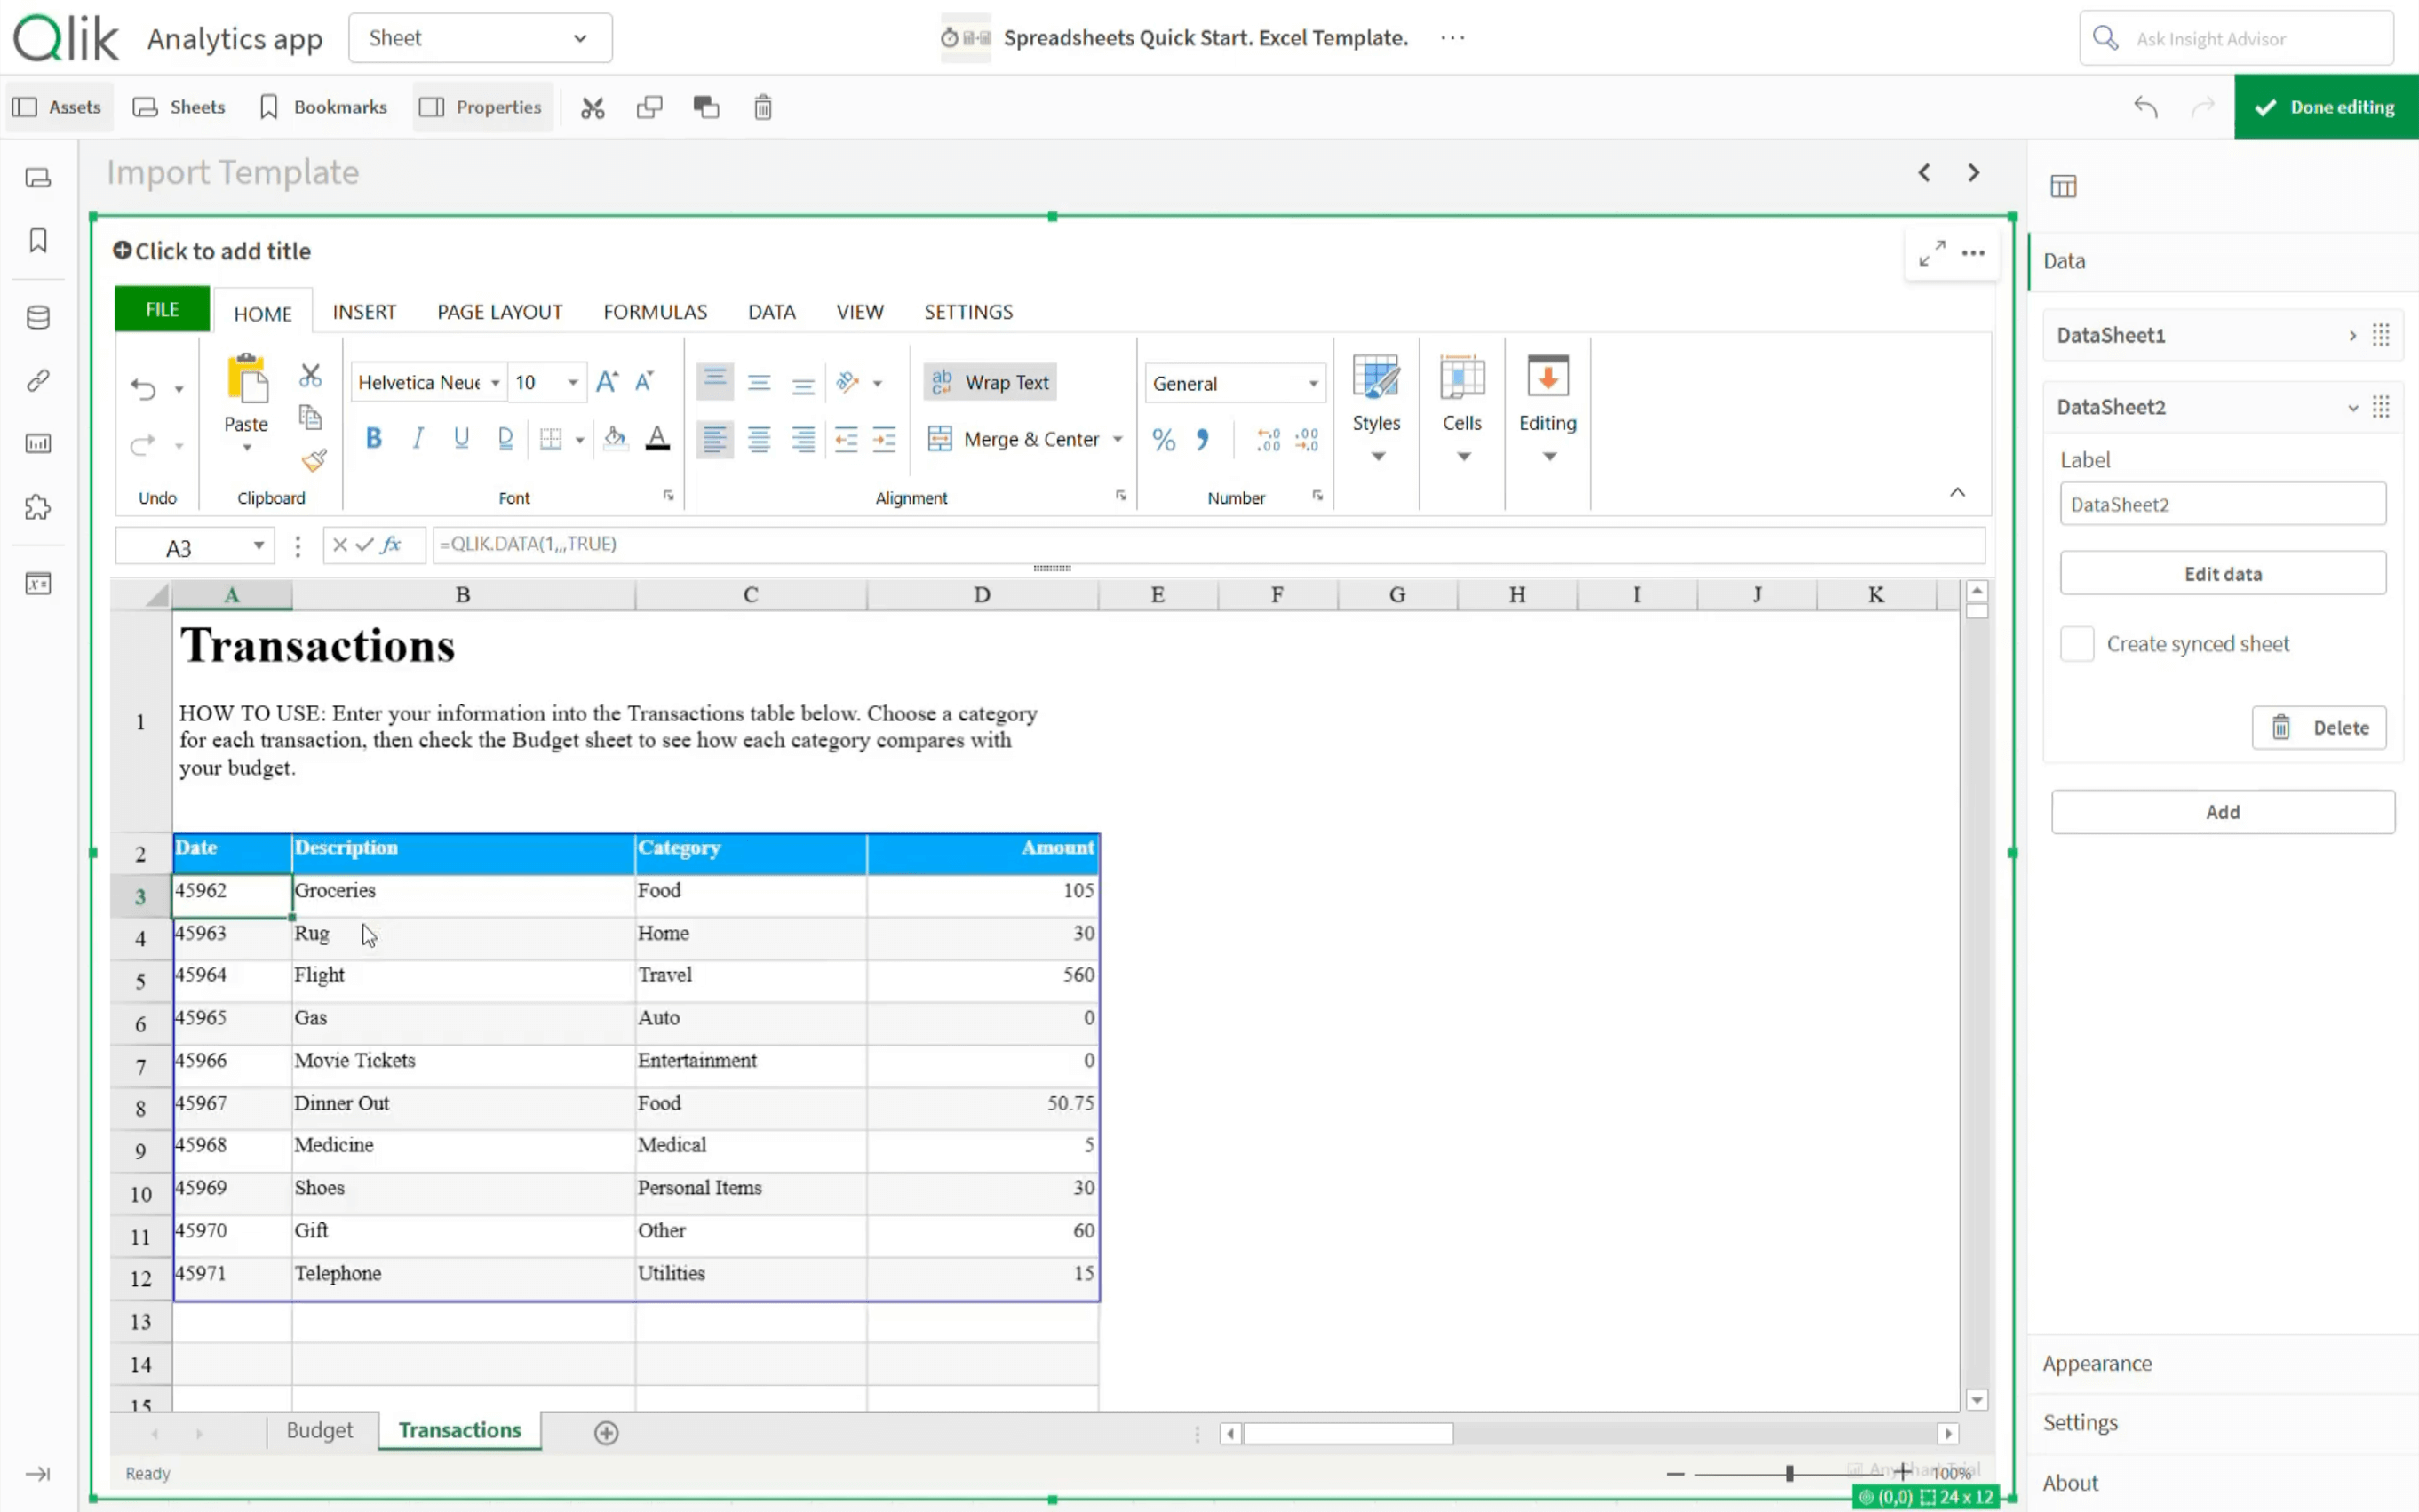
Transactions data connection
Now connect the "Transactions" sheet in the same way.
In the first cell of the cleared table, enter the QLIK.DATA formula with:
1as the index for the second data sectionTRUEfor Show Label
Press Enter.
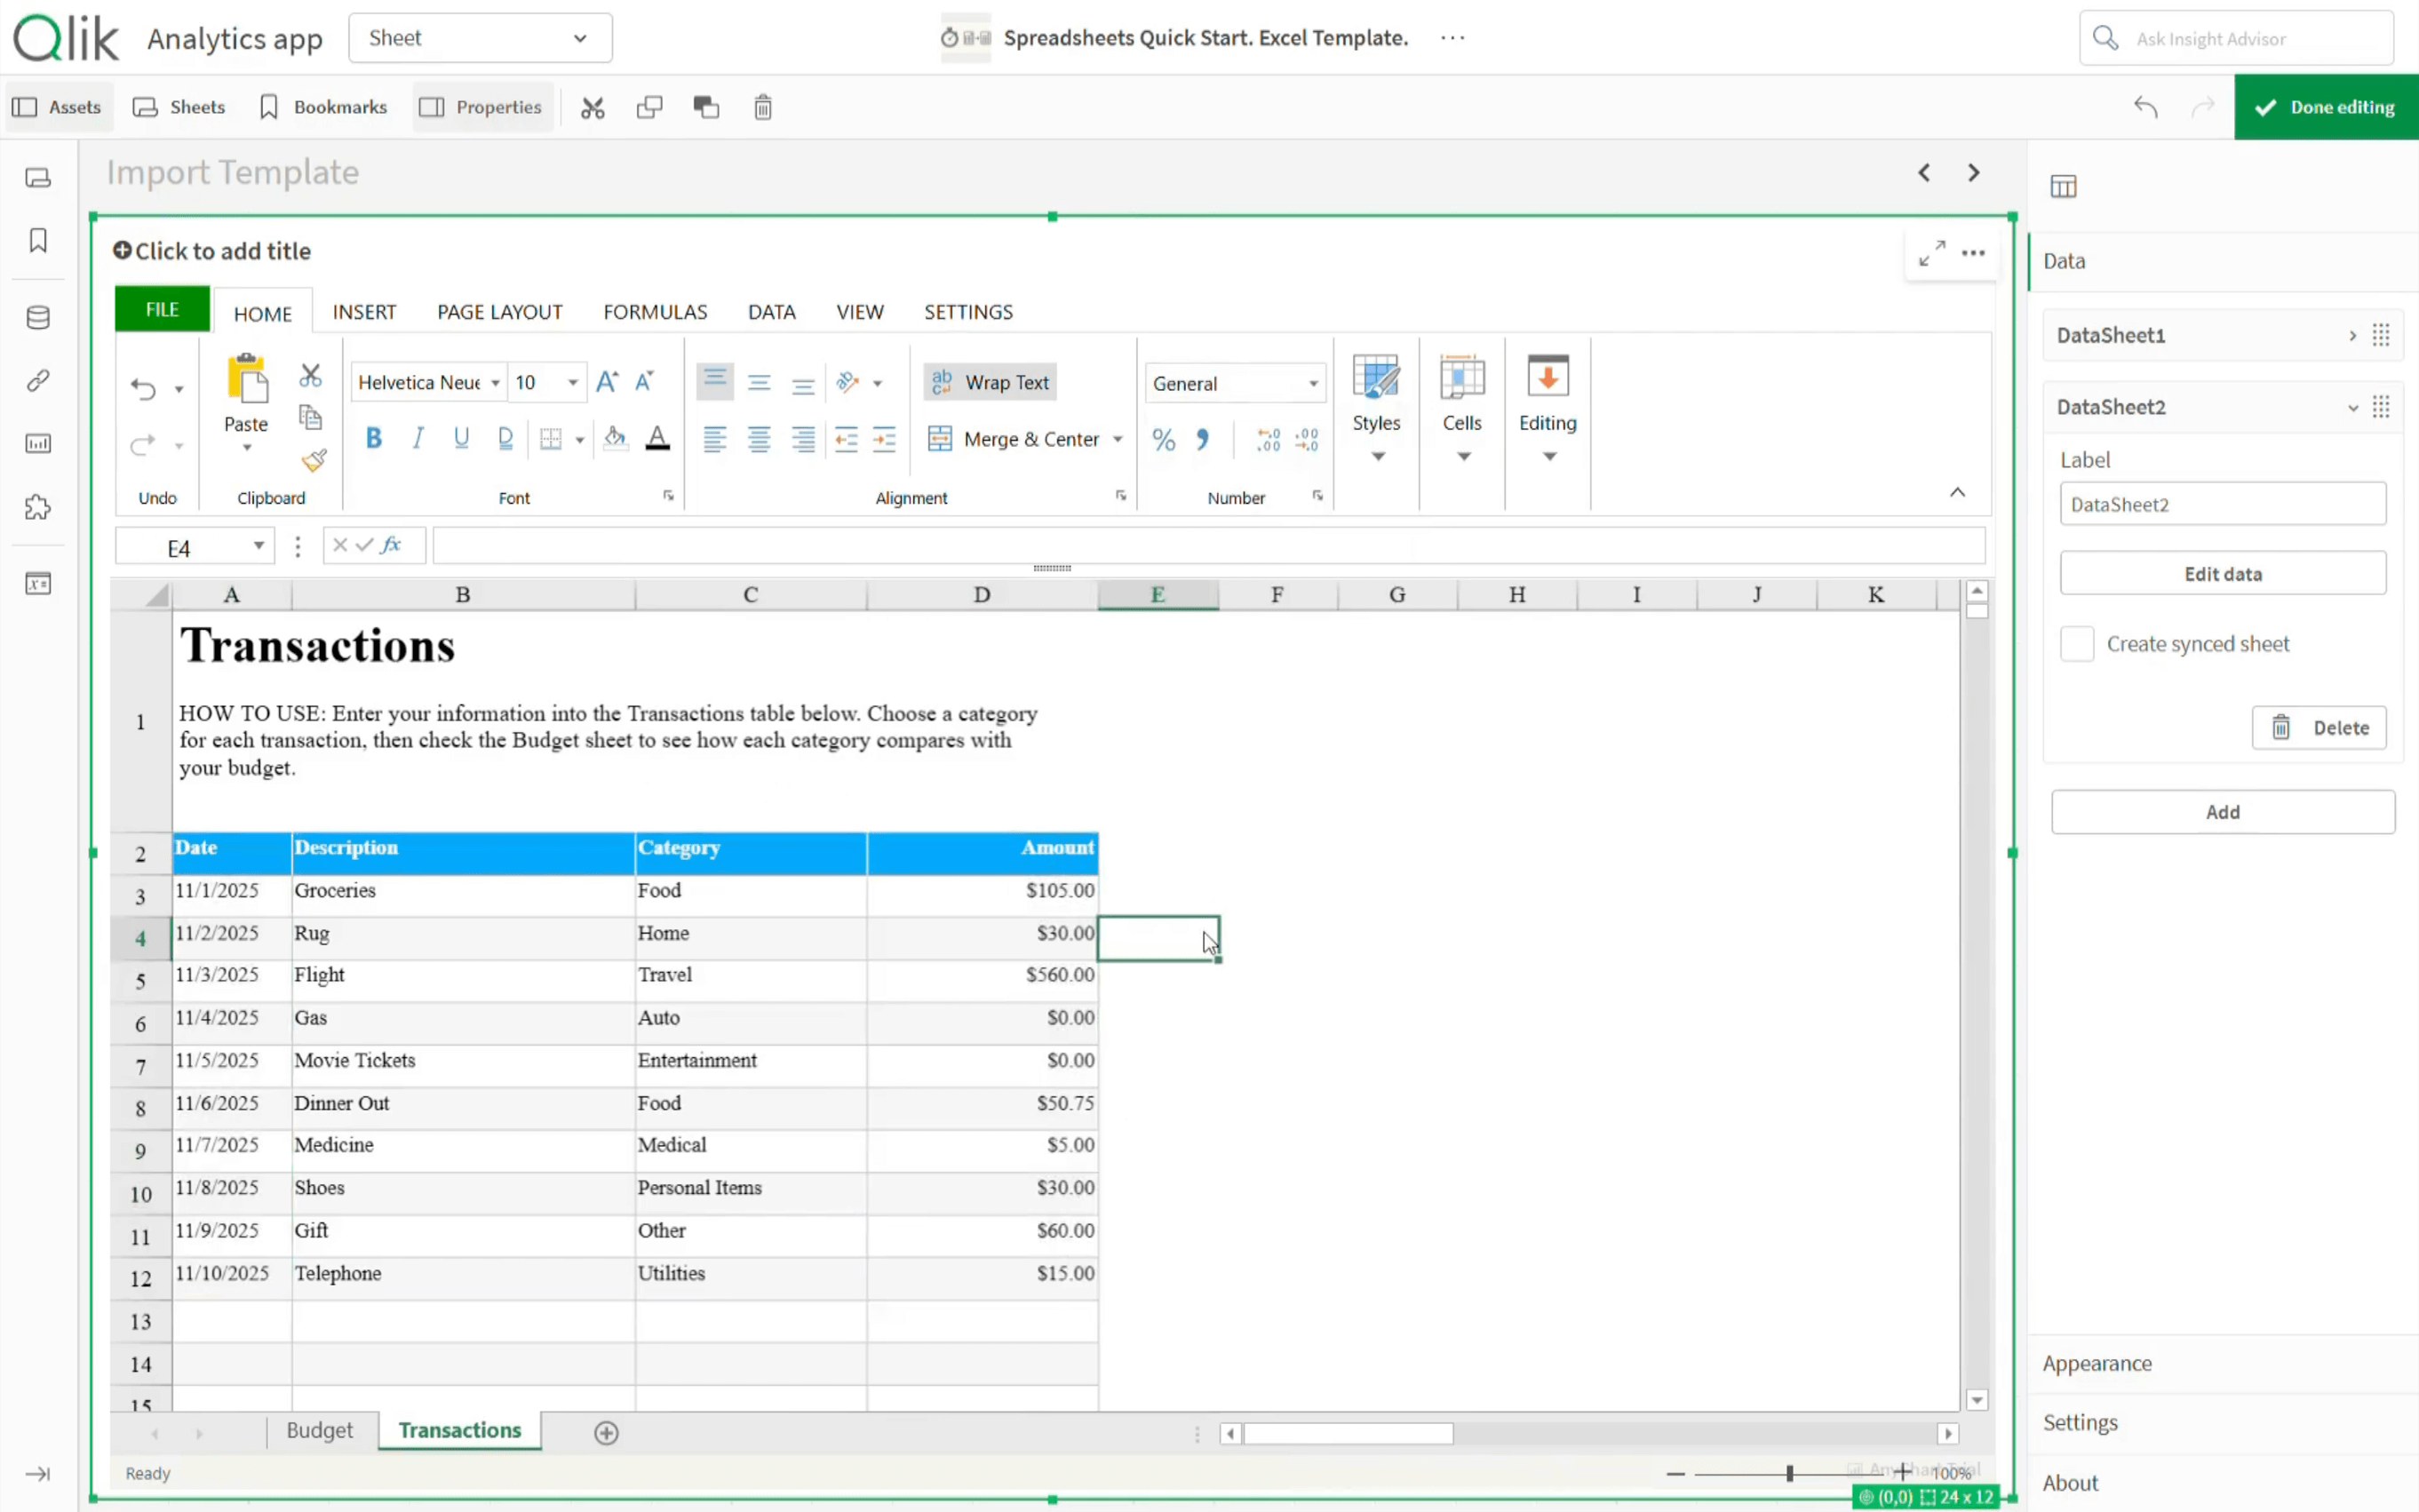
Then set column formatting so the sheet reads correctly:
- Set the “Date” column to Short Date.
- Set the “Amount” column to Currency.
This ensures dates and amounts display in a clean, readable format.
Final Touches
Make any final formatting changes you need. For example, you can update text field content just like in Excel.
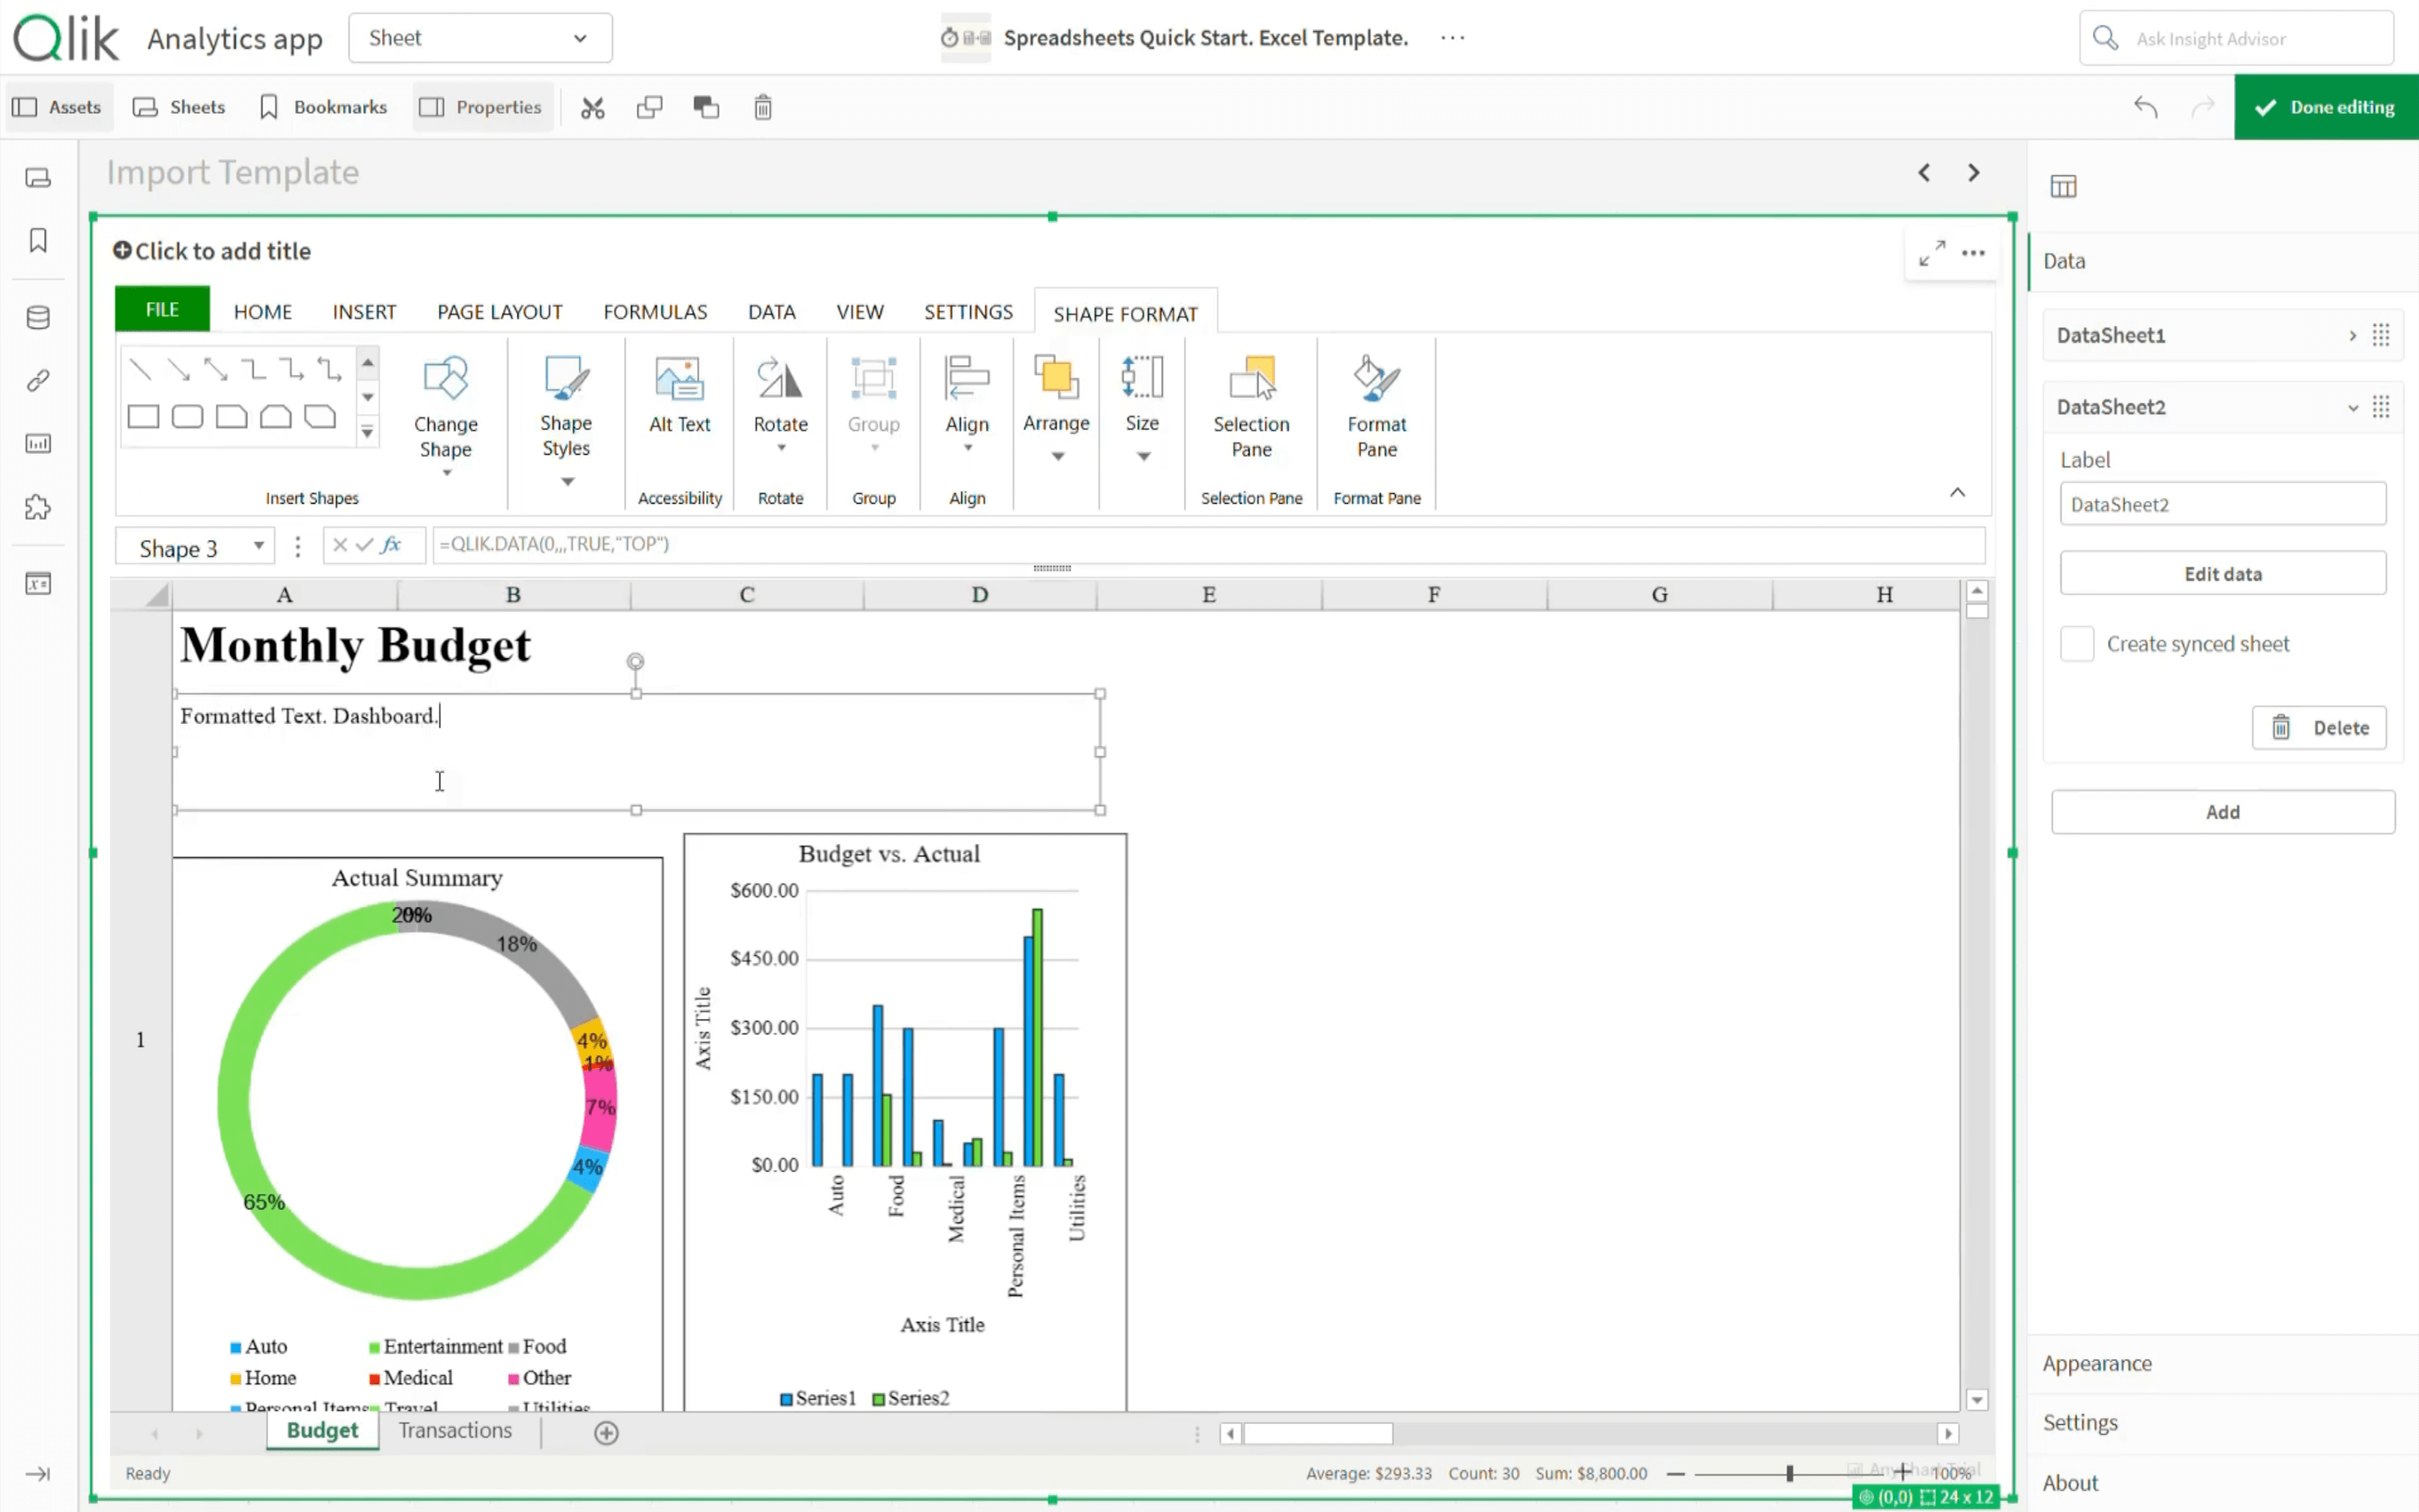
At this point, the Excel template is imported, connected to live Qlik data, formatted, and ready to be used inside your Qlik Sense app.
Apply Qlik Selections
Now test the key benefit of keeping the spreadsheet inside Qlik. Apply a few selections and filters the usual way in Qlik Sense.
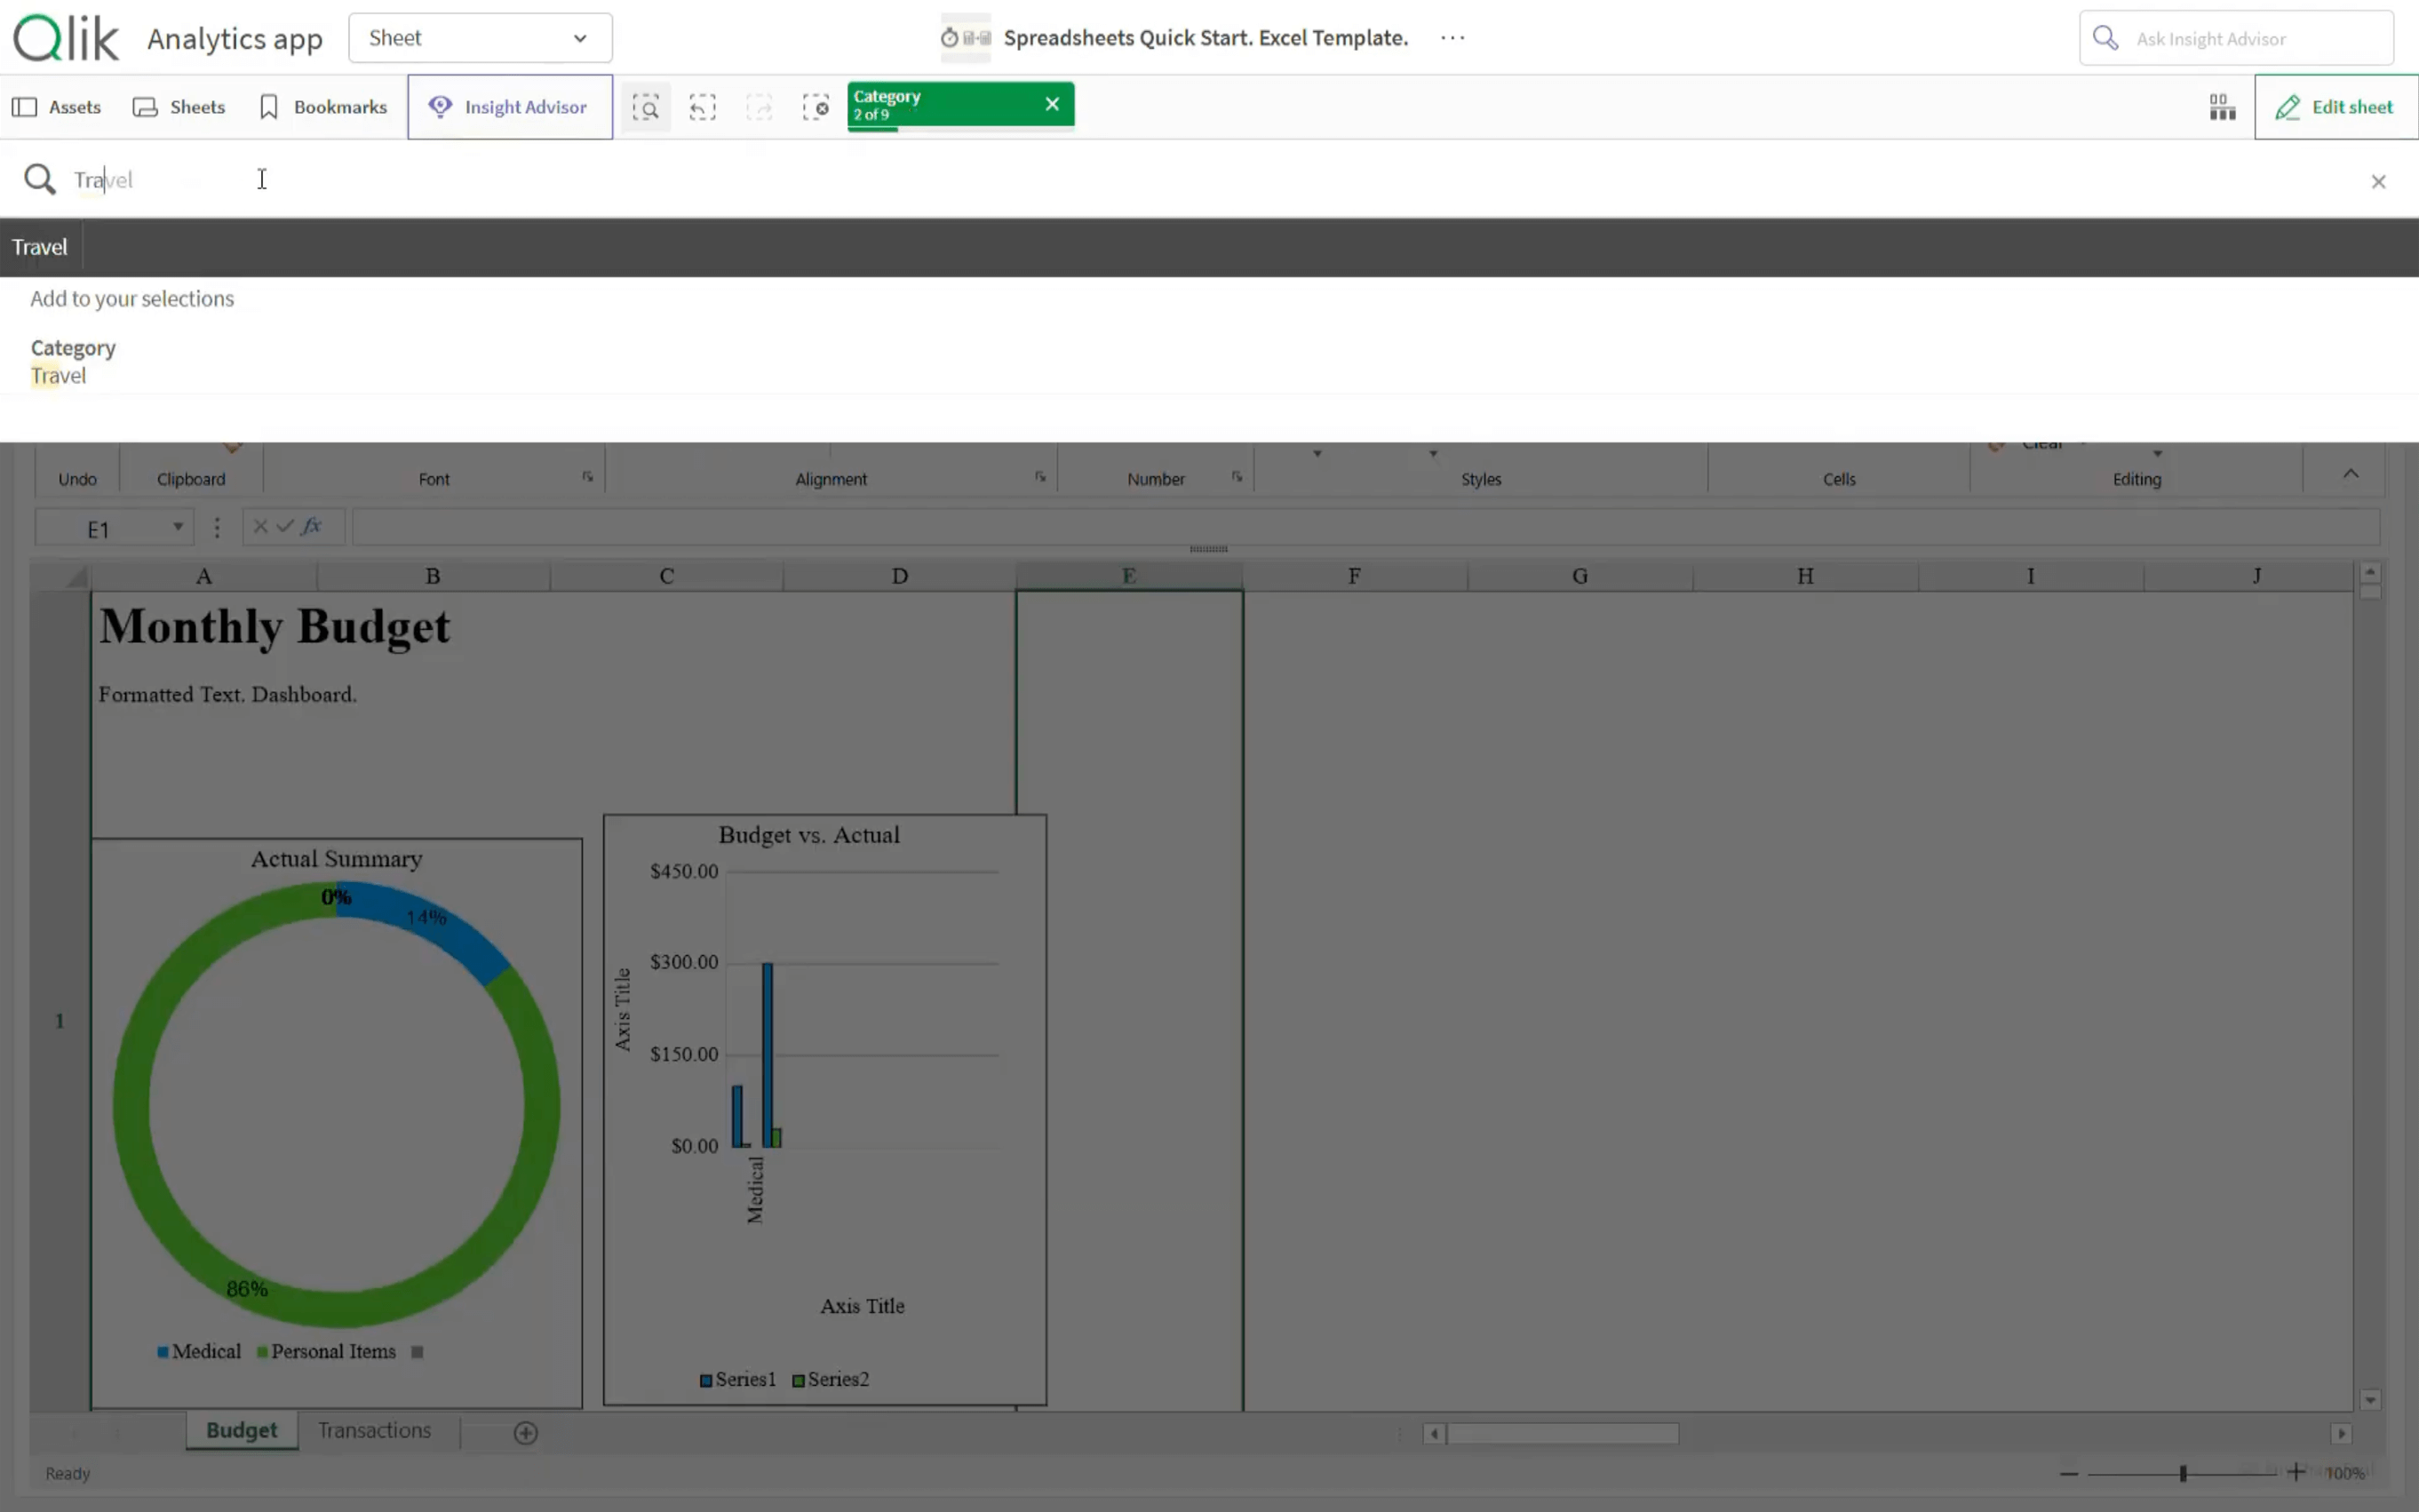
The entire spreadsheet updates in real time because it stays connected to the Qlik data model.
Result: Excel Template Now Works in Qlik
That's it. An existing Excel template is now integrated into a Qlik Sense app and connected to live Qlik data. The spreadsheet stays interactive, updates with selections, and keeps the familiar Excel-style layout while operating inside Qlik.
- Learn more in the documentation.
- Explore the demo app.
- Schedule a live demo call.
- Download the extension.